


Chapter 2: Hardware Installation
8
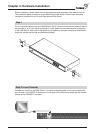
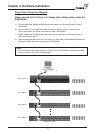
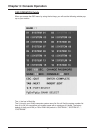
Step 5
Computer port connectors of the KVM switch are HDDB-15 pin type. Plug the end of the cable
which is HDDB-15 pin male connector to the selected computer port on the rear of KVM switch
unit.The other end of the cable which has three connectors: a HDDB-15 pin male type for com-
puters video, a Mini Din 6 pin female type for keyboard and a Mini Din 6 pin female type for
mouse, will be attached to keyboard, mouse and monitor ports of the respective computer.
Repeat the same procedure for all computers.
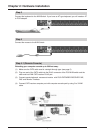
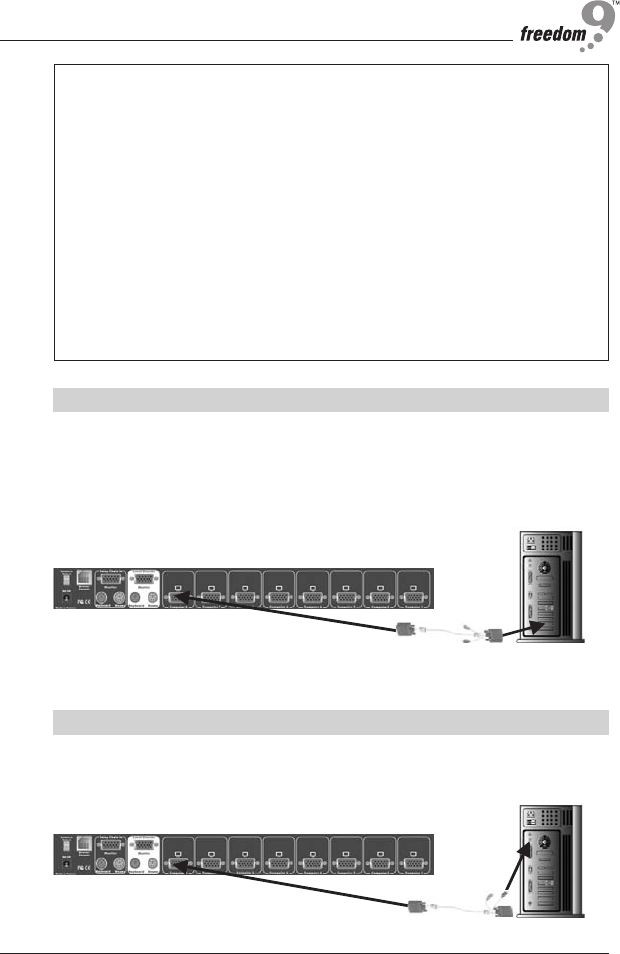
Step 6 (Optional)
If your computer has an AT type keyboard port (Din 5 pin), you will need a PS/2 to AT keyboard
adapter.
NOTE:
1.Local console and Remote console of KVM Switch will have the same priority to control
computer, just like a computer connected to two consoles.The remote console can con-
trol both the local computer and remote computer connected to KVM switch; however, the
local console can only control the computers on local side.There will be a conflict, if the
local console and remote console access the computer simultaneously. Please don’t use
local console and remote console at the same time.
2.When the video signal is foggy or un-clear on the screen, please check if VGA connector
is connected properly, or the VGA resolution is too high for the length of cable being used.
If the problem happened at VGA resolution, please shorten the CAT5 cable length or
reduce VGA resolution.It is recommended to use “optimal CAT5 cable length” to get the
best video quality and don’t add unnecessary CAT5 cable length. High VGA resolution is
up to 1280X1024 and CAT5 cable length could be up to 500 feet.
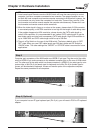
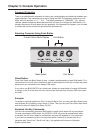
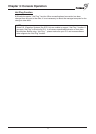
3.There is a Dip Switch on the rear of the KVM switch.The factory default value is “OFF/
OFF” state.When you use CAT5 cable length over 300 feet, please set DIP Switch to
“ON/ON” state. The other settings like “ON/OFF” or “OFF/ON” state is reserved for future
applications.