6 |
2. Connecting ScanSnap
This chapter describes how to connect ScanSnap to your
compuer.
2.1. Installing the Supplied Software
Before connecting the scanner to your computer, please
install the following software on your computer.
c Adobe Acrobat 7.0 (Application)
d ScanSnap Manager (Driver)
The below given table shows the required Operating System(s)
for each software.
Mac OS X
v10.1
Mac OS X
v10.2
Mac OS X
v10.3
Mac OS X
v10.4
c
X
9 *
9
X
d
X
9 9 9
* For Mac OS X v10.2.8
A
TTENTION
• When using Mac OS X, log on as a user with
administrator privileges.
• ScanSnap fi-5110EOXM is required as follows:
CPU
: Power PC
®
G4 Processor 800MHz or
higher (recommended: Power PC
®
G5
Processor 1.6GHz or higher)*
Memory:
128MB or more
(recommended: 512MB or more)*
* If the CPU and the memory do not meet the
recommended requirements or USB version 1.1
is used, the scanning speed will slow down.
2.1.1. Installing Adobe Acrobat 7.0
Please prepare the Adobe Acrobat 7.0 CD-ROM.
1. Insert the “Adobe Acrobat 7.0 CD-ROM” into the
CD-ROM drive.
ÖThe “Adobe Acrobat 7.0 Standard” window appears.
HINT
● To open the CD Tray or to eject a CD, press
the
button on the keyboard. If the
keyboard does not have the
button,
press instead [F12] and hold it.
● In case the “Acrobat 7.0 Standard” window
is not displayed automatically, copy the
[Adobe Acrobat 7.0 Standard] folder in the
[Applications] folder at Finder.
2. Click the Finder icon in the Dock menu
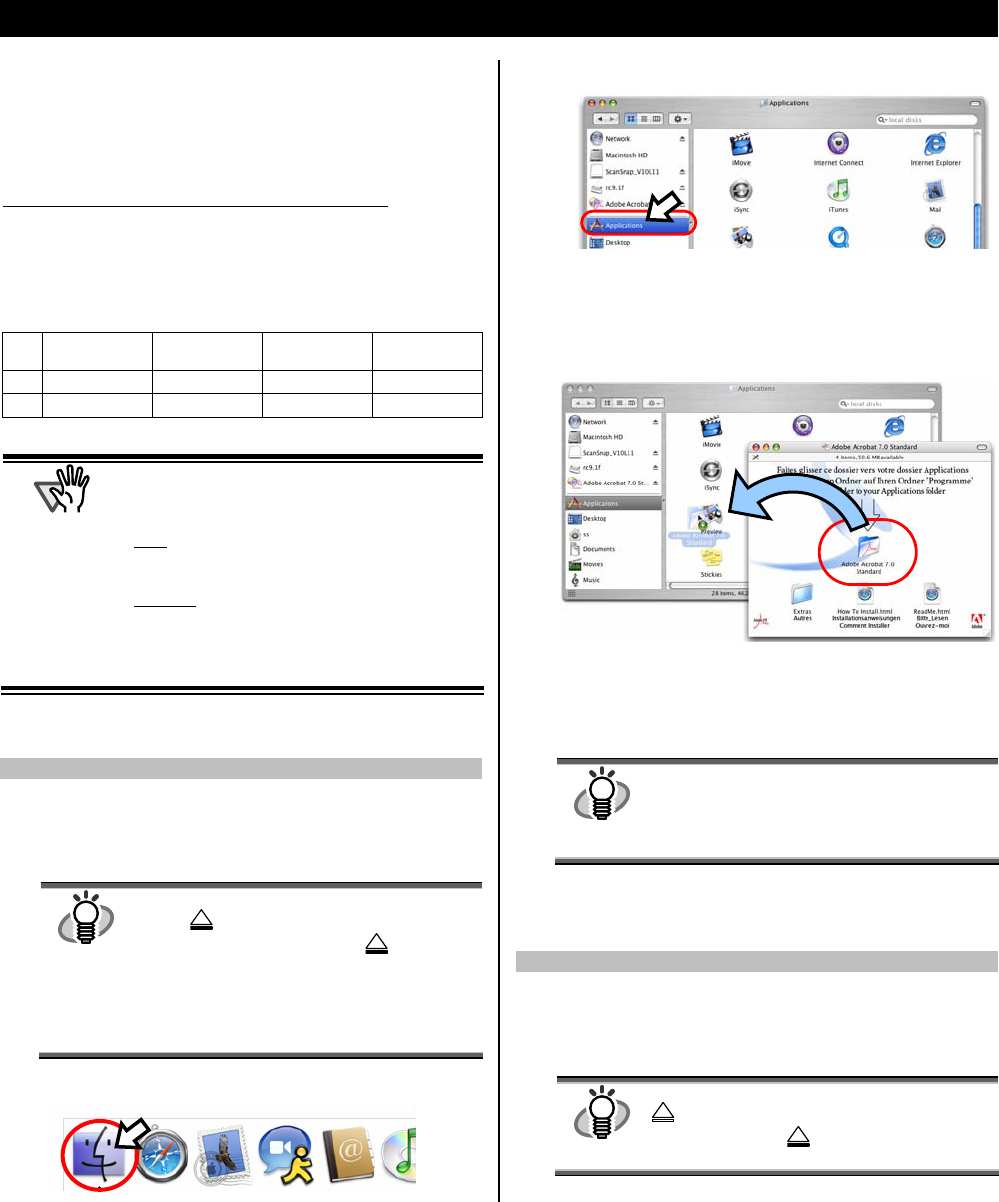
3. Select the [Applications] folder at Finder.
4. Select the icon pointed by the arrow and drag the
[Adobe Acrobat 7.0 Standard] folder to the
[Applications] folder in which the software is
installed.
5. After finishing copying, eject CD-ROM, open
[Adobe Acrobat 7.0 Standard] folder in the
[Applications] folder, double-click Acrobat Standard
icon and follow the indicated instructions.
HINT
Click the [How to install] button on the “Adobe
Acrobat 7.0 Standard” window learn more
about the Adobe Acrobat 7.0 installation.
Refer to “Adobe Acrobat Help” about how to
use Adobe Acrobat 7.0.
2.1.2. Installing ScanSnap Manager
Please prepare the ScanSnap Setup CD-ROM.
1. Insert the “ScanSnap Setup CD-ROM” into the
CD-ROM drive.
B
The “ScanSnap” window appears.
HINT
To open the CD Tray or to eject a CD, press the
button on the keyboard. If the keyboard
does not have the
button, press instead
[F12] and hold it.


