


ೋ
7
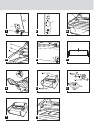
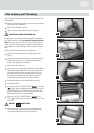
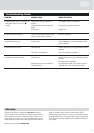
Film Loading and Threading
Refer to Figure 6 and follow the procedures to remove the Feed Table
and Heat Shield.
Remove the heat shield by sliding it to the left or right and lifting it
up and away from the laminator.
Slide the feed table latch to the left.
Lift the feed table upwards and away from the laminator.
CAUTION: HEAT SHOES COULD BURN YOU.
If reloading film,cut the remaining top and bottom film webs between
the supply rolls and heat shoes. Be careful not to scratch the heat
shoes. Remove the old rolls and check the heat shoes for adhesive
residue.This can be easily removed by wiping with a damp cloth.Do
not use abrasive,as they will damage the Teflon coating on the heat
shoe.
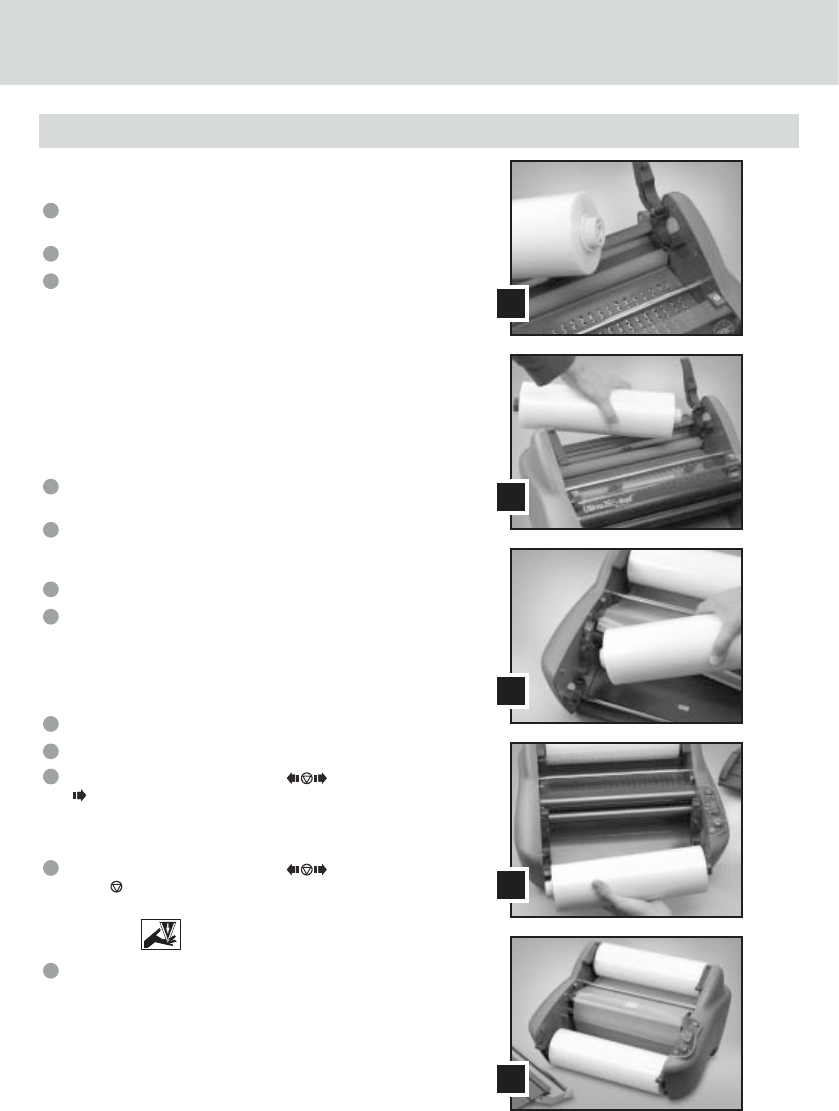
Change the top and bottom supply roll at the same time.
Raise the four film holder levers and remove old rolls of film
(figure 7).
Install new film rolls making sure that color and diameter of end
plugs correspond to the size of the holder and colour sticker
located on the side plate of the laminator.
Close the four film holder levers.
Refer to Figure 8 or Threading Guide located on the feed table for
illustration of properly loaded film.Unwind top and bottom film
rolls allowing enough slack for threading.Drape the film from
lower supply roll over the heat shoes allowing enough slack to
re-install the feed table/idler bar.Thread film from upper roll
under the idler bar and drape over heat shoes (Figure 9).
Re-install feed table and slide feed table latch to the right.
Re-install heat shield.
Move the RUN / STOP / REVERSE SWITCH ( ) to the ‘RUN’
( ) position. Slide the threading card (provided with new rolls of
GBC laminating film) on the feed table,gently pushing the film
into the nip rollers (figure 10).The threading card should now be
guiding both rolls of film through the laminator.
Move the RUN / STOP / REVERSE SWITCH ( ) to the
‘STOP’ ( ) position when the threading card exits the rear of the
laminator.
CAUTION: SHARPBLADE.
The film cutter may be used to separate the laminated items.
Position the cutter on either side of the laminator, depress the
cutter handle while sliding the cutter across the film.
12
11
10
9
8
7
6
5
4
3
2
1
ƽ
ƽ
A
B
C
D
E