Operating instructions
1. It is assumed that the scanner and FlexColor software have
been properly installed.
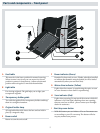
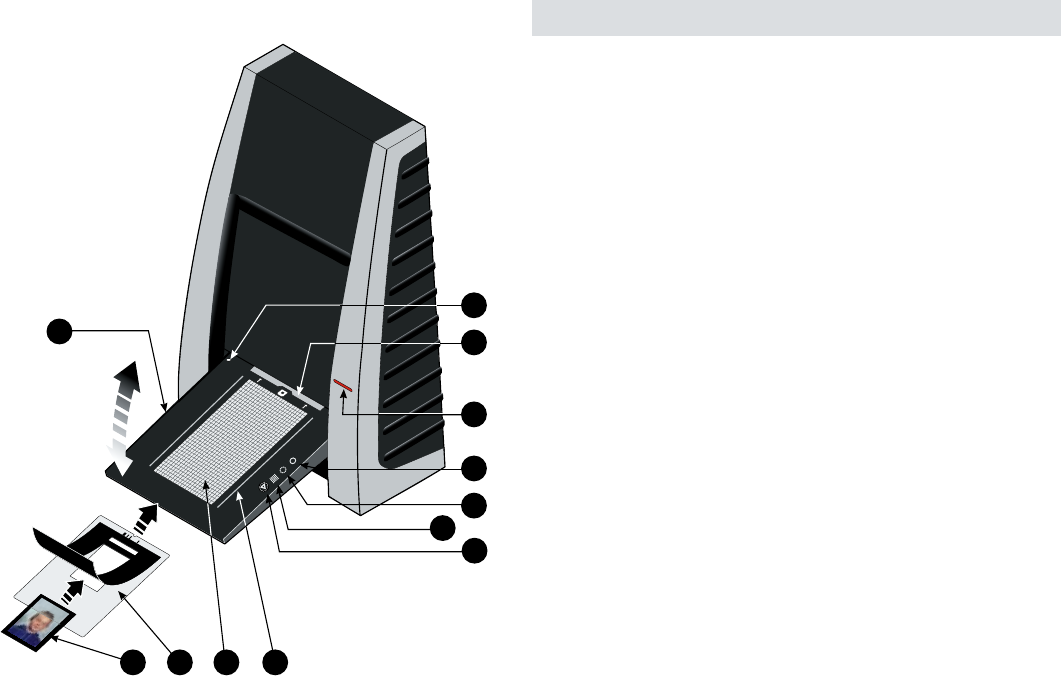
2. If not already done, lower the feed table
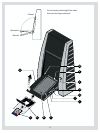
A to normal position.
3. Press the red power button
F on the front of the scanner to
switch it on. The green light G starts ashing. This means that
no rmware has been downloaded yet. It will be downloaded
automatically later when you rst run the FlexColor program.
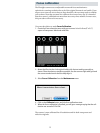
4. Turn on your computer and start the FlexColor program. The
green light G will stop ashing indicating that rmware has
been downloaded to the scanner.
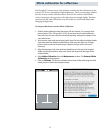
5. Select the original holder
K that matches your original:
• For transparencies, choose one of the holders that has a
square hole in it. The original must completely ll the hole with
no edges showing. Also, no edges of the original must extend
past the outer edges of the holder.
• For reectives, select the large A4/letter-size holder with the
clear plastic layer. The feed table A must be in normal position.
• For 35 mm slide frames use the optional 35 mm slide mount
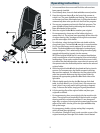
holder. The feed table A must be adjusted to horizontal posi-
tion (see diagram). This is obtained by lifting the table slightly
upwards while pushing it gently into the scanner.
NOTE! Each original holder has it’s own unique identication
code (a combination of small rectangular holes at the holder’s
leading edge). These codes, combined with the scanner’s abili-
ty to detect the feed table position, ensure that the scanner will
not operate unless the feed table position matches the selected
original holder.
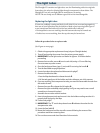
6. Place the original holder
K with the slotted tab facing into the
scanner. For transparencies, the exible magnetic retaining
ap must face upwards. For reectives, the clear plastic sheet
must face upwards. Make sure that the original holder ts
between the appropriate guides C or D on both sides of the
light table.
7. Slide the holder gently into the slot
E at the top of the feed
table. It will slip about ½ cm (¼ inch) into it. Do not press too
hard. It slips in very easily and is held in place by a magnetic
clasp. To remove the holder, simply pull it gently backwards.
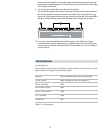
8. Lift the retaining ap of the original holder and place your
original L as follows:
• For transparencies, place your original with the emulsion side
down. The original must completely ll the hole with no edges
showing and with a minimum overlap of 2 mm along each
edge. Also, no edges of the original must extend past the outer
edges of the holder. Use the grid on the light table B to help
line up the image.
For transparency holders, the top retaing ap is magnetic,
which will hold the original fast.
• For reectives (Flextight X5 only), make sure that no part of the
original extends past the edge of the holder. Use the dotted
A
BKL
C
F
LE
X
T
I
G
HT
O
R
IG
IN
A
L
HO
L
D
ER
P
A
TE
N
T
PEN
D
IN
G
I
J
D
E
G
H
F
9


