


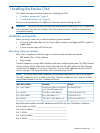
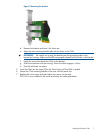
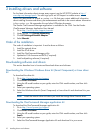
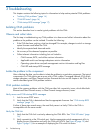

Figure 3 Removing the bracket
d. Remove the bracket and store it for future use.
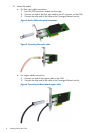
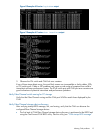
e. Align the new mounting bracket tabs with the holes in the CNA.
IMPORTANT: Be careful not to push the bracket past the grounding tabs on the
transceiver housing. Make sure the LEDs are properly aligned with the holes in the bracket.
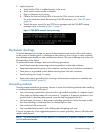
f. Install the screws that attach the CNA to the bracket.
g. Slide the transceiver into the housing. When the latch engages, it clicks.
h. Push the bail back into place.
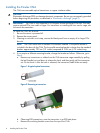
5. Insert the CNA into the empty PCIe slot. Press firmly until the CNA is seated.
6. Secure the CNA mounting bracket to the case with the panel clip.
7. Replace the server case, and then tighten the screws on the case.
The CNA is now installed in the server and ready for media attachment.
Installing the Emulex CNA 7