


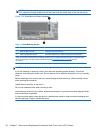
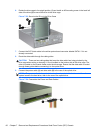
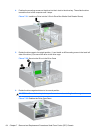
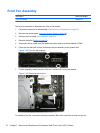
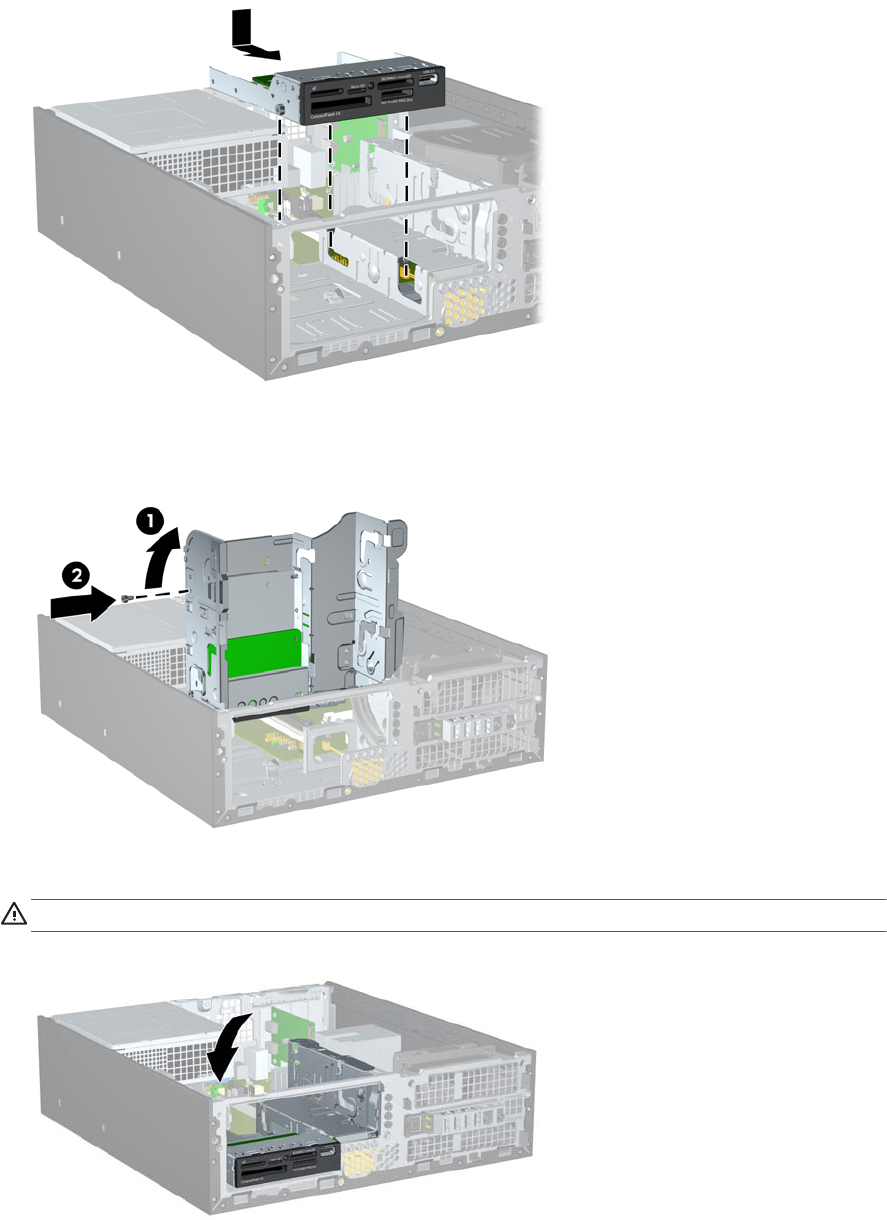
4. Position the mounting screws on the drive into the J-slots in the drive bay. Then slide the drive
toward the front of the computer until it stops.
Figure 7-31 Installing a Drive into the 3.5-inch Drive Bay (Media Card Reader Shown)
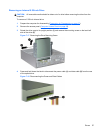
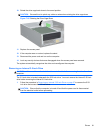
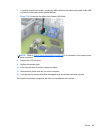
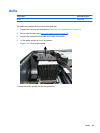
5. Rotate the drive cage to its upright position (1) and install an M3 mounting screw in the back left
side of the drive (2) to secure the drive to the drive cage.
Figure 7-32 Securing the Drive in the Drive Cage
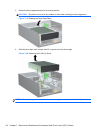
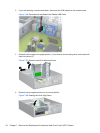
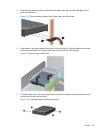
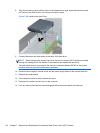
6. Rotate the drive cage back down to its normal position.
CAUTION: Be careful not to pinch any cables or wires when rotating the drive cage down.
Figure 7-33 Rotating the Drive Cage Down
64 Chapter 7 Removal and Replacement Procedures Small Form Factor (SFF) Chassis