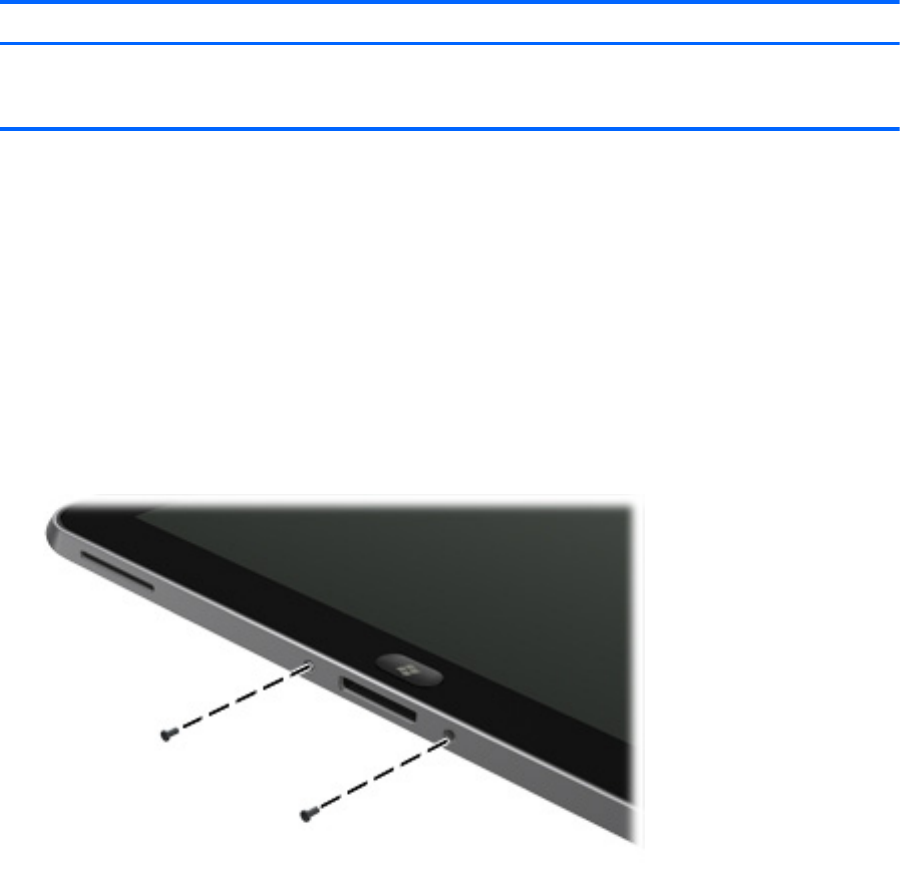
Display assembly
Description Spare part number
Display assembly (10.1-in., WXGA (1280×800), UWVA, 50% CG, 400-nit, active pen and
MultiTouch capacitive digitizer, chemically-strengthened glass with anti-smudge; includes display
panel, display LVDS cable, TouchScreen cable, and display panel support rubber)
718662-001
Before disassembling the computer, follow these steps:
1. Turn off the computer. If you are unsure whether the computer is off or in Hibernation, turn the
computer on, and then shut it down through the operating system.
2. Disconnect the power from the computer by unplugging the power cord from the computer.
3.
Disconnect all external devices from the computer.
Remove the display assembly:
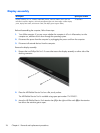
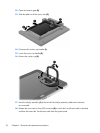
1. Remove the two Phillips PM1.4×3.2 screws that secure the display assembly on either side of the
docking connector.
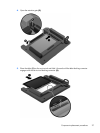
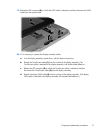
2. Place the HP ElitePad Service Tool on a flat, sturdy surface.
The HP ElitePad Service Tool is available using spare part number 714222-001.
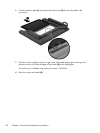
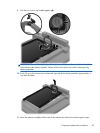
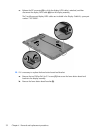
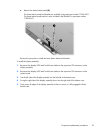
3. Move the HP ElitePad Service Tool retention bar (1) to the right until the notch (2) in the retention
bar allows the retention gate to open.
26 Chapter 4 Removal and replacement procedures


