


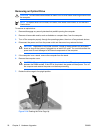


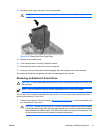
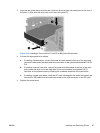

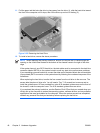
3. Press the green drive retention latch (1) located on the side of the drive to disengage the drive from
the drive cage and slide the drive forward approximately 1/4 inch (6 millimeters) (2).
Figure 2-25 Disengaging the 3.5-inch Drive (Diskette Drive shown)
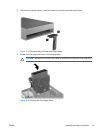
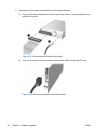
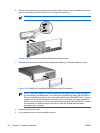
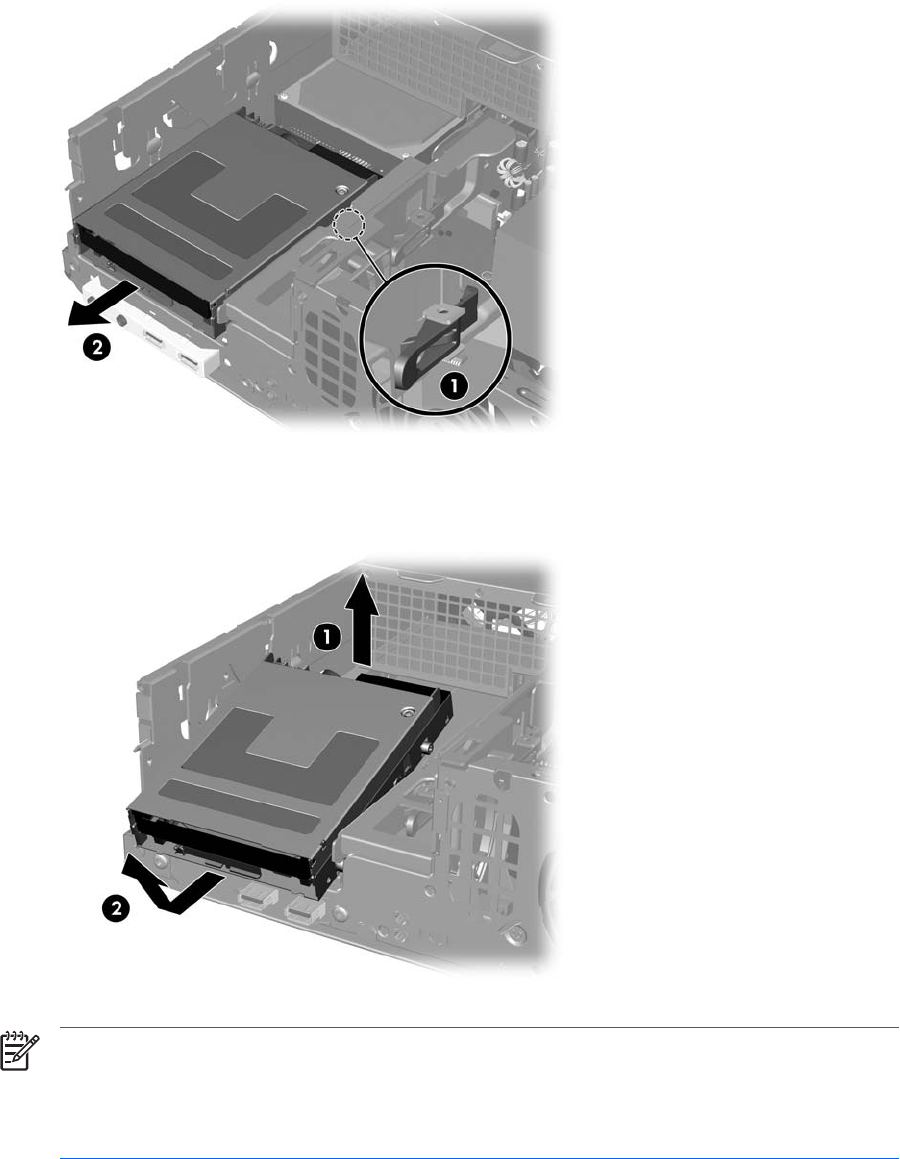
4. Lift the rear of the drive up so that the rear guide screws clear the top of the drive cage (1). As the
drive rises it automatically slides forward until it is free from the drive cage (2).
Figure 2-26 Removing a 3.5-inch Drive (Diskette Drive shown)
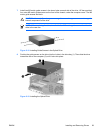
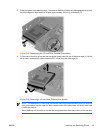
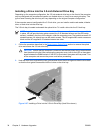
NOTE To replace the 3.5-inch drive, reverse the removal procedure making sure you slide the
front guide screws into the cage first then rotate the rear of the drive down and slide it back until
it locks into position.
When replacing a 3.5-inch drive, transfer the four guide screws from the old drive to the new one.
ENWW Installing and Removing Drives 33