


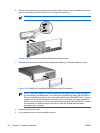

Installing a Drive into the 3.5-inch External Drive Bay
Depending on the computer configuration, the 3.5-inch external drive bay on the front of the computer
may be configured with a media card reader or a diskette drive, or it may be an empty drive bay. The
type of bezel covering the drive bay will vary depending on the original computer configuration.
If the computer was not configured with a 3.5-inch drive, you can install a media card reader, diskette
drive, or hard drive into the drive bay.
The 3.5-inch bay is located underneath the optical drive. To install a drive into the 3.5-inch bay:
NOTE Install guide screws to ensure the drive will line up correctly in the drive cage and lock
in place. HP has provided extra guide screws (four 6-32 standard screws and four M3 metric
screws), installed in the front of the chassis, under the computer cover. The hard drive uses 6-32
standard screws. All other drives use M3 metric screws. The HP-supplied M3 metric screws are
black and the HP-supplied 6-32 standard screws are silver.
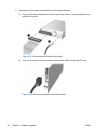
1. Follow the procedure described in the Removing an Optical Drive section to remove the optical
drive and access the 3.5-inch drive bay.
CAUTION Ensure that the computer is turned off and that the power cord is disconnected
from the electrical outlet. After removing the computer cover, look for the LED on the system
board between the DIMM sockets. If the LED is illuminated, the system still has power. Turn
off the computer and remove the power cord before proceeding.
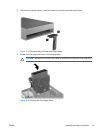
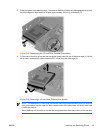
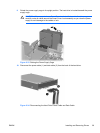
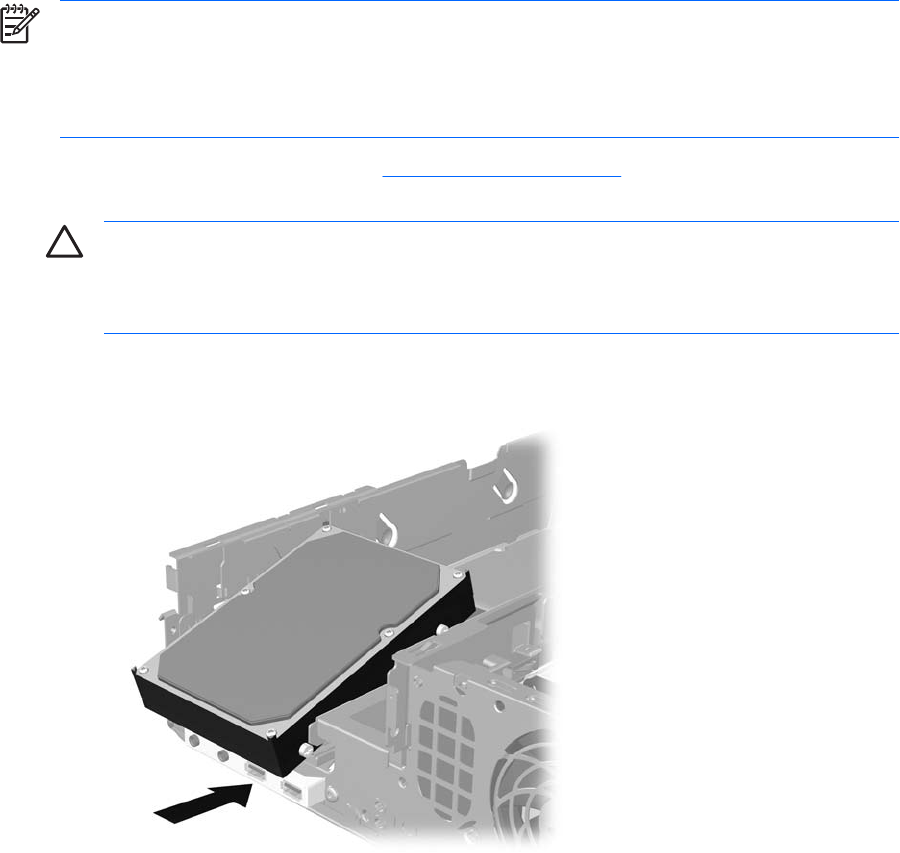
2. Hold the drive at an angle with the rear guide screws above the drive cage and slide the drive back
so that the front guide screws slide into the J-slots on the drive bay.
Figure 2-27 Installing a Drive into the 3.5-inch Drive Bay (Hard Drive shown)
34 Chapter 2 Hardware Upgrades ENWW