Removal and Replacement Procedures
Maintenance and Service Guide 5–19
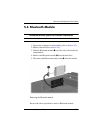
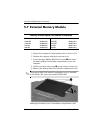
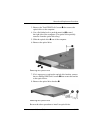
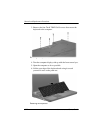
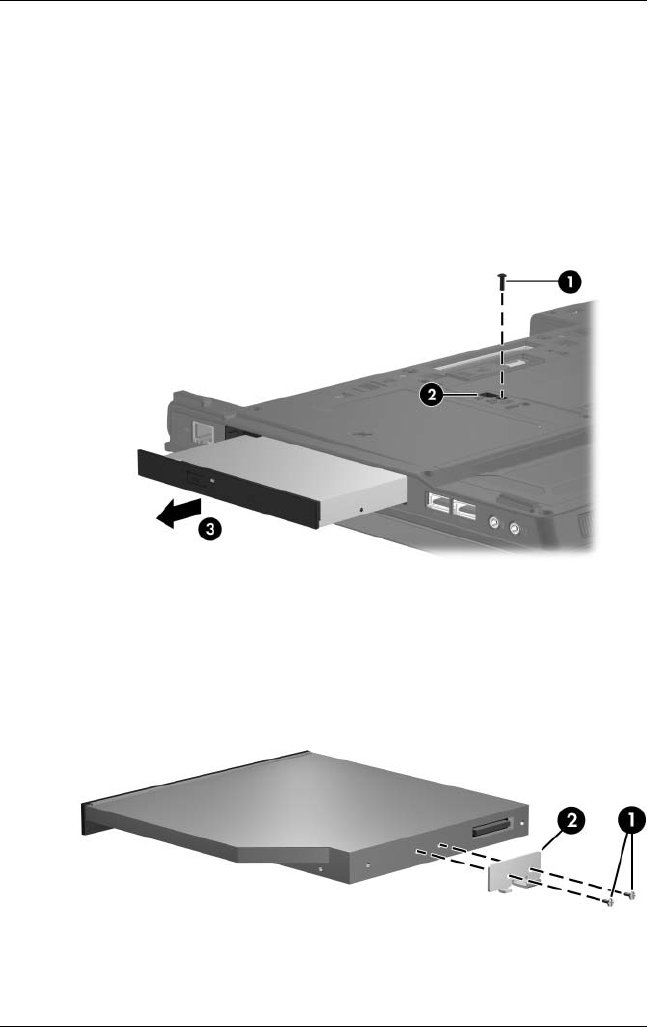
3. Remove the Torx8 T8M2.5×9.0 screw 1 that secures the
optical drive to the computer.
4. Use a flat-bladed tool to push the metal tab 2 toward
the right side of the computer. (The optical drive partially
removes from the optical drive bay.)
5. Slide the optical drive 3 out of the computer.
6. Remove the optical drive.
Removing the Optical Drive
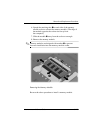
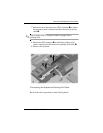
7. If it is necessary to replace the optical drive bracket, remove
the two Phillips PM2.0×4.0 screws 1 that secure the bracket
to the optical drive.
8. Remove the optical drive bracket 2.
Removing the Optical Drive
Reverse the above procedure to install an optical drive.


