Correcting vertical keystoning
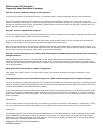
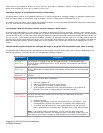
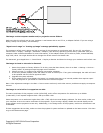
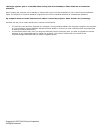
If you use the elevator to tilt the front of the projector up so you can get the image higher on the wall, the image will suffer
from vertical keystoning. Likewise, if you mount the projector on the ceiling and need to tilt it to get the image on the
screen, you'll also get a keystoned image.
or
1. Try raising or lowering the projector. You can correct for keystoning by making sure the projector is placed
perpendicular to the viewing screen. For example, it may be necessary to place the unit on a higher surface to
correct the image. Or you can add an extension to a ceiling mount that allows you to mount the projector lower.
2. Finally, change the Keystone setting. Press the Keystone + or Keystone – button on the remote control to digitally
adjust the image. Use this method when you cannot solve the keystoning issue by changing the projector placement.
You can also adjust keystone in the Display menu. To access the Display menu settings, press the Menu button. Go to Main >
Picture > Keystone. Press the Up and Down arrows to adjust the image. The default setting is 50, which means there is no
keystone adjustment.
Please note that it is always better to achieve a rectangular image by moving the projector. Some images look much better
when there is no digital keystone correction.
Correcting horizontal keystoning
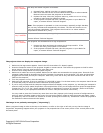
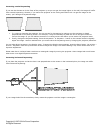
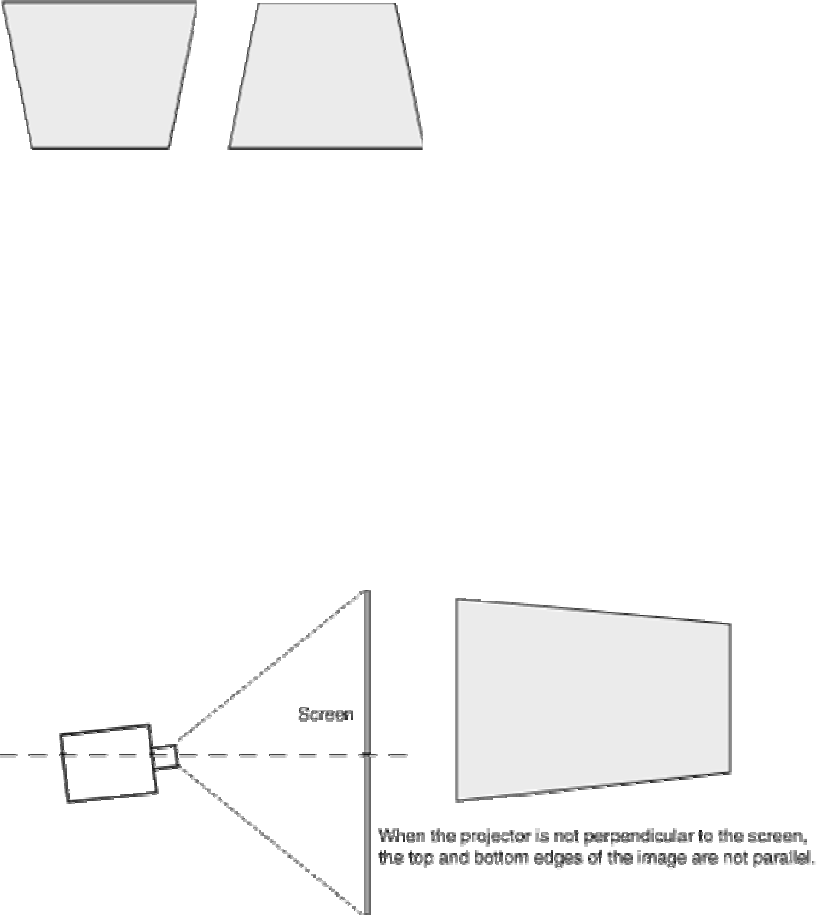
If you place the projector so that the lens is not perpendicular to the screen in the horizontal plane, the image can suffer
from horizontal keystoning.
If your image looks like the one above, slowly rotate the projector until the image is rectangular.
Copyright © 1997-2004 InFocus Corporation.
All Rights Reserved.


