ISSUED: 10-22-04 SHEET #: 055-9236-5 01-10-06
Visit the InFocus Web Site at www.infocus.com
3 of 11
F
F
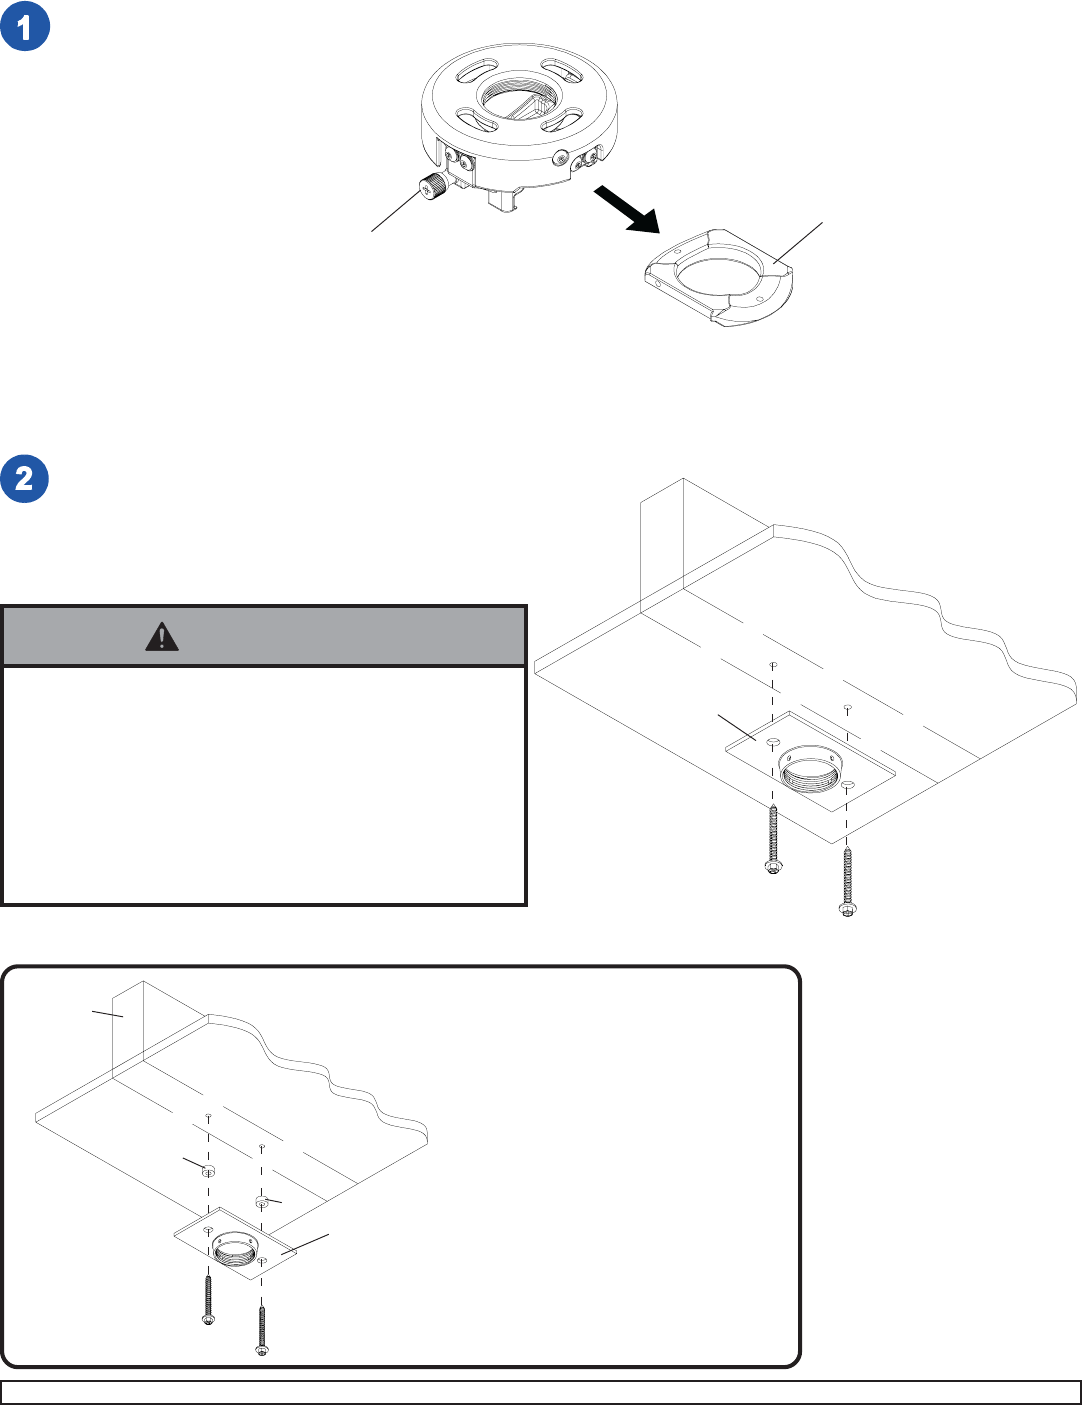
Q
WOOD
JOIST
CEILING
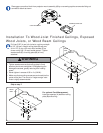
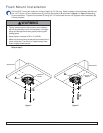
Drill two 5/32" (4 mm) dia. holes to a minimum depth
of 2.5" (64 mm). Attach ceiling plate (Q) with two
#14 x 2.5" (6 mm x 65 mm) wood screws (F) as
shown using 3/8" (10 mm) socket wrench. Tighten
wood screws (F) so ceiling plate (Q) is firmly
attached.
Skip to step 7.
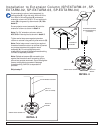
Installation To Wood Joist Finished Ceilings, Exposed
Wood Joists, or Wood Beam Ceilings
For optional Cord Management,
install two spacers (L) between ceiling
plate (Q) and ceiling.
WOOD
JOIST
CEILING
F
F
Q
L
L
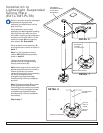
• Tighten wood screws so that ceiling plate is firmly
attached, but do not overtighten. Overtightening can
damage the screws, greatly reducing their holding
power.
• Never tighten in excess of 80 in • lb (9 N.M.).
• Make sure that mounting screws are anchored into the
center of the joist. The use of an "edge to edge" stud
finder is highly recommended.
WARNING
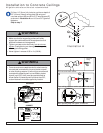
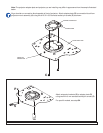
Disengage connection block from projector mount assembly (A) by unscrewing captive screw and sliding out
connection block as shown.
CONNECTION BLOCK
CAPTIVE SCREW
A


