Inova OnTime Digital Clock Owner's Manual
All claims based on information publicly available at time of printing. All other product or service names mentioned in this document may be
trademarks of the companies with which they are associated.
© 2007 Inova Solutions. | All rights reserved. 6.12.2007 | page 5
Pendant Mounting – Single or Double
The following is a recommended procedure for pendant mounting. This procedure requires
a mounting kit – Model ONTKIT - and some additional hardware.
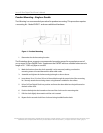
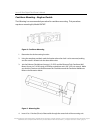
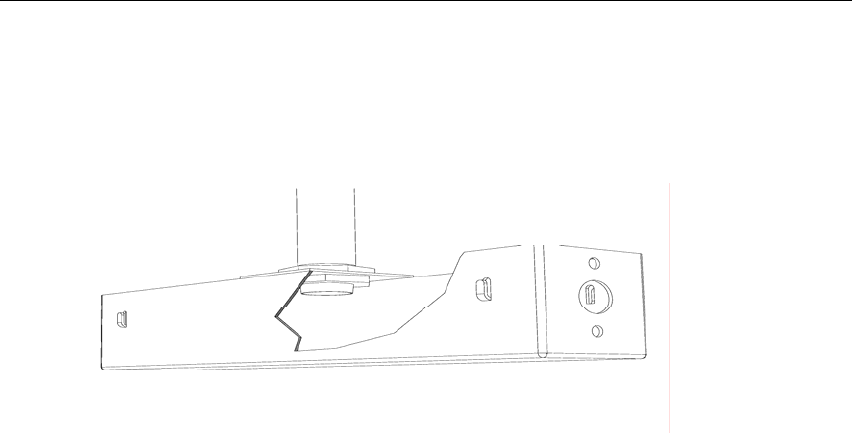
Figure 1: Pendant Mounting
1. Determine the clock mounting location.
The illustration above suggests a recommended mounting means for a pendant mount of
one or more OnTime Digital Clock. Supplement the ONTKIT with two suitable locknuts and a
length of ¾ “ 1.905 cm) pipe or conduit.
2. Mark the location where the clock assembly is to be mounted, making sure that the
mounting means is located beneath the data cable outlet.
3. Assemble and tighten the locknuts and pipe length as shown above.
4. Insert about 10 to 12 inches (30 cm) of data cable through the center hole of the mounting
kit. Securely attach the mounting means using fasteners suitable for the surface.
5. Lift an OnTime Digital Clock into position and insert the data cable into the jack located on
the back of the clock.
6. Position the keyhole slots located on the rear of the clock over the mounting tabs.
7. Pull the clock slightly downwards until the unit is seated.
8. Repeat for the second clock if two clocks are being installed back-to-back.


