20 Intel
®
Server Board SE7230NH1-E and Intel
®
Server Platform SR1475NH1-E User’s Guide
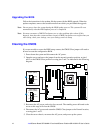
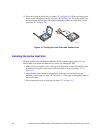
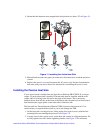
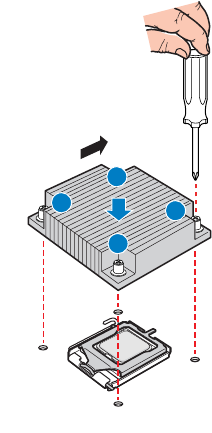
3. Gradually and equally tighten each captive screw until each is firmly tightened.
Figure 12. Installing the Passive Heat Sink
4. Reinstall and reconnect any parts you removed or disconnected to reach the processor
sockets.
5. Replace the server's cover and reconnect the AC power cord. See the documentation
that came with your server chassis for instructions on installing the server's cover.
Removing a Processor
1. Observe the safety and ESD precautions in “Safety Information”.
2. Turn off all peripheral devices connected to the server. Turn off the server.
3. Remove the AC power cord from the server.
4. Remove the server's cover. See the documentation that came with your server chassis
for instructions on removing the server's cover.
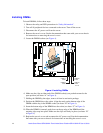
5. Unplug the processor fan cable from the server board.
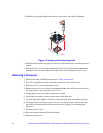
6. Loosen the four captive screws on the corners of the heat sink.
7. Twist the heat sink slightly to break the seal between the heat sink and the processor.
8. Lift the heat sink from the processor. If it does not pull up easily, twist the heat sink
again. Do not force the heat sink from the processor. Doing so could damage the
processor.
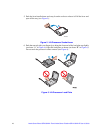
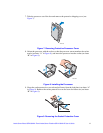
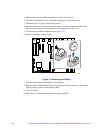
9. Lift the processor lever.
10. Press the release button and lift the load plate.
11. Remove the processor.
TP01793
2
3
1
4
airflow
chassis front


