14
Operation
Operation cont.
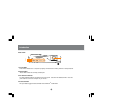
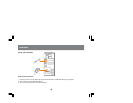
Once scanning begins it will continue until you press the spacebar or the round button on the front of the USB KVM. The
port last seen during the scan will become the active port.
NOTE: While Auto Scan Mode is in effect none of the basic keyboard keys will function until you end the auto scan.
OSD Overview
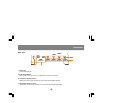
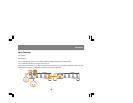
On Screen Display (OSD) provides a menu driven interface to handle PC switching Procedures. All operations start from the OSD Main Screen. To
activate the OSD, Tap the CTRL key twice, [ctrl][ctrl].
NOTE: If using the control key conflicts with applications running on any of the Computers, you can change the OSD Activation Hotkey to [Scroll Lock]
[Scroll Lock].
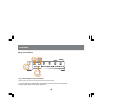
The OSD always starts in LIST view with the Highlight bar at the same position it was in the last time it was closed.
The Port Number (PN) for each computer is shown in the left most column on the list. You can directly access any port by using Navigation keys to move
the Highlight bar to the desired port and press [ENTER].
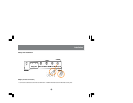
The computers port number is derived from the CPU port (1-4) on the GCS124U back panel that the computer is connected to. For example to access a
computer connected to port 3 you would move up or down the list with the arrow keys and press enter once port 3 is highlighted. Remember: The port
number for a computer connected to a daisy chained GCS124U is a 2 digit number. The first digit represents the CPU Port number of the primary USB
KVM and the second digit represents the CPU Port number of the secondary USB KVM that the computer is connected to. For example to access a
computer connected to CPU Port 3 of the secondary USB KVM, scroll down the list and press enter on 2-3.


