


20
HOW TO USE EXTERNAL
CONTROL
Ⅵ ABOUT EXTERNAL CONTROL
The Multi-Format Monitor has two external control terminals.
One is the MAKE/TRIGGER terminal, which allows the monitor to be controlled by the MAKE(make contact) or TRG. (trigger
contact) method selected in the function setting.
MAKE (make contact system): Controls the function by stable disconnection (terminal open) or short-circuiting (short with GND of
15th terminal) of the controlled terminal.
TRG. (trigger system) : Controls the function by instantaneously (one second) short-circuiting (short with GND of 15th
terminal) the controlled terminal.
* MAKE or TRIGGER are selected from REMOTE SELECT in the setup menu.
* The 14th terminal (REMOTE ENABLE) is always controlled by the make contact system regardless of the REMOTE SELECT
setting.
The other terminal used for remote control is the RS-232C terminal. This allows the monitor to be controlled by a PC via serial
communication.
NOTE: Control priority is in the following order; 1 MAKE/TRIGGER terminal > 2 RS-232C terminal > 3 front panel buttons.
When trigger contact is on, the front panel buttons can be operated.
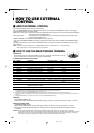
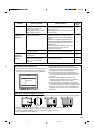
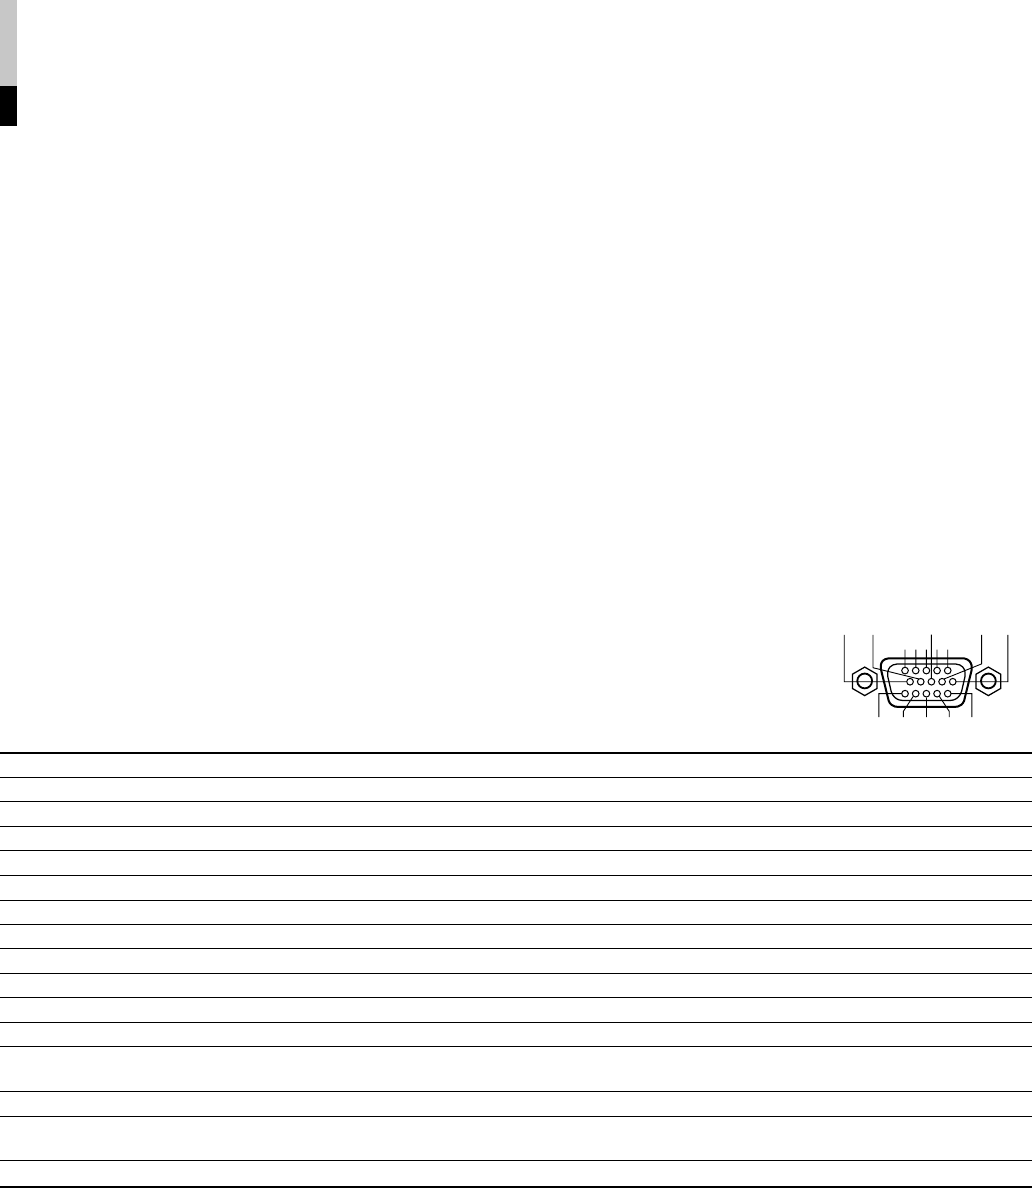
10 9 8
54321
7
6
1415 13 12 11
*1 : OFF stands for disconnection, and ON stands for short-circuit.
When trigger contact is on, the setting switches between ON and OFF every time the terminal is short-circuited.
(Only TALLY is controlled by being OFF(disconnection) and ON(short-circuit).)
*2 : Selects the area marker size from AREA MARKER (setting on the main unit) or AREA MARKER-R (setting on the remote control) setting.
*3 : The STATUS function is activated when the connection to the STATUS terminal is changed (ON to OFF, or OFF to ON). The monitor’s status is displayed for 3
seconds.
*4 : Setting REMOTE ENABLE to ON enables remote control. (same for both MAKE/TRIGGER methods.)
The Names and Functions of Terminals
No. Names Functions Operations (OFF p[ ON) *1
1 TALLY Puts on the tally lamp. Put off Put on
2 INPUT A Changes the input to INPUT A Not change Change
3 INPUT B Changes the input to INPUT B Not change Change
4 INPUT C Changes the input to INPUT C Not change Change
5 INPUT D Changes the input to INPUT D Not change Change
6 INPUT E Changes the input to INPUT E Not change Change
7 INPUT F Changes the input to INPUT F Not change Change
8 COLOR OFF Changes the picture black-and-white. Not change Change
9 AREA MARKER Displays the area marker. Not display Display
10 ASPECT Changes the screen ratio to 16:9 4:3 16:9
11 TALLY SELECT Switch the tally lamp color. GREEN RED
12 MARKER Selects the type of the area marker Selection in the main unit Selection in the remote *2
control
13 STATUS Displays the monitor’s status Display *3
14 REMOTE ENABLE Makes the external control form the Invalid Valid *4
MAKE terminal valid or invalid
15 GND Used as a ground terminal – –
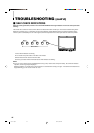
Ⅵ HOW TO USE THE MAKE/TRIGGER TERMINAL
Connections
Connect (short-circuit) the 15th terminal (GND) to each of the 1st through 14th terminals in the 3-line
15-pin D-sub connector. The functions of each terminal are listed below.
Operation
1. Set REMOTE ENABLE to ON.
2. Short-circuit or disconnect the desired terminal. (When trigger contact is on, duration of short-circuit is approx. 1 second.)
Changing the Signal Input
1. Set REMOTE ENABLE to ON.
2. Short-circuit the desired INPUT terminal. (When trigger contact is on, duration of short-circuit is approx. 1 second.)
3. Disconnect the INPUT terminal selected above. The signal input is actually changed after the disconnection has been
completed.
NOTES: • When more than two terminals are selected (short-circuited) from INPUT A through INPUT F, the signal input is not changed.
To control INPUT A through INPUT F, we recommend using the interlock switch, which turns off a switch when another switch is turned on.
• When trigger contact is on, and if several terminals are short-circuited simultaneously, proper control cannot be done. It is always
necessary to short-circuit one terminal for one operation. Also, use of the Tact Switch is recommended.
LCT1117-001B 02.2.12, 1:51 PM20