


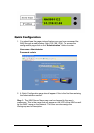
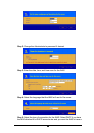

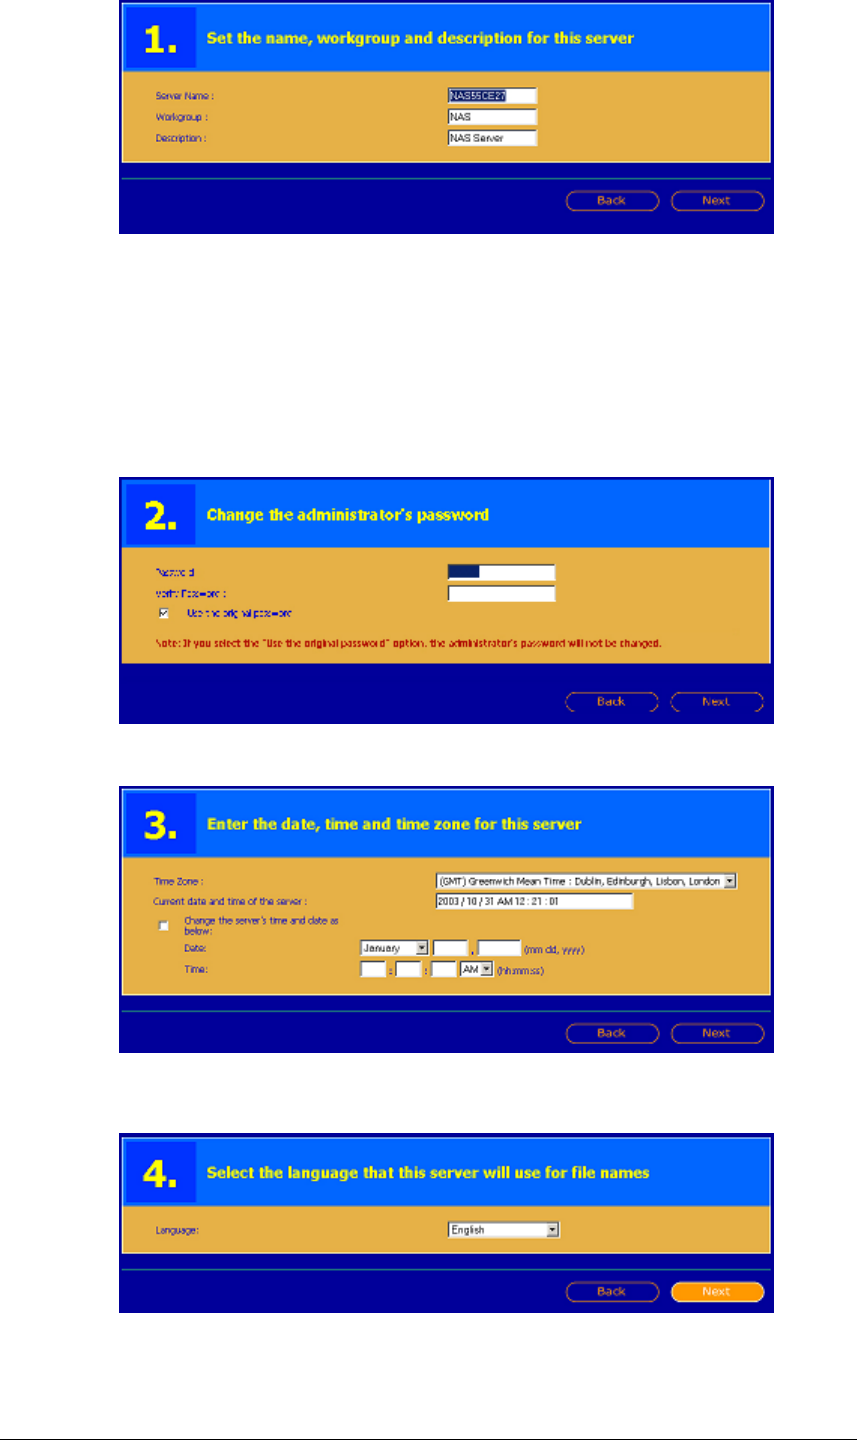
Step 2: Change the Administrator’s password if desired.
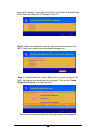
Step 3: Enter the date, time, and time zone for the iNAS
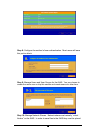
Step 4: Select the language that the iNAS will use for file names.
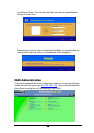
Step 5: Select the type of connection for the iNAS. Select DHCP if you have
the iNAS attached to a DHCP server/router and you want the iNAS to have a
11