


11
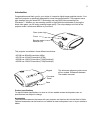
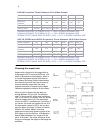
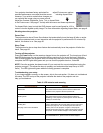
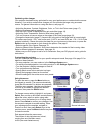
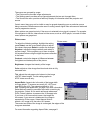
Computer connections
You can connect a computer’s VGA connector to the M1-DA/DVI input on the projector using an
M1-A cable.
RS-232 connections (HD178, HD290 and HD292 only)
You can control the projector from an LCD control panel or computer by connecting an RS-232
cable to the projector’s Serial control connector.
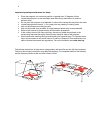
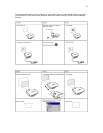
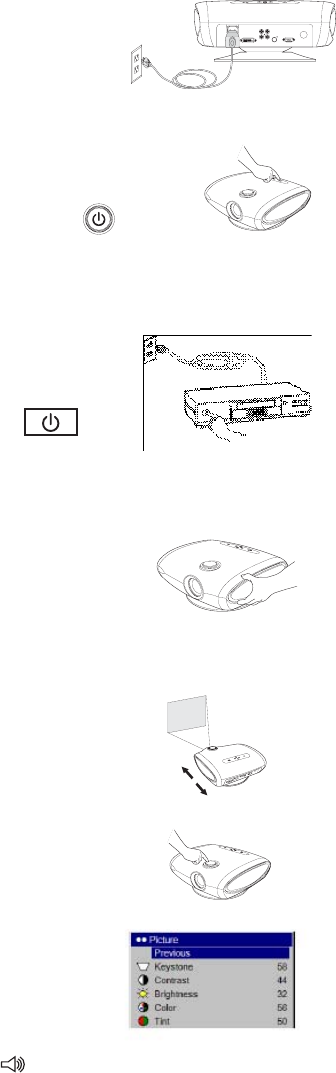
Displaying an image
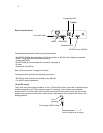
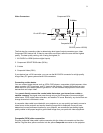
Connect the power cord to the Power connector plug in power cord
on the back plug in Power cord of the projector
and to your electrical outlet.
NOTE: Always use the power cord that shipped with the projector.
Press the Power button on the remote or keypad.
The LED flashes green and the fans start to run. press power button
When the lamp comes on, the start-up screen is displayed
and the LED is steady green. It can take a minute for the
image to achieve full brightness.
? No start up screen? Get help on page 13
Plug in, connect, and turn on your video device.
The video device’s image should appear on the turn on video device
projection screen. If it doesn’t, press the Source button
on the keypad until the image appears.
? No image? Try pressing the Auto Image button on the remote. Get help on
page 13.
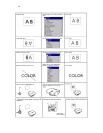
Adjusting the image
Adjust the height of the image by tilting the projector adjust height
up or down.
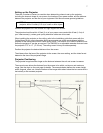
Position the projector the desired distance from the screen at a 90-degree angle to the screen.
See page 8 for a table listing screen sizes and distances adjust distance
to the screen.
Adjust the zoom and focus. adjust zoom (outer ring and focus
If the image is not square, adjust the keystone adjust keystone
using the Picture menu. See page 17 for details.
Adjust the volume on your stereo receiver. adjust volume