


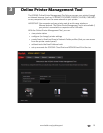
Networking Your Printer
18 www.kodak.com/go/aiosupport
Changing from USB to an Ethernet connection
Before you connect, you need:
• an Ethernet network that includes a router, switch, or hub with an Ethernet port.
• a Category 5 (or higher) Ethernet cable.
• to temporarily disable your firewall until the printer is successfully installed and
communicating.
To change from a USB connection to an Ethernet network connection:
1. Disconnect the USB cable from your printer and computer.
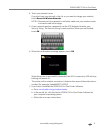
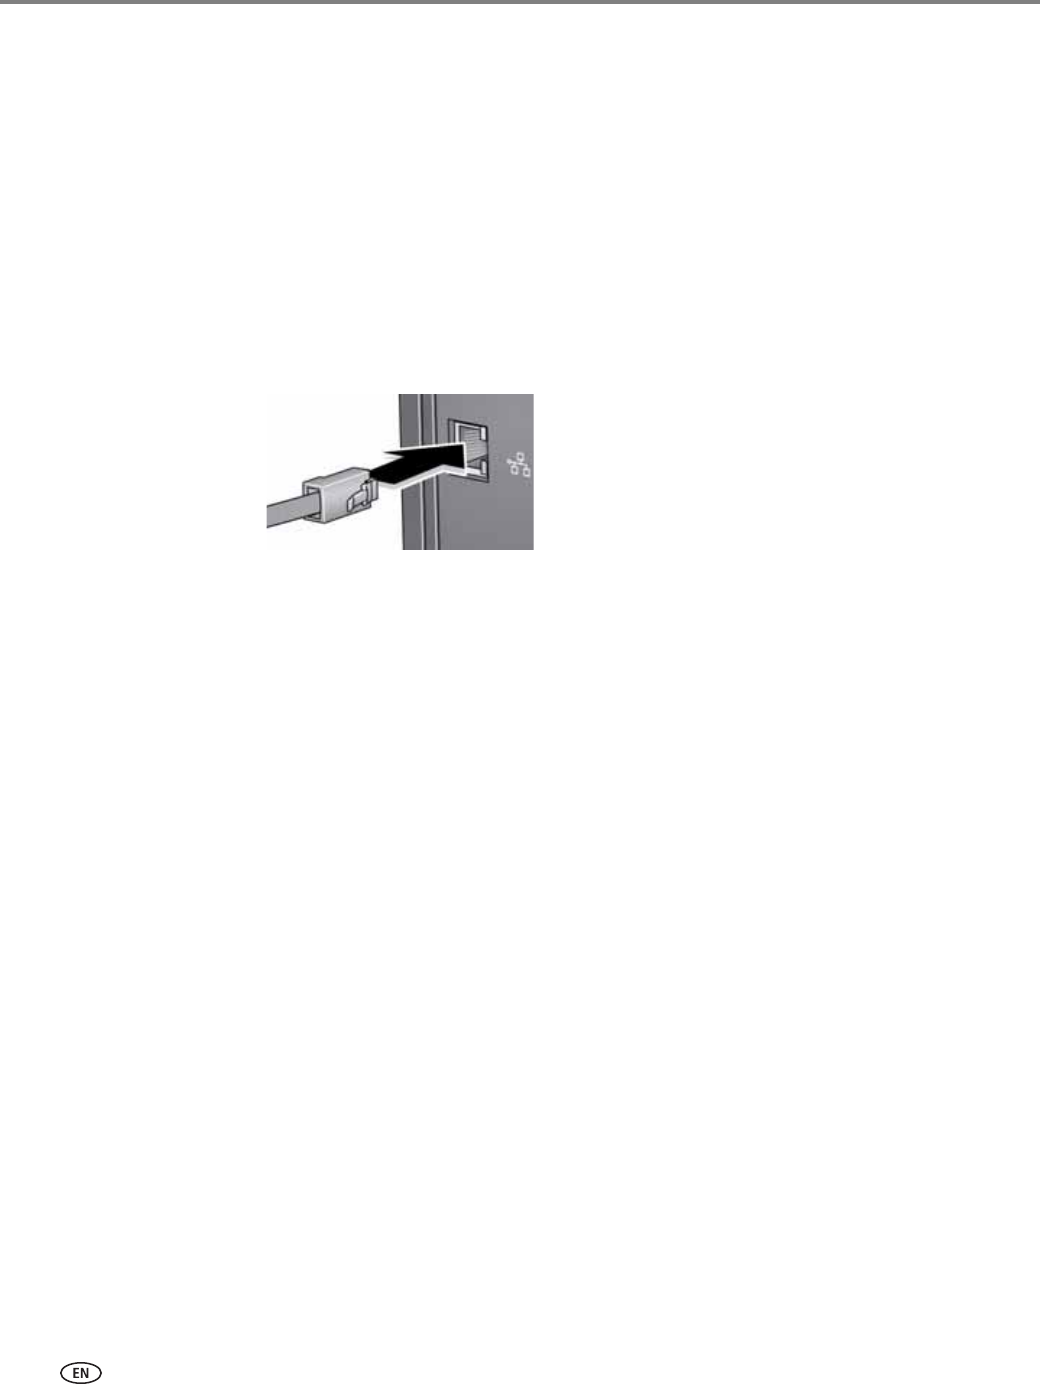
2. Connect the Ethernet cable to the Ethernet port on the back of the printer.
3. Connect the other end of the Ethernet cable to an available Ethernet port on
your router, switch, or hub.
If your printer is connected to a computer with WINDOWS OS:
1. Select Start > All Programs > Kodak > KODAK Printer Network Setup Utility.
2. Select
No, my printer is not listed, then click Next.
3. Select
HERO 7.1 from the printer drop-down list.
4. Select
Network - Ethernet cable, then click Next.
The Printer Setup Utility searches for your printer and connects automatically.
5. Click
Done.
If your printer is connected to a computer with MAC OS:
1. Select Apple > System Preferences.
2. Under Hardware, select
Print & Fax or Print & Scan.
3. Click
+ in the dialog box.
4. Select your printer from the list.
5. Click
Add, if required.