


Settings
4
4-12 bizhub C360/C280/C220 (Version 3)
4.2
d Reference
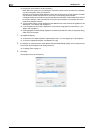
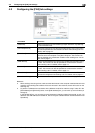
To enable the installed options, it is necessary to configure their settings in [Device Option]. For details, refer
to page 4-23.
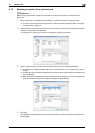
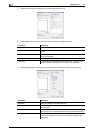
4.2.2 [FAX] tab
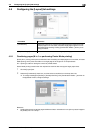
View Displays the sample page layout based on current settings for checking the
TX result image.
You can check the configured functions by the icons displayed on the low-
er part of the view.
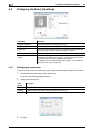
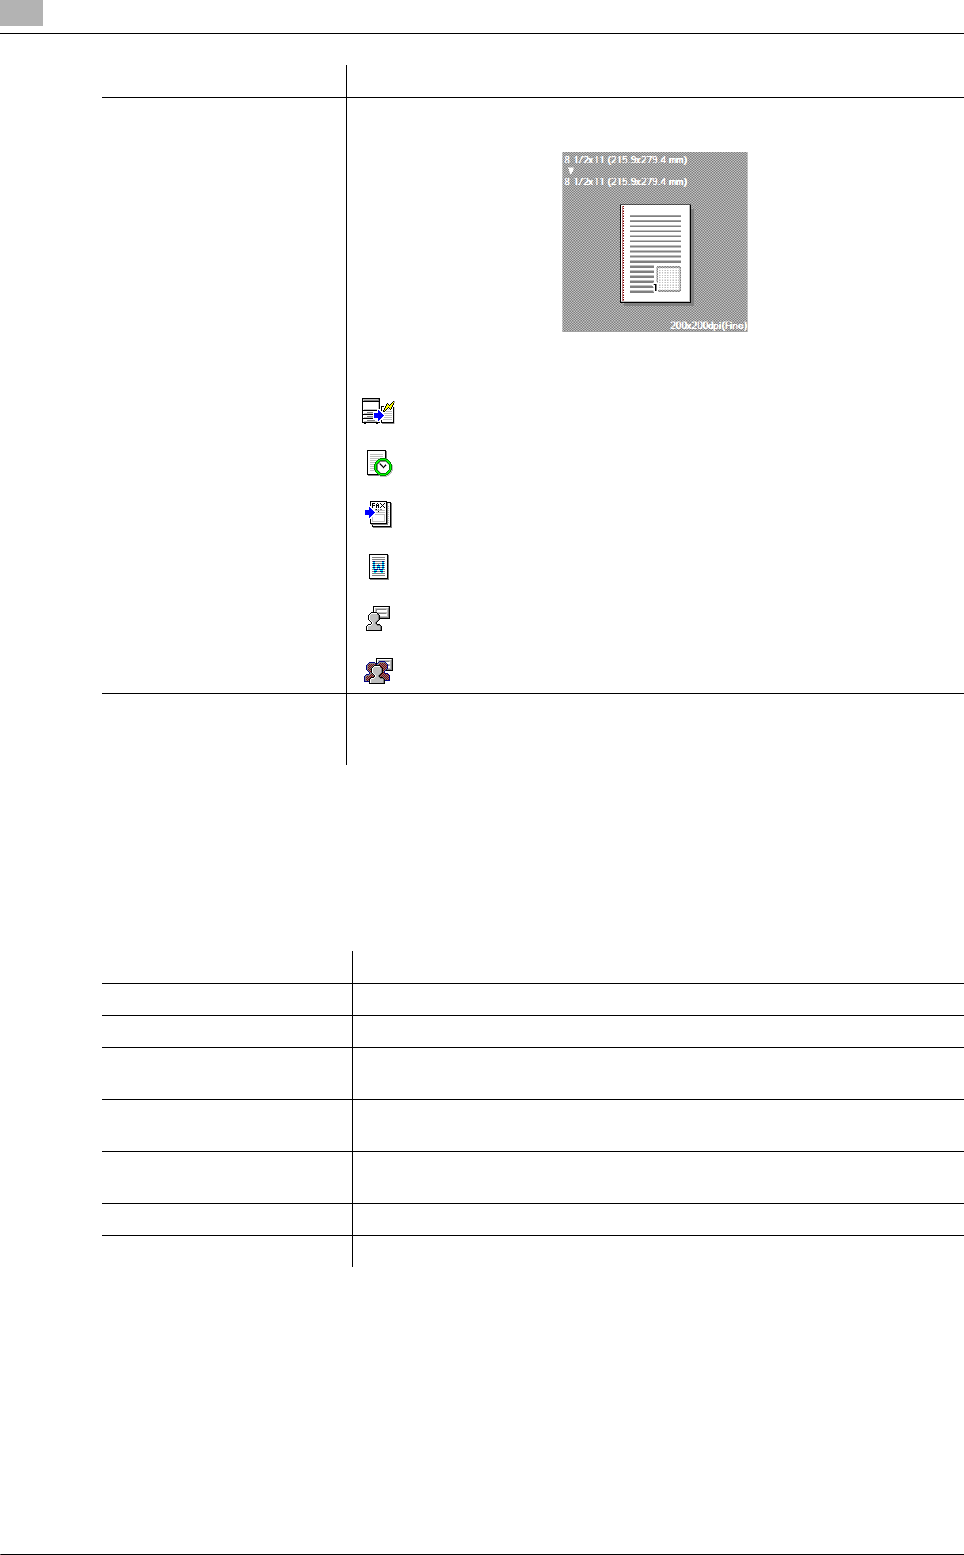
: Appears when [Print Recipient File] is selected, and is grayed out
when cleared.
: Appears when [Timer Send] is selected, and is grayed out when
cleared.
: Appears when [Cover Sheet] is selected, and is grayed out when
cleared.
: Appears when [Watermark] is selected, and is grayed out when
cleared.
: Appears when [User Authentication] is configured, and is grayed
out when not.
: Appears when [Account Track] is used, and is grayed out when not.
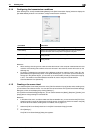
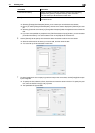
[Printer Information] Click this button to start Web Connection and check the printer informa-
tion. This button is enabled only when your computer can communicate
with this machine.
Button Name Functions
Item Name Functions
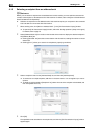
[Resolution] Select a resolution for the fax.
[Print Recipient File] Select this check box to print the original after sending a fax.
[Timer Send] Specify the sending time. Click [Reflect Current Time] to display the cur-
rent time set on the computer in the [Send Time] box.
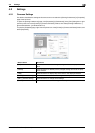
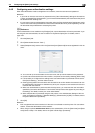
[SUB Address] Specify the SUB address when performing confidential transmission using
F code.
[Sender ID] Specify the sender ID when performing confidential communication using
F code.
[Cover Sheet] Select this check box to configure the cover sheet for the fax.
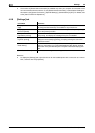
[Phone Book Entry...] Click this button to edit phone books.