LaCie Slim DVD±RW • Design by sam HecHt Getting Connected
User Manual page 11
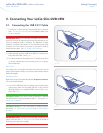
2.1. Connecting the USB 2.0 Y Cable
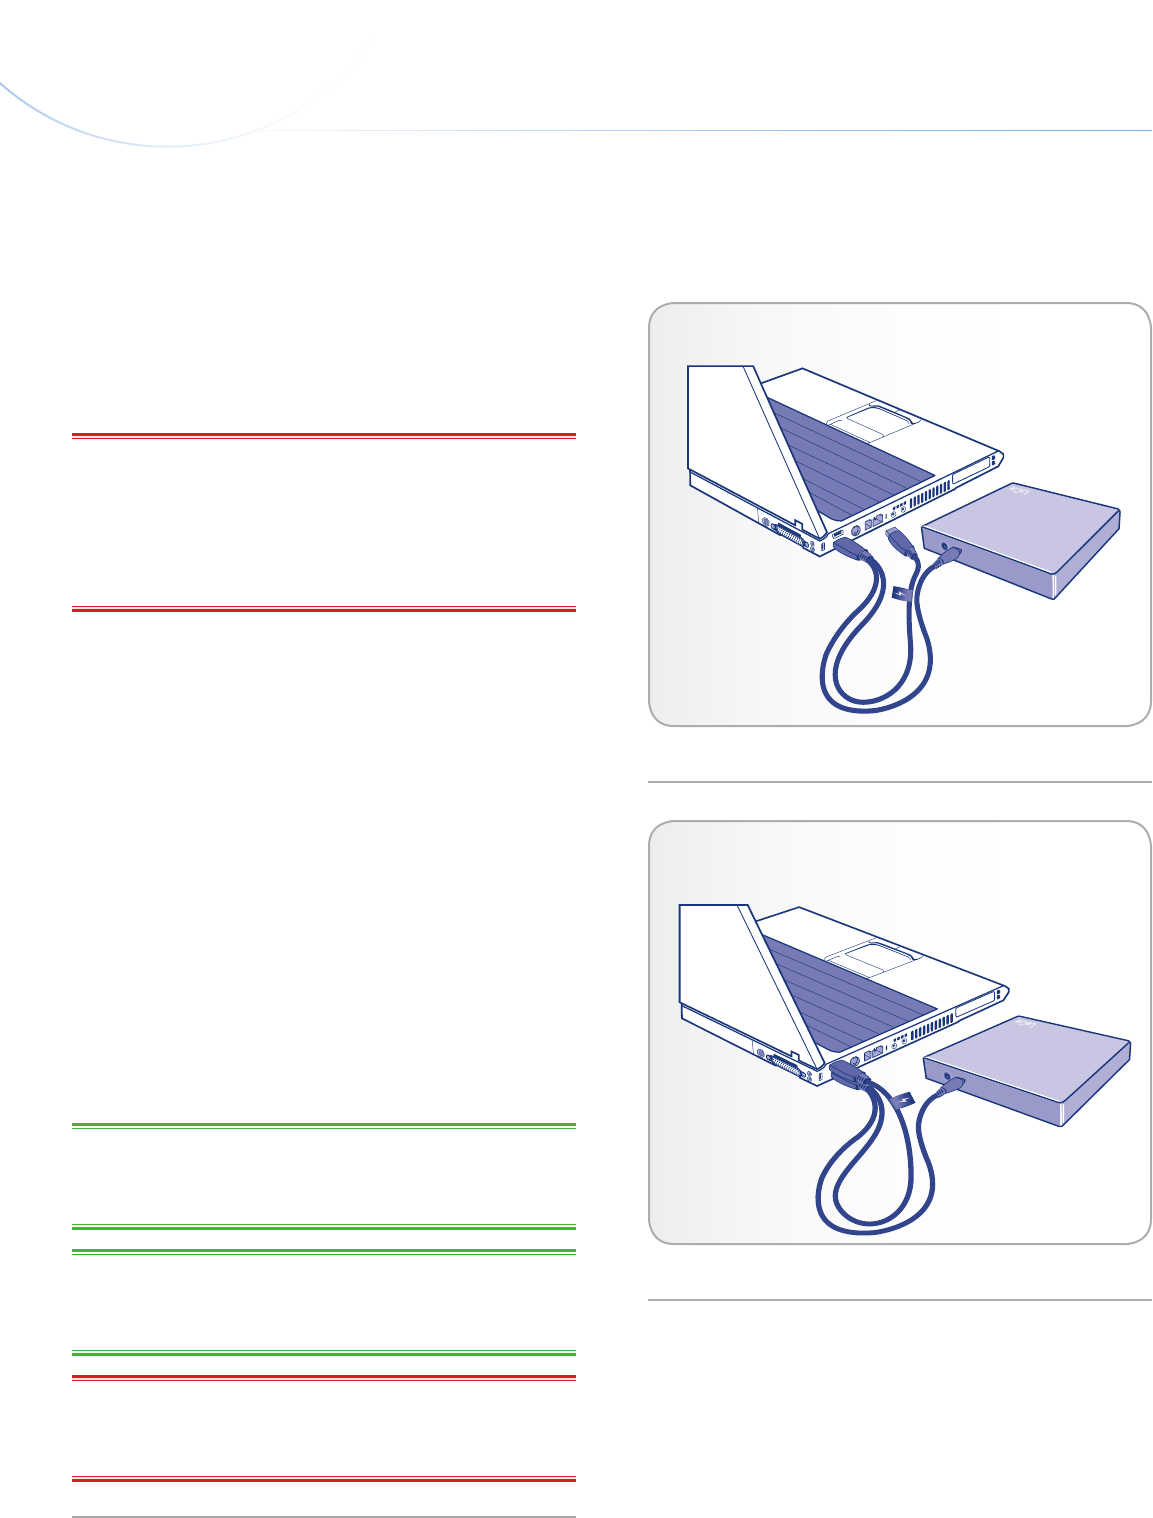
1. Connect the Y cable’s primary Hi-Speed USB 2.0 A connector
(see 1.4. Cables and Connections) to an available USB 2.0 port
on your computer.
IMPORTANT INFO: The Y cable has two USB 2.0 connectors: the
primary A connector for signal and power and the secondary A con-
nector for additional power, if necessary. The difference is clearly
marked by a lightning bolt sticker on the secondary (power only)
connector. You must connect the primary A connector in order to
send and receive data. See 1.4. Cables and Connections.
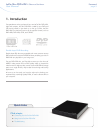
2. Attach the other end (mini-USB) of the USB 2.0 Y cable to your
LaCie Slim DVD±RW. See Fig. 06
3. Your drive should now be ready for use. To verify that your drive
is correctly installed and communicating with your computer,
follow these steps:
Mac Users
In the Apple menu, choose About This Mac, then More Info. This will
open the Apple System Profiler. Your drive should be listed under the
Hardware category.
Windows Users
Right click your My Computer folder and select Properties>General.
Your drive should be listed.
4. If your Slim DVD±RW does not appear to be receiving ade-
quate power, attach the secondary USB 2.0 A plug (with the
lightning sticker) to an available USB 2.0 port on your com-
puter. See Fig. 07
TECHNICAL NOTE: Your drive must be connected to a USB 2.0
port. Performance is not guaranteed with USB 1.1. See section 1.4.
Cables and Connections.
TECHNICAL NOTE: For more information on USB connections,
see sections 1.4. Cables and Connections and 4.5. USB Questions
& Answers.
IMPORTANT INFO: The LaCie Slim DVD±RW includes a power
supply connection (see 1.3. Views of the Drive) that will accept an
external power supply (not included).
2. Connecting Your LaCie Slim DVD±RW
Fig. 06
Fig. 07


