


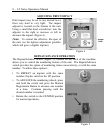

6 - LT Series Operations Manual
SETTING THE TYPE WHEELS
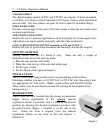
As noted in the earlier sections LT SERIES MODELS and OPTIONAL
FEATURES, the LT Series Models are available with a variety of date, time,
and number wheels. You may set the applicable type wheels according to the
following directions.
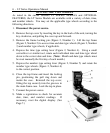
1. Disconnect the power source.
2. Remove the top cover by inserting the key in the back of the unit, turning the
key clockwise, and pulling the cover up and forward.
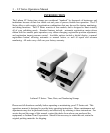
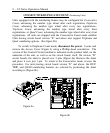
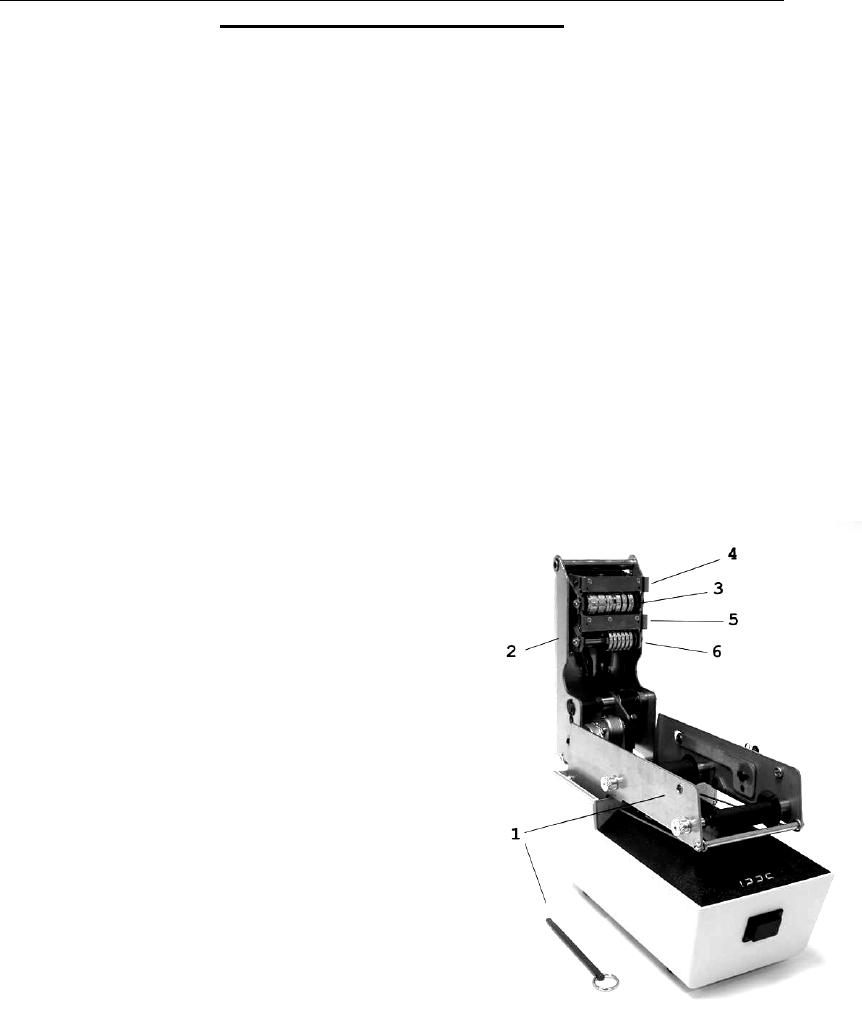
3. Remove the frame locking pin (Figure 2, Number 1). Lift the top frame
(Figure 2, Number 2) to access time and date type wheels (Figure 2, Number
3) and number type wheels, if applicable.
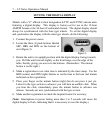
4. Depress the time type setting lever (Figure 2, Number 4). Using a small
screwdriver or similar tool, rotate each individual date and time type wheel
down to the correct date and time. (Note: Month and date type wheels must
be reset manually the first day of each month.)
5. Depress the number type setting lever (Figure 2, Number 5) and rotate the
number type wheels (Figure 2, Number 6)
to the correct position.
6. Close the top frame and insert the locking
pin, positioning the pull ring down and
inside the case. Reinstall the top cover,
fitting the top securely into the grooves in
the main frame case. Lock the top in place.
7. Connect the power source.
8. Make a registration to check for accurate
date, time, and number readings. If
necessary, reset the digital display. (See
Page 7.)
Figure 2