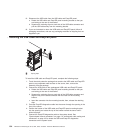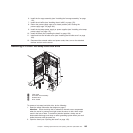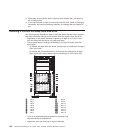
v Make sure that the drive is correctly installed in the drive bay.
v See the documentation for the ServeRAID controller for instructions for installing
a hard disk drive.
v All hot-swap drives in the server must have the same throughput speed rating;
using drives with different speed ratings might cause all drives to operate at the
throughput of the slowest drive.
v You do not have to turn off the server to install hot-swap drives in the hot-swap
drive bays. However, you must turn off the server when you perform any steps
that involve installing or removing cables.
v The drive ID for each hot-swap hard disk drive is printed above the drive bay.
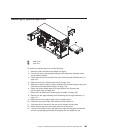
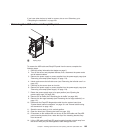
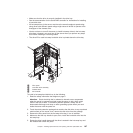
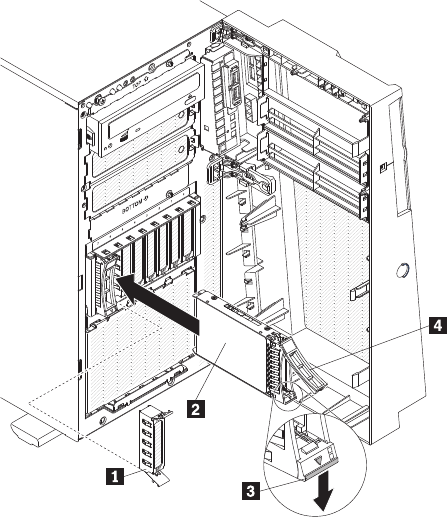
1 Filler panel
2 Hard disk drive assembly
3 Release latch
4 Drive handle
To install a hot-swap hard disk drive, do the following:
1. Read the safety information that begins on page 5.
Attention: Static electricity that is released to internal server components
when the server is powered on might cause the server to halt, which might
result in the loss of data. To avoid this potential problem, always use an
electrostatic-discharge wrist strap or other grounding system when you work
inside the server with the power on.
2. Touch the static-protective package that contains the disk drive to any unpainted
metal surface on the server; then, remove the disk drive from the package.
3. Remove the filler panel from the hot-swap drive bay, if one is installed.
4. Make sure that the tray handle is open; then, install the hard disk drive into the
hot-swap bay.
5. Rotate the drive handle down until the drive is seated in the hot-swap bay and
the release latch clicks into place.
Chapter 7. Installing optional devices and replacing customer replaceable units 197


