2. Remove the server cover. See “Removing the server cover” on page 19.
3. Remove the heat sink assembly. See “Removing the heat sink assembly” on page 52.
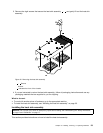
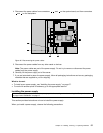
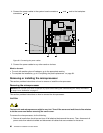
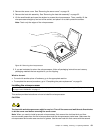
4. Lift the small handle and open the retainer to access the microprocessor. Then, carefully lift the
microprocessor straight up and out of the socket, and place it on a static-protective surface.
Note: Touch only the edges of the microprocessor.
Figure 49. Removing the microprocessor
5. If you are instructed to return the microprocessor, follow all packaging instructions and use any
packaging materials that are supplied to you for shipping.
What to do next:
• To work with another piece of hardware, go to the appropriate section.
• To complete the removal procedure, go to “Completing the parts replacement” on page 64.
Installing the microprocessor
Attention: Do not open your server or attempt any repair before reading and understanding the “Safety information”
on page iii
and “Guidelines” on page 17.
This section provides instructions on how to install the microprocessor.
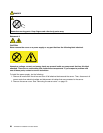
CAUTION:
The heat sink and microprocessor might be very hot. Turn off the server and wait three to ve minutes
to let the server cool before removing the server cover.
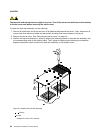
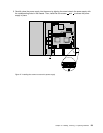
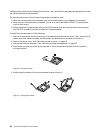
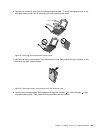
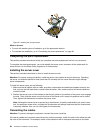
Note: When you need to install a second microprocessor, rst remove the dual heat sink and then
remove excess grease from the rst microprocessor and the microprocessor socket area. Make sure the
microprocessor and socket area are clean of grease. Use the new heat sink that comes with the second
Chapter 5. Installing, removing, or replacing hardware 61


