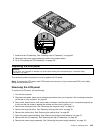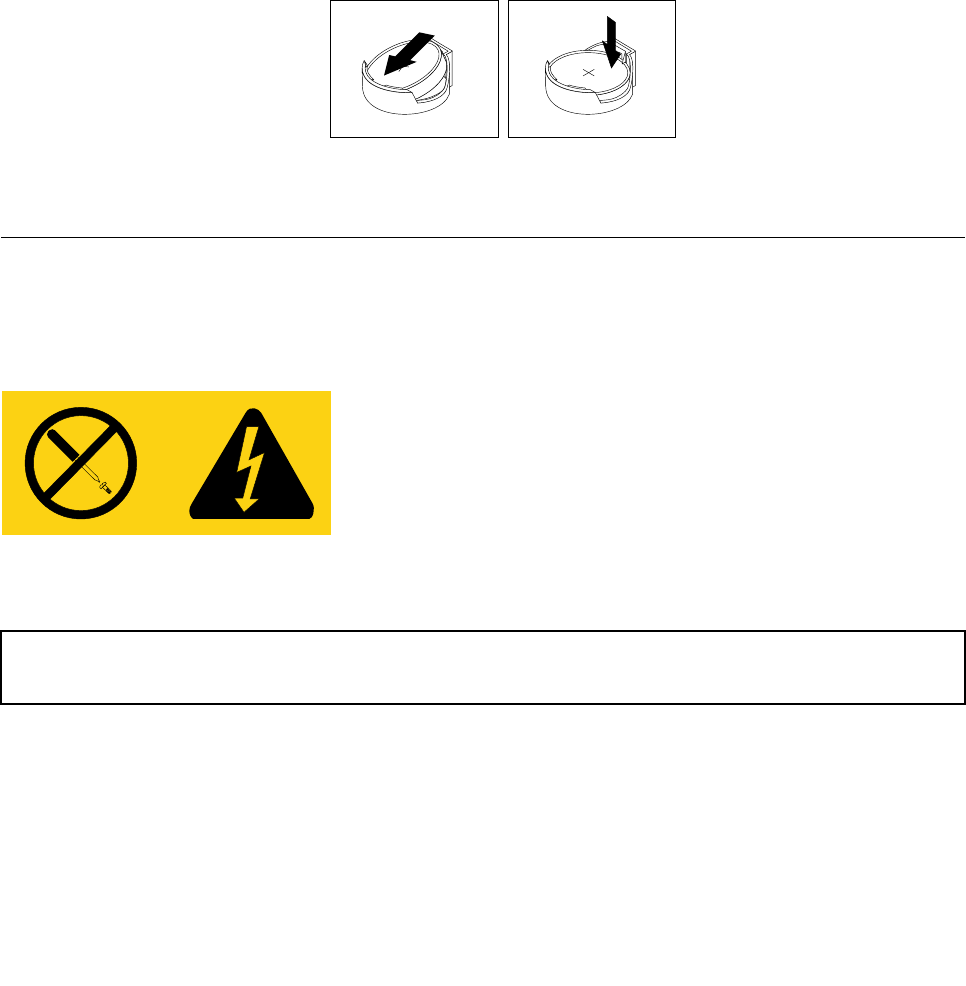
Installing a battery
To install a battery, do the following:
1. Turn off the computer.
2. Disconnect all cables, power cords, and external options from your computer. See “Locating connectors
on the rear of your computer” on page 68.
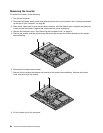
3. Place a soft, clean towel or cloth on the desk or surface. Hold the sides of your computer and gently lay
it down so that the screen is against the surface and the cover is facing up.
4. Remove the computer cover. See “Removing the computer cover” on page 74.
5. Open the system board shielding. See “Opening the system board shielding” on page 75.
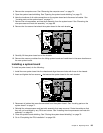
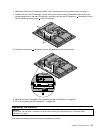
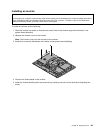
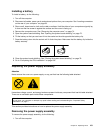
6. Tilt the battery so that you can insert it into the socket on the side opposite the battery clip.
7. Press the battery down into the socket until it clicks into place. Make sure that the battery clip holds the
battery securely.
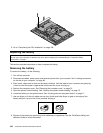
8. Close the system board shielding. See “Closing the system board shielding” on page 76.
9. Go to “Completing the FRU installation” on page 109.
Replacing the power supply assembly
Attention
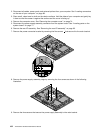
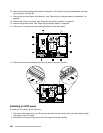
Never remove the cover on a power supply or any part that has the following label attached.
Hazardous voltage, current, and energy levels are present inside any component that has this label attached.
There are no servicable parts inside these components.
Attention:
Do not open your computer or attempt any repair before reading and understanding the “Important Safety
Information” on page 1.
This section provides instructions on how to replace the power supply assembly.
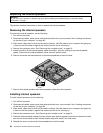
Removing the power supply assembly
To remove the power supply assembly, do the following:
1. Turn off the computer.
Chapter 9. Replacing FRUs 101


