


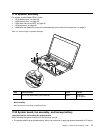
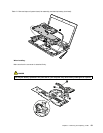
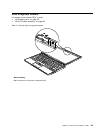
1140 CRT board assembly (with cable)
For access, remove these FRUs in order:
• “1010 Battery pack” on page 59
• “1020 Bottom door” on page 60
• “1030 Hard disk drive (HDD)” on page 62
• “1070 Keyboard” on page 68
• “1080 Palm rest assembly, power-on board assembly (with cable), and microphone” on page 71
• “1120 System board, fan assembly, and backup battery” on page 77
• “1130 LCD unit” on page 83
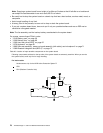
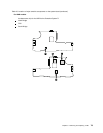
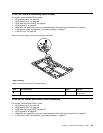
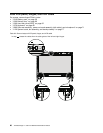
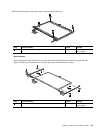
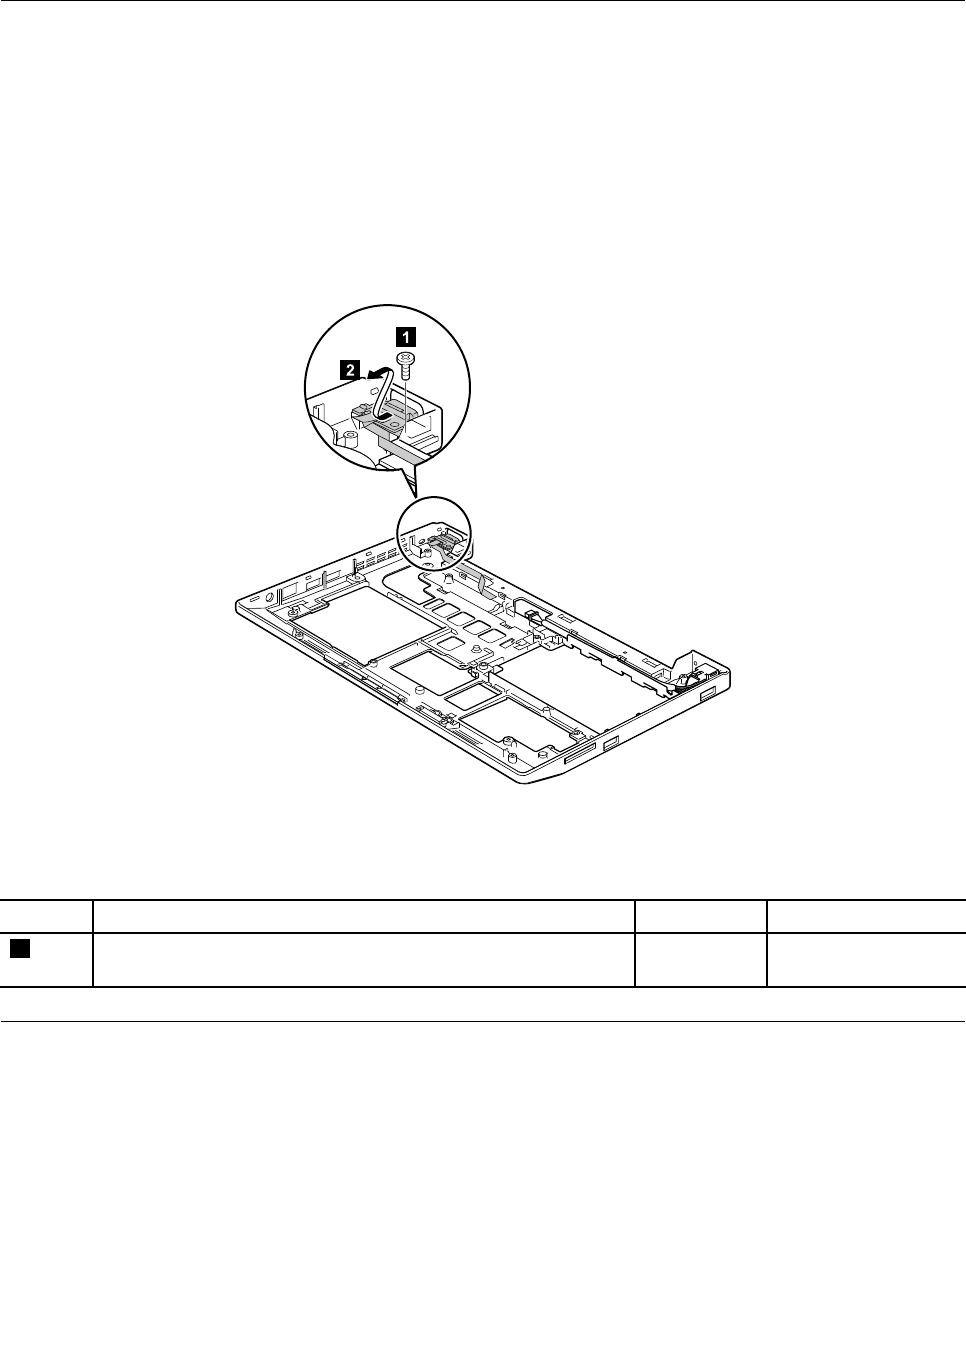
Table 24. Removal steps of CRT board assembly (with cable)
1
2
When installing:
Make sure that the connectors are attached rmly.
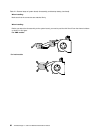
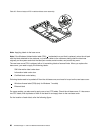
Step Screw (quantity) Color
Torque
1
M2 × 4 mm, wafer-head, nylon-coated (1) Silver
0.181 Nm
(1.85 kgfcm)
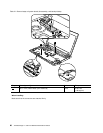
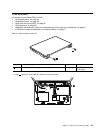
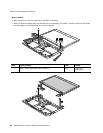
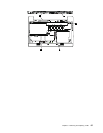
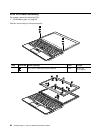
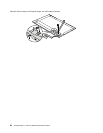
1150 DC-in cable and base cover assembly
For access, remove these FRUs in order:
• “1010 Battery pack” on page 59
• “1020 Bottom door” on page 60
• “1030 Hard disk drive (HDD)” on page 62
• “1070 Keyboard” on page 68
• “1080 Palm rest assembly, power-on board assembly (with cable), and microphone” on page 71
• “1120 System board, fan assembly, and backup battery” on page 77
Chapter 8. Removing and replacing a FRU 85