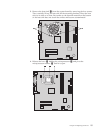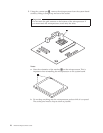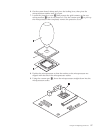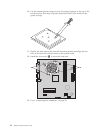
Replacing the microprocessor
Attention:
Do not remove the computer cover or attempt any repair before reading the “Important
safety information” in the Quick Reference that was included with your computer or in the
Hardware Maintenance Manual (HMM) for the computer. To obtain copies of the Quick
Reference or HMM, go to the Support Web site at http://www.lenovo.com/think/support.
Important
Turn off your computer for at least one hour before removing the
microprocessor to allow the thermal interface between the microprocessor and
the heat sink time to cool down.
Important
Do not touch the gold contacts on the bottom of the microprocessor. Use the
vacuum pen provided to remove and install the microprocessor. If you must
touch the microprocessor, touch only the sides.
Important
A grease syringe is required to complete the new microprocessor installation.
Make sure the grease syringe is available before beginning the procedure.
Trained service personnel should refer to the HMM for parts ordering
information.
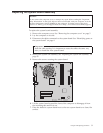
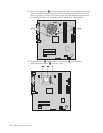
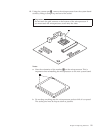
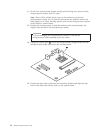
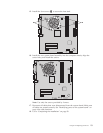
To replace the microprocessor:
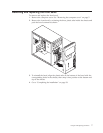
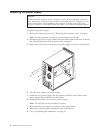
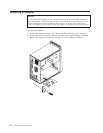
1. Remove the computer cover. See “Removing the computer cover” on page 5.
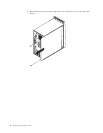
2. Lay the computer on its side.
14 Hardware Replacement Guide


