Function
30
1. Press the AUTO button of the remote controller.
●
Image positioning and synchronization are automatically adjusted.
2. If any more manual adjustment is needed according to the various PC
mode inputs even after the auto-correction, execute Phase, Clock,
Horizontal
and Vertical function in menu. In certain circumstances,
you can’t get the best picture quality by only using auto-correction.
Auto configure Function
* This function assures you of getting the best video quality by automatically adjusting the horizontal size and synchronization
of the image.
* Auto Tracking function works in RGB PC input only.
Auto configure
You can also use this function by using the MENU button. (Only in RGB mode)
For best results, perform this function while displaying a still image.
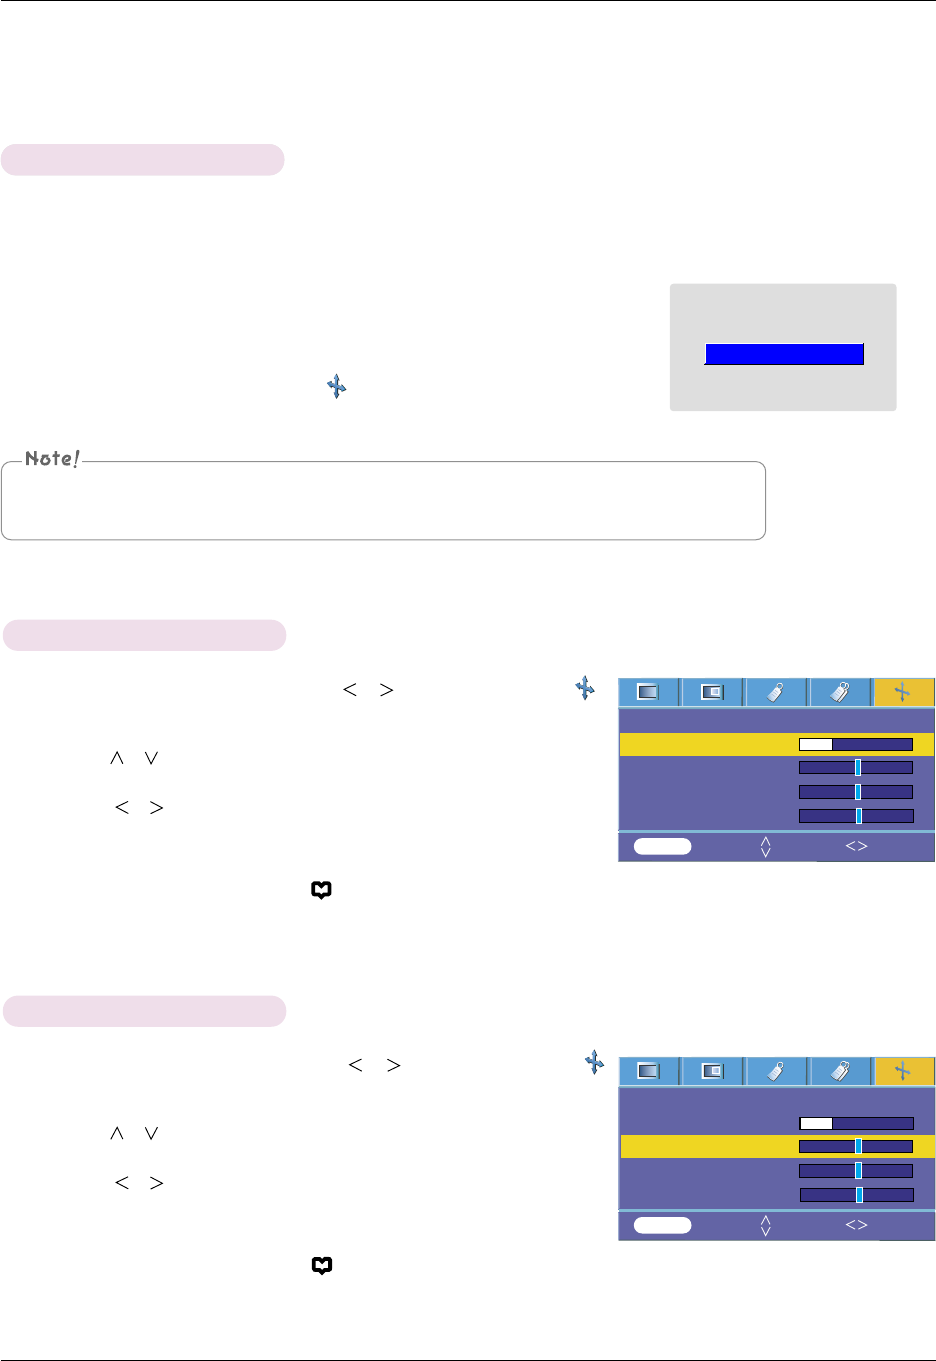
Screen Menu Options
1. Press the MENU button and then use , button to select the
menu.
2. Press the
, button to select
Phase item.
3. Press the
, button to make desired adjustments.
●
Phase adjustment range is 0 ~ 31.
●
The variable range can be different depends on input resolutions.
●
You can use this function through the button on the control panel.
●
Press the MENU button twice or the RETURN button to exit the menu
screen.
1. Press the MENU button and then use , button to select the
menu.
2. Press the
, button to select Clock item.
3. Press the
, button to make desired adjustments.
●
Clock adjustment range is -20 ~ 20.
●
The variable range can be different depends on input resolutions.
●
You can use this function through the button on the control panel.
●
Press the MENU button twice or the RETURN button to exit the menu
screen.
Using Clock Function
Using Phase Function
Auto Configure
Phase 8
Clock 0
Horizontal 0
Vertical 0
Auto Configure
Phase 8
Clock 0
Horizontal 0
Vertical 0
MENU Store Move Adjust
MENU Store Move Adjust


