


English Manual
4
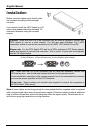
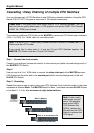
Installation
Before you start please verify that all parts
are included according to the package
contents.
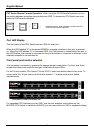
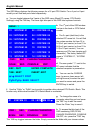
If you want to install the CPU Switch in a 19”
server rack please attach the enclosed 19”
rackmount brackets using the included
screws.
Note: If some cables are not long enough we recommend that the complete cable is replaced
with a longer length rather than using extension cables. Extension cables introduce additional
plug to socket connections, which can adversely affect the signal quality. Please bear this in
mind when using high resolutions or long distances.
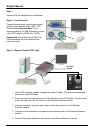
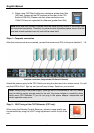
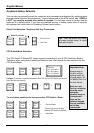
P-Series - Apart from the PCs to be connected you will need a keyboard, monitor and
PS/2 mouse to use as a local console. You will also need standard 3-in-1 KVM
connection cables to connect the computers to the LINDY CPU Switch P4 and P8.
Please note: For the CPU Switch P16 and for all CPU switches of PXT-Series special
cables are required to connect the computers. This is so the 16 ports can be integrated
into the 1U height design.
PXT - Apart from the PCs to be connected you will need two keyboard, monitor and
PS/2 mouse sets – one for the local console and one for the remote console.
A local workstation computer at the remote extender has to be connected and powered
up to ensure proper operation of the CAT5 Extender.
Please note: Special cables (not included) are required to connect the computers to
the CPU Switch. (See above)
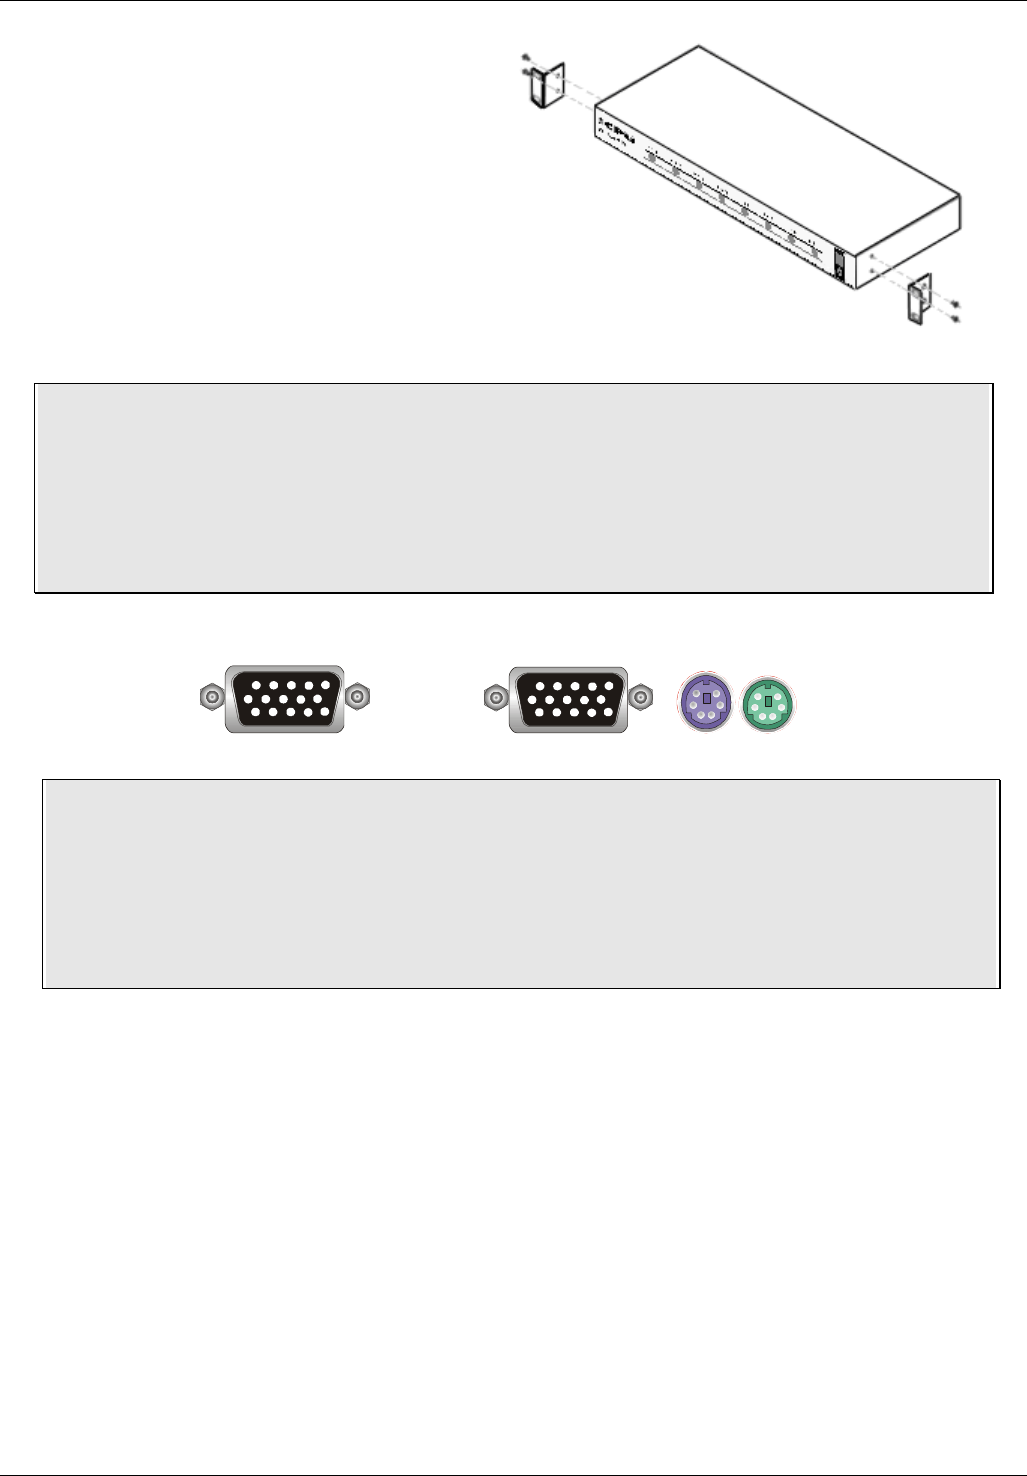
15 Way HD Male to 15 Way HD Male and 6 Pin Mini DIN Male special cables
→