


22
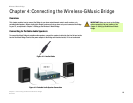
Chapter 5: Using the Wireless-G Music Bridge Utility
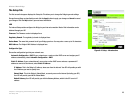
Accessing the Wireless-G Music Bridge Utility
Wireless-G Music Bridge
Chapter 5: Using the Wireless-G Music Bridge Utility
This chapter explains the use of the Utility. There are three available tabs: Status, Equalizer, and Information. The
tabs are explained in the sections, below.
Accessing the Wireless-G Music Bridge Utility
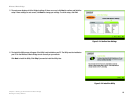
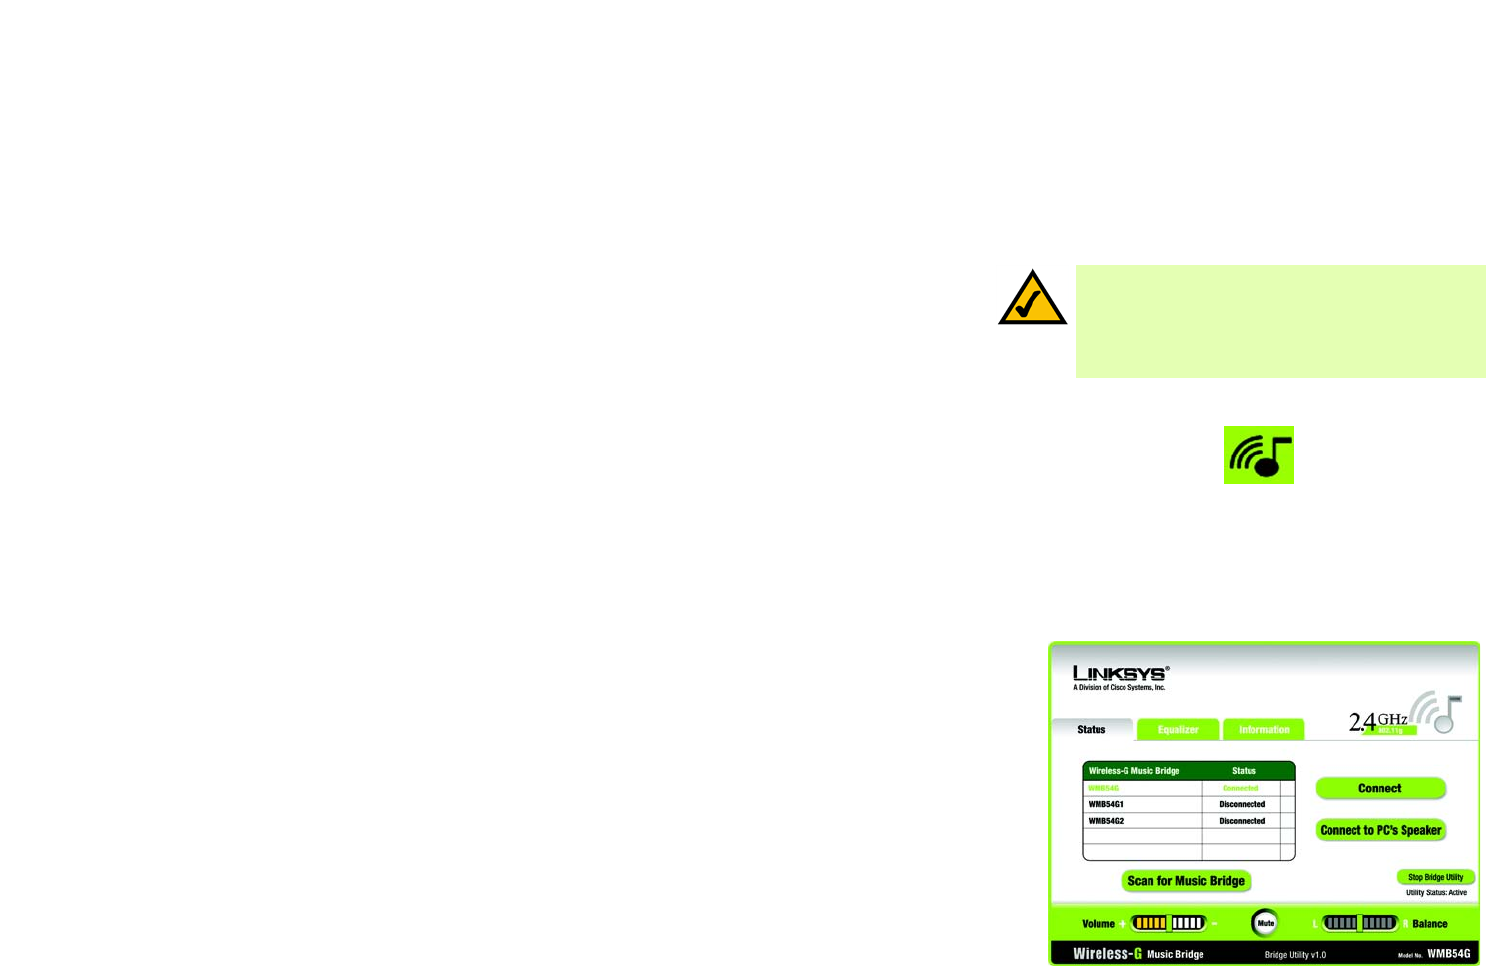
After setting up and connecting the Bridge, the Wireless-G Music Bridge Utility icon will appear in your PC’s
system tray. If the Wireless-G Music Bridge Utility is enabled, then the icon will be green. If the
Wireless-G Music Bridge Utility is disabled or the Adapter is not connected, then the icon will be gray.
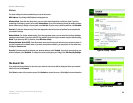
All Tabs
From all tabs, you can adjust your speaker’s volume and balance by moving the Volume bar from left to right. You
can click the Mute button to turn off the sound.
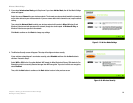
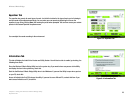
Status Tab
The opening screen of the Wireless-G Music Bridge Utility is the Status screen. From this screen, you can connect
to the Bridge and listen to music through your media speakers or switch back to your PC’s speaker.
To connect to your media speakers through your Music Bridge, select it from the Wireless-G Music Bridge list and
click Connect. If your Music Bridge isn’t displayed, click the Scan for Music Bridge button.
To switch from your home entertainment center speakers to your PC’s speakers, click the Connect to PC’s
Speaker button.
To switch from the Wireless-G Music Bridge Utility’s sound driver to your PC’s sound card driver, which allows you
to use the PC’s sound card driver’s advanced features, such as the Windows Volume Control’s Microphone
Volume Control, click the Stop Bridge Utility button. To switch back to the Wireless-G Music Bridge Utility, click
the Start Bridge Utility button.
Figure 5-1: Utility Icon
Figure 5-2: Status Tab
NOTE: The Wireless-G Muic Bridge Utility should
only be accessed AFTER connecting the Bridge. For
more information on Setting Up and Connecting the
Bridge, refer to Chapter 3: Setting Up and Connecting
the Bridge.