


10
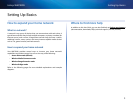
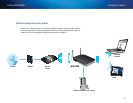
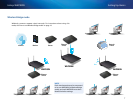
Setting Up: Basics
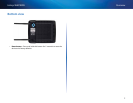
Linksys WAP300N
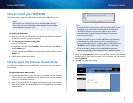
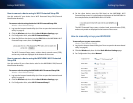
How to connect a device using its Wi-Fi Protected Setup PIN
Use this method if your device has a Wi-Fi Protected Setup PIN (Personal
Identification Number).
To connect a device using the device’s Wi-Fi Protected Setup PIN:
Wireless > Basic Wireless Settings
1.
Log into the browser-based utility (see “How to open the browser-based
utility” on page8).
2.
Click the Wireless tab, then click the Basic Wireless Settings page.
3.
For Configuration View, select Wi-Fi Protected Setup™.
4.
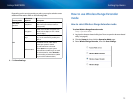
Enter the PIN from the device into the PIN field on the WAP300N’s Wi-Fi
Protected Setup screen, then click Register.
The Wi-Fi Protected Setup status, wireless band, network name (SSID),
and security mode are displayed at the bottom of the screen.
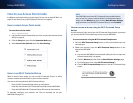
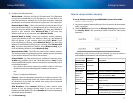
How to connect a device using the WAP300N’s Wi-Fi Protected
Setup PIN
Use this method if your client device asks for the WAP300N’s PIN (Personal
Identification Number).
To connect a device using the WAP300N’s Wi-Fi Protected Setup PIN:
Wireless > Basic Wireless Settings
1.
Log into the browser-based utility (see “How to open the browser-based
utility” on page8).
2.
Click the Wireless tab, then click the Basic Wireless Settings page.
3.
For Configuration View, select Wi-Fi Protected Setup™.
4.
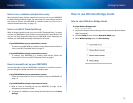
On the client device, enter the PIN listed on the WAP300N’s Wi-Fi
Protected Setup screen. It is also listed on the bottom of the WAP300N. In
the example below, the WAP300N’s PIN is 32744781.
The Wi-Fi Protected Setup status, wireless band, network name (SSID),
and security mode are displayed at the bottom of the screen.
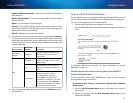
How to manually set up your WAP300N
To manually set up your access point:
Wireless > Basic Wireless Settings
1.
Log into the browser-based utility (see “How to open the browser-based
utility” on page8).
2.
Click the Wireless tab, then click the Basic Wireless Settings page.
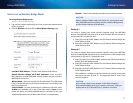
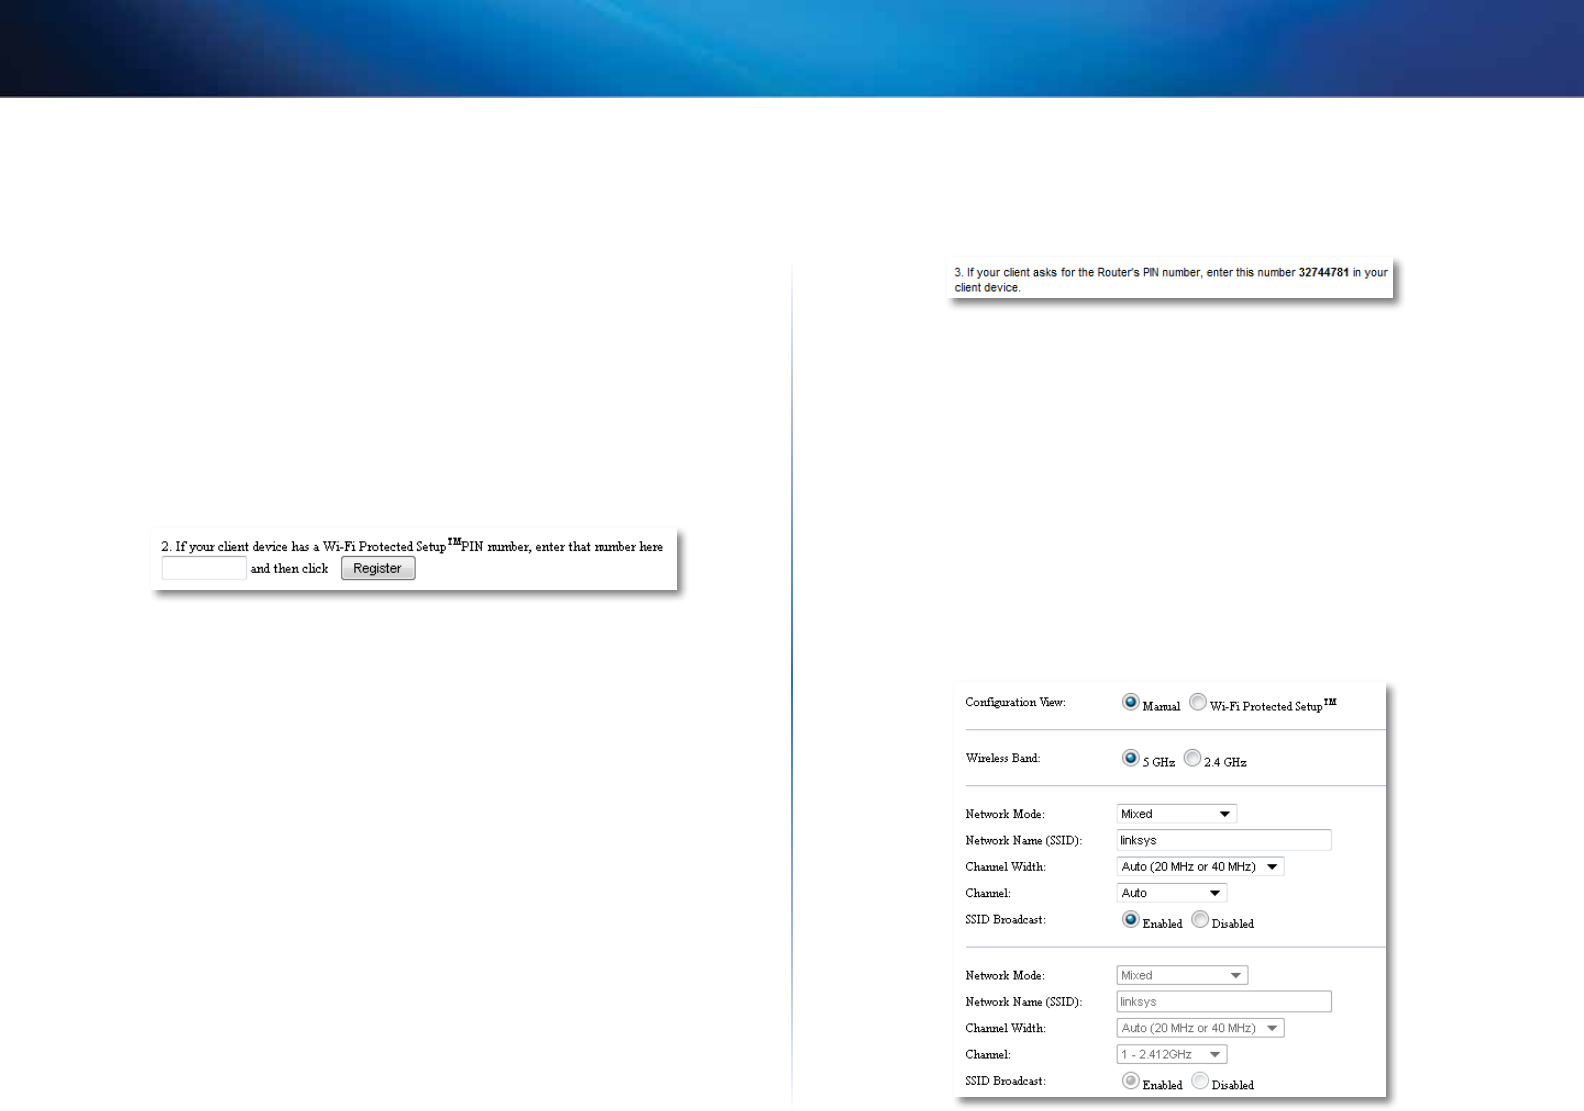
3.
For Configuration View, select Manual.