


EN-13
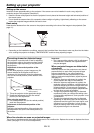
2
1
2
1
Viewing computer images
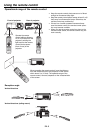
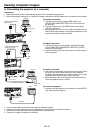
A. Connecting the projector to a computer
Preparation:
• Make sure that the power of the projector and that of the computer are turned off.
• When connecting the projector to a desktop computer, disconnect the RGB cable that is connected to the monitor.
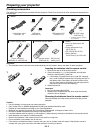
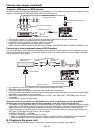
For analog connection:
1. Connect one end of the supplied RGB cable to the
COMPUTER/COMPONENT VIDEO IN-1/IN-2 terminal of
the projector.
2. Connect the other end of the RGB cable to the monitor
port of the computer.
• Additional devices, such as a conversion connector and an
analog RGB output adapter, are required depending on the
type of the computer to be connected.
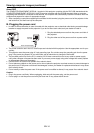
For monitor connection:
1. Connect the RGB cable from the monitor to the MONITOR
OUT terminal of the projector.
COMPUTER/COMPONENT
VIDEO IN-1/IN-2
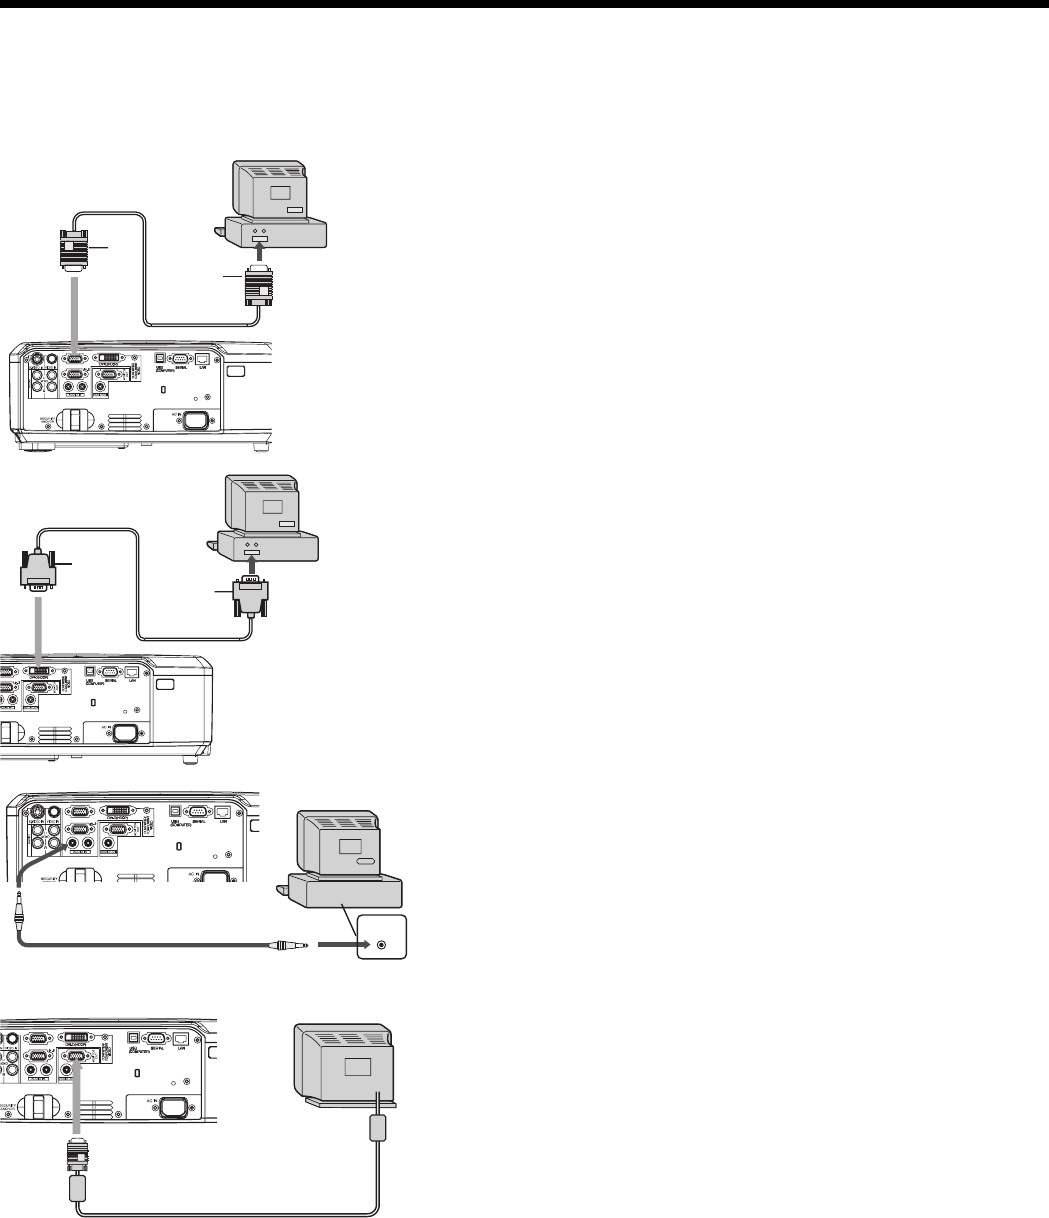
COMPUTER/COMPONENT
VIDEO DVI-D (HDCP)
To monitor port
RGB cable
DVI cable
(option)
To DVI
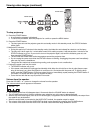
AUDIO OUT
AUDIO IN-1/IN-2
Computer
PC audio cable (option)
To PC audio
output
MONITOR OUT
Monitor
• Use of a long cable may decrease the quality of projected images.
• Images may not be projected correctly, depending on the type of the connected computer.
• Also read the instruction manual of the equipment to be connected.
• Contact your dealer for details of connection.
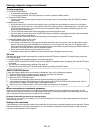
For digital connection:
1. Connect one end of a commercially available DVI cable
to the COMPUTER/COMPONENT VIDEO DVI-D (HDCP)
terminal of the projector.
2. Connect the other end of the DVI cable to the DVI terminal
of the computer.
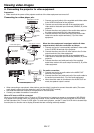
For audio connection:
• This projector uses stereo pin jack for its audio input. Check
the type of the audio output terminal of the connected
computer and prepare a proper cable for connection. Some
computers don’t have the audio output terminal.
• When the audio cable is connected to the AUDIO OUT ter-
minal, the speaker output is muted.
Computer
Computer
RGB cable