EN-23
Available settings in the menus
Set the following items on their relevant menus.
1. IMAGE menu
ITEM SETTING FUNCTION
COLOR ENHANCER AUTO Select to optimize the settings
automatically depending on the
input signal. (Select this option for
normal use.)
PRESENTATION Select to make the displayed
image look bright and crisp.
STANDARD Select to make the displayed
image look natural.
THEATER This option, suitable for viewing
movies, makes the displayed
image look soft and smooth.
sRGB Select to give priority to the color
reproducibility.
• When COLOR ENHANCER is sRGB, COLOR TEMP., COLOR, TINT
and WALL SCREEN can’t be adjusted.
USER Select to set the gamma curve or adjust the color intensity or color
balance as desired. (See page 29.)
CLEAR BASE
Select to obtain the color of the X-ray fi lm (clear base)
*1
. (See page 29.)
BLUE BASE
Select to obtain the color of the X-ray fi lm (blue base)
*1
. (See page 29.)
CONTRAST ±30 Use to adjust the contrast of the projected image. (See page 28.)
BRIGHTNESS ±30 Use to adjust the brightness of the projected image. (See page 28.)
COLOR TEMP. 4 options Use to adjust the color temperature. (See page 28.)
• COLOR TEMP. is unavailable when WALL SCREEN in the INSTALLA-
TION menu is set to other than OFF.
COLOR ±10 Use to adjust the color thickness of the projected image. (See page 28.)
• When the COMPUTER1, COMPUTER2 or DVI is selected as the input
source, COLOR can’t be adjusted.
TINT ±10 Use to adjust the color tint of the projected image. (See page 28.)
• When the COMPUTER1, COMPUTER2 or DVI is selected as the input
source, TINT can’t be adjusted.
• TINT is available only when the NTSC signal is input.
SHARPNESS ±5 Use to adjust the sharpness of the projected image. (See page 28.)
ADVANCED MENU
NOISE REDUCTION ON / OFF
Use to reduce noise and roughness in the image when noisy video signal is input.
CTI ON / OFF Use to correct smeared color boundaries.
INPUT LEVEL ±5 For analog signal input: The input level of video signal differs among
devices to be connected. High input level causes solid white in displayed
image and low input level causes displayed image to get dark. Use this
menu to adjust the input level of analog video signal.
ENHANCED / For digital signal input: When a digital signal is input, ENHANCED and
NORMAL are switchable. (See page 18.)
*1: This mode displays images based on the color confi guration close to that of DICOM. (DICOM is a standard medical imaging
format.) Images such as X-ray images are made easy to view.
• Do not use this mode for actual medical diagnosis.
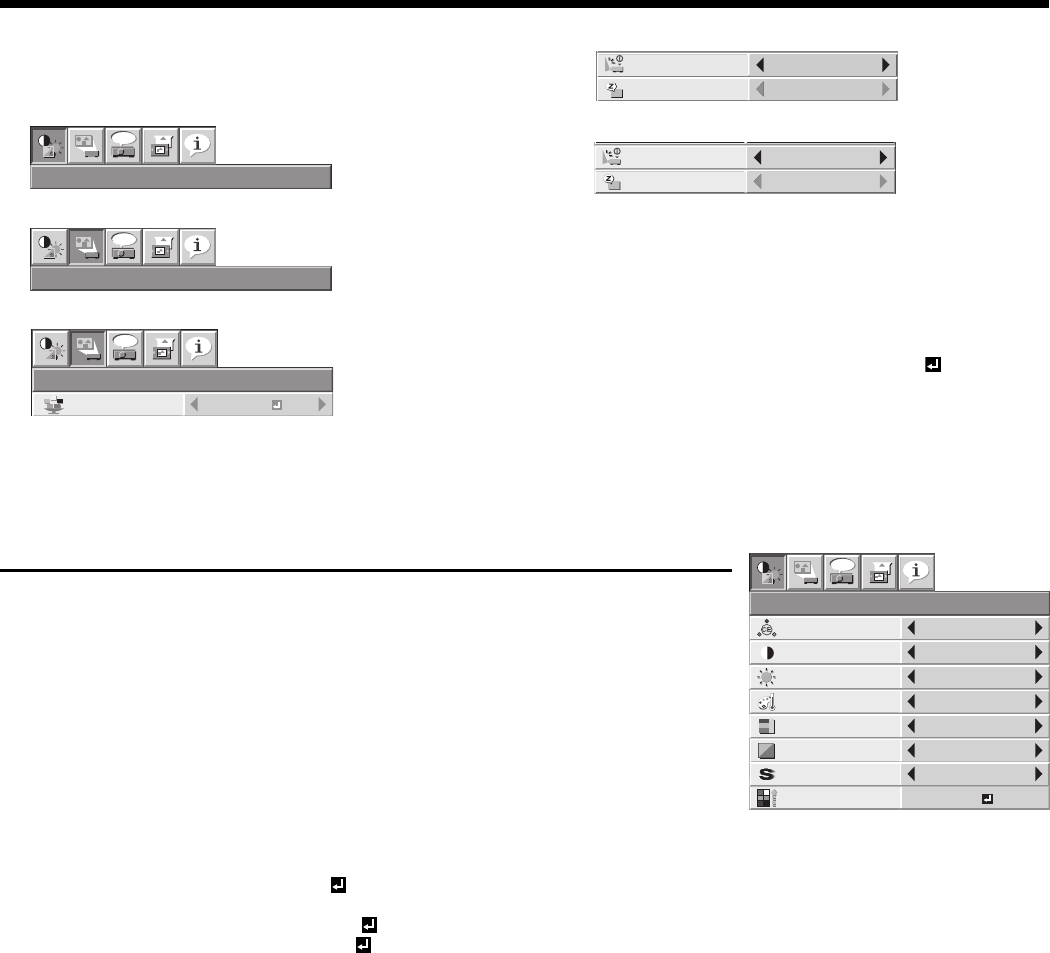
How to set the menus:
Following describe how to set AUTO POWER OFF
time.
1. Press the MENU button.
2. Press the
W
or
X
button to select a menu to use.
3. Press the ENTER button (or
T
button).
IMAGE
opt.
INSTALLATION
opt.
INSTALLATION
opt.
WALL SCREEN
BEIGE
4. Press the
S
or
T
button to select an item to adjust.
5. Set the selected item by pressing the
W
or
X
button.
To cancel the menu:
6. Press the MENU button several times.
Important:
• When the MENU button doesn’t function, unplug
the power cord from the wall outlet. Wait about 10
minutes, plug the power cord in, and try again.
• After selecting the items marked with
, press the
ENTER button.
OFF
AUTO POWER
ON
OFF
AUTO POWER
OFF
30min
AUTO POWER
ON
OFF
AUTO POWER
OFF
IMAGE
opt.
CONTRAST
BRIGHTNESS
0
0
STANDARD
0
0
OK
COLOR
TINT
ADVANCED MENU
COLOR TEMP.
0
SHARPNESS
AUTO
COLOR
ENHANCER
Menu operation (continued)
NORMAL


