EN-19
ENGLISH
Adjustment of the image from the computer
This projector adjusts the format of the video signal supplied
from the computer. However, sometimes images are not pro-
jected correctly owing to the type of the computer used. When
the image from the computer isn’t projected correctly, press
the AUTO POSITION button. (See page 14.) If the image isn’t
projected correctly yet, adjust the image from the computer
using the menu.
To move the image horizontally :
Adjust HORIZ. POSITION in the SIGNAL menu. Press the X
button to move the image to the left. Press the W button to
move the image to the right.
To move the image vertically :
Adjust VERT. POSITION in the SIGNAL menu. Press the X
button to move the image upward. Press the W button to move
the image downward.
When the image flickers or the image is out of focus :
Adjust FINE SYNC. in the SIGNAL menu.
When the top part of the image flags :
Change the setting of HOLD in the SIGNAL menu. Select ON
, press the ENTER button, and adjust BEGIN or END to
minimize the flagging.
When wide strips appear :
Adjust CLAMP POSITION or CLAMP WIDTH in the SIGNAL -
USER menu.
Important:
Do not change any of the settings in the SIGNAL-USER menu
for normal use.
Simple adjustment method
1. Select HORIZ. POSITION in the SIGNAL menu.
2. Press the W or X button to adjust the horizontal start posi-
tion (or the left side of the image).
3. Select TRACKING in the SIGNAL menu.
4. Press the W or X button to adjust the horizontal end posi-
tion (or the right edge of the image).
5. Repeat steps 1 to 4 for optimum adjustment results.
6. Select VERT. POSITION in the SIGNAL menu.
7. Press the W or X button to adjust the vertical start position
(or the upper edge of the image).
R G B
R G B
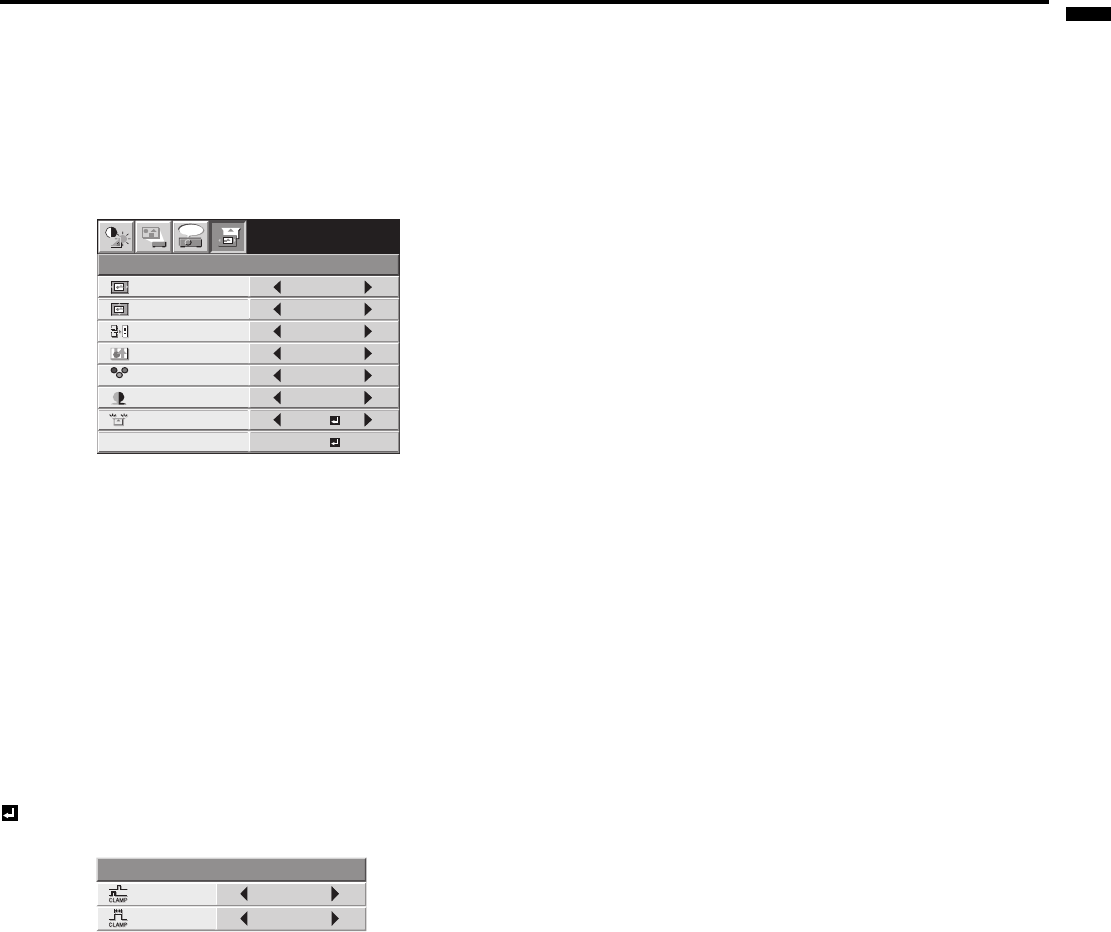
SIGNAL
HORIZ. POSITION 0
VERT. POSITION 0
TRACKING 0
COMPUTER
INPUT
RGB
FINE SYNC. 0
USER
XGA60
opt.
OK
ON
HOLD
7.5%
SET UP
CLAMP
POSITION
USER
0
CLAMP WIDTH 1


