EN-11
Installation (continued)
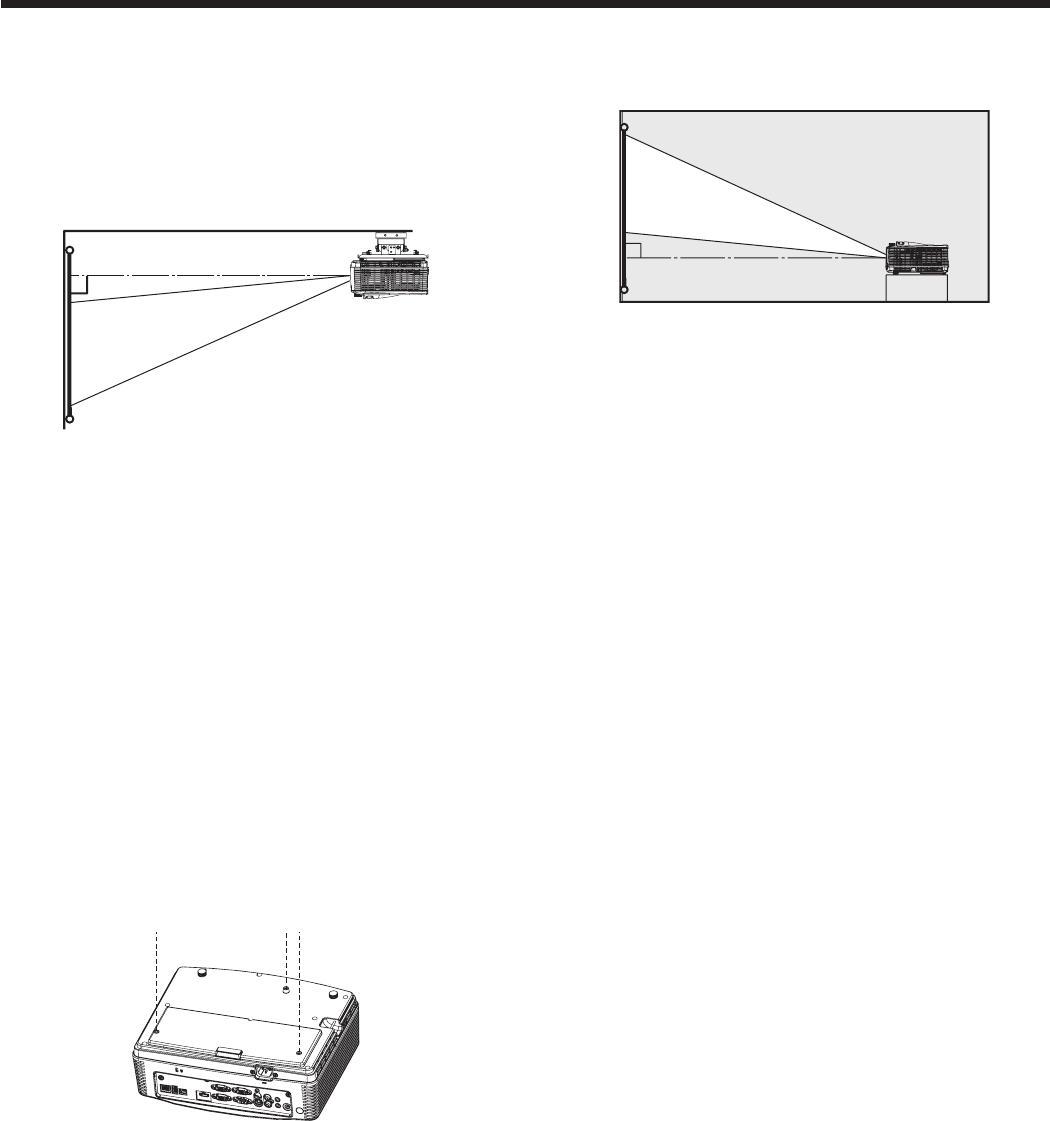
Front projection, ceiling mounting
For ceiling mounting, you need the ceiling mount
kit designed for this projector. Ask a specialist for
installation. For details, consult your dealer.
• Thewarrantyonthisprojectordoesnotcoverany
damage caused by use of any non-recommended
ceiling mount kit or installation of the ceiling mount
kit in an improper location.
• Whenusingtheprojectormountedontheceiling,
set Image Reverse in the Installation menu to Mirror
Invert. See page 26.
• Whentheprojectorismountedontheceiling,
images may appear darker than those projected in
the case of tabletop mounting. This isn’t a product
malfunction.
Ceiling mount installation
If you wish to install the projector using a ceiling
mount, please use the screw holes as the illustration
shows.
Important:
• Screwsarenotincluded.Pleaseobtainthe
appropriate screws for your type of ceiling. (M4
diameter)
• Itisrecommendedthatyoukeepareasonable
space between the bracket and the projector to
allow for proper heat distribution.
Rear projection
Ask a specialist for installation. For details, consult
your dealer.
• Forrearprojection,setImageReverseinthe
Installation menu to Mirror. See page 26.
Caution:
• Placingtheprojectordirectlyonacarpetimpairs
ventilation by the fans, causing damage or failure.
Put a hard board under the projector to facilitate
ventilation.
• Placetheprojectoratleast50cm(or20inch)away
from the wall to prevent the air inlet grille and the air
outlet grilles that emit hot air from being blocked.
• Donotusetheprojectorinthefollowinglocations
and manners, which may cause fire or electric
shock.
• Inadustyorhumidplace.
• Inasidewaysorupside-downposition.
• Nearaheater.
• Inanoily,smoky,ordampplacesuchasa
kitchen.
• Indirectsunlight.
• Wherethetemperatureriseshigh,suchasina
closed car.
• Wherethetemperatureislowerthan+41°F(or
+5°C)orhigherthan+95°F(or+35°C).
Important:
• Donotapplyforcetothelens,becausethelens
may be damaged.
• Besuretousethisprojectoratanaltitudeofless
than 1500 meters.


