


26
MultiFRAD 3000-Series User Guide
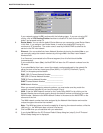
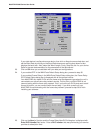
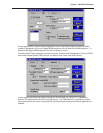
45. Click on a DLCI that you want to map. The Mappings, Map Data Ports, and all the other
groups become active.
46. To map this DLCI to a protocol stack, click on a protocol stack’s down arrow for each protocol
that your LAN is using. When you click on the down arrow for a protocol, the listing displays
None and your logical IP WAN addresses and/or logical IPX network numbers.
47. To map this DLCI to a data port, click on Data Port Mappings and choose the Port
number(s) that you want to associate with this DLCI.
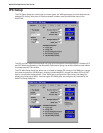
48. Ensure that Throttle Up and Down in the Congestion Management category is selected.
49. Ensure that Adhere to CIR + Be check box in the Mode category is selected. Multi-Tech
recommends this setting initially.
50. Click on the Committed Information Rate numeric box in the Settings (in Bits/second)
category and enter the CIR value provided by your service provider at subscription time for
this DLCI.
51. Click on the Excess Burst Rate (Be) numeric box in the Settings (in Bits/second) category
and enter the Be value provided by your service provider at subscription time for this DLCI.
52. The Compression option in the Others group may be desirable at low link speeds. With a
high speed link, Multi-Tech recommends not using this feature.
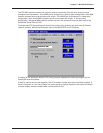
53. Repeat steps 45 through 52 for each new DLCI.
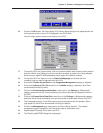
54. Click on the OK button when you are satisfied with your selections.
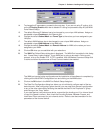
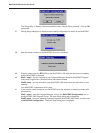
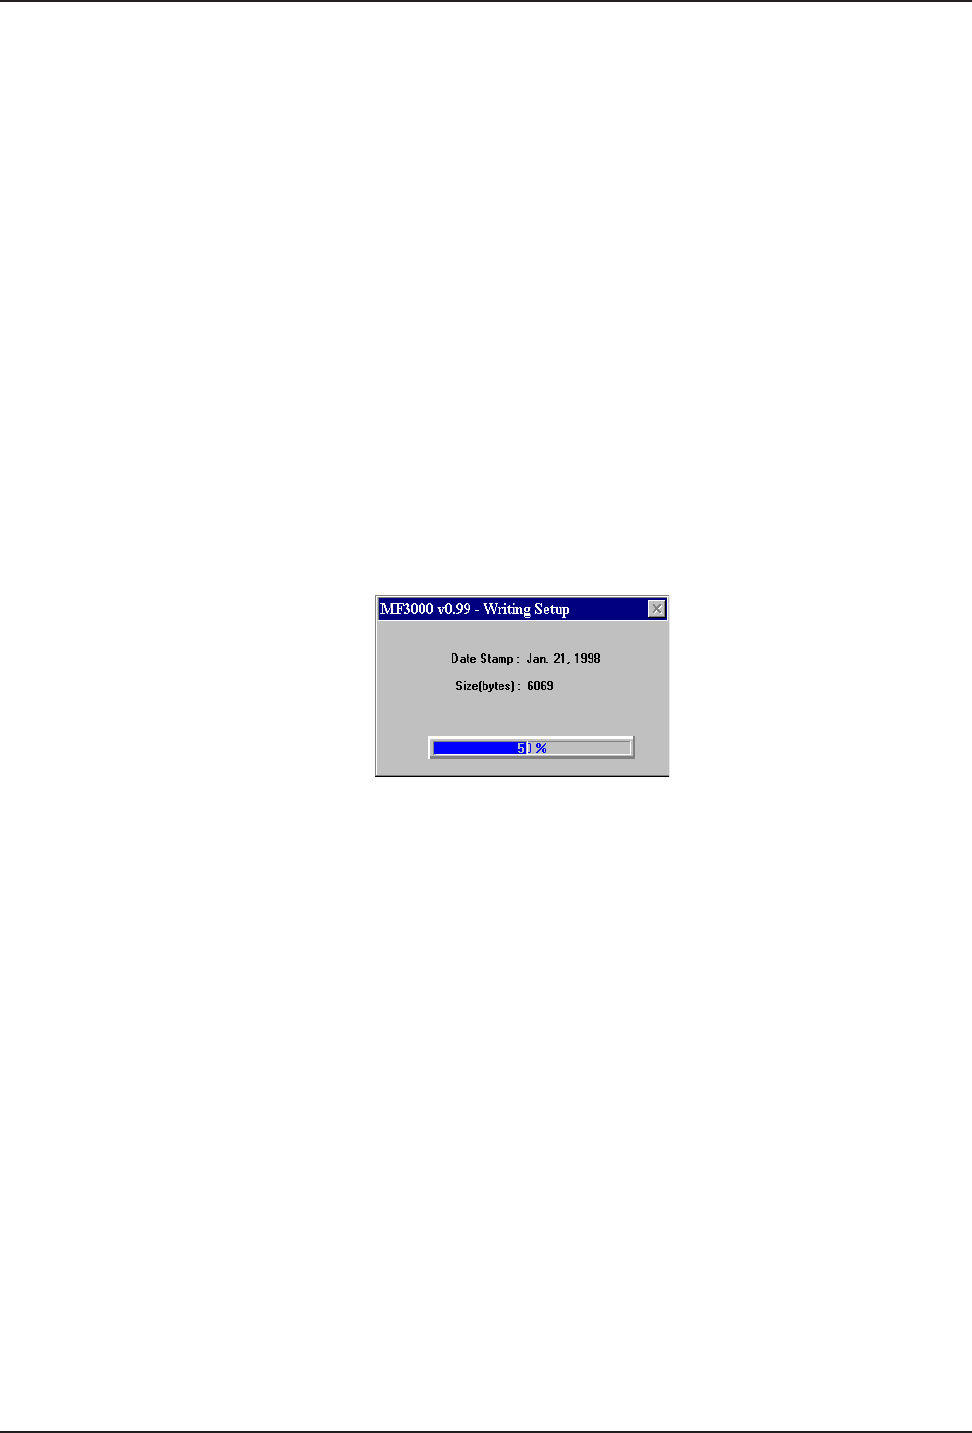
56. Writing Setup dialog box is displayed as the setup configuration is written to the MultiFRAD.
57. After the setup is written to the MultiFRAD, the unit reboots.
58. Check to ensure that the BTG LED on the MultiFRAD is Off after the download is complete
and the MultiFRAD is rebooted.
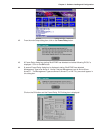
59. Win3.1 users - you are returned to your Program Manager where the MultiFRAD Program
Group and Program Item (Windows icons) have been created.
Win95 users - you are returned to your MultiFRAD 3000 folder which will be visible on your
desktop.
Your MultiFRAD is operational at this time.