


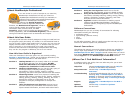

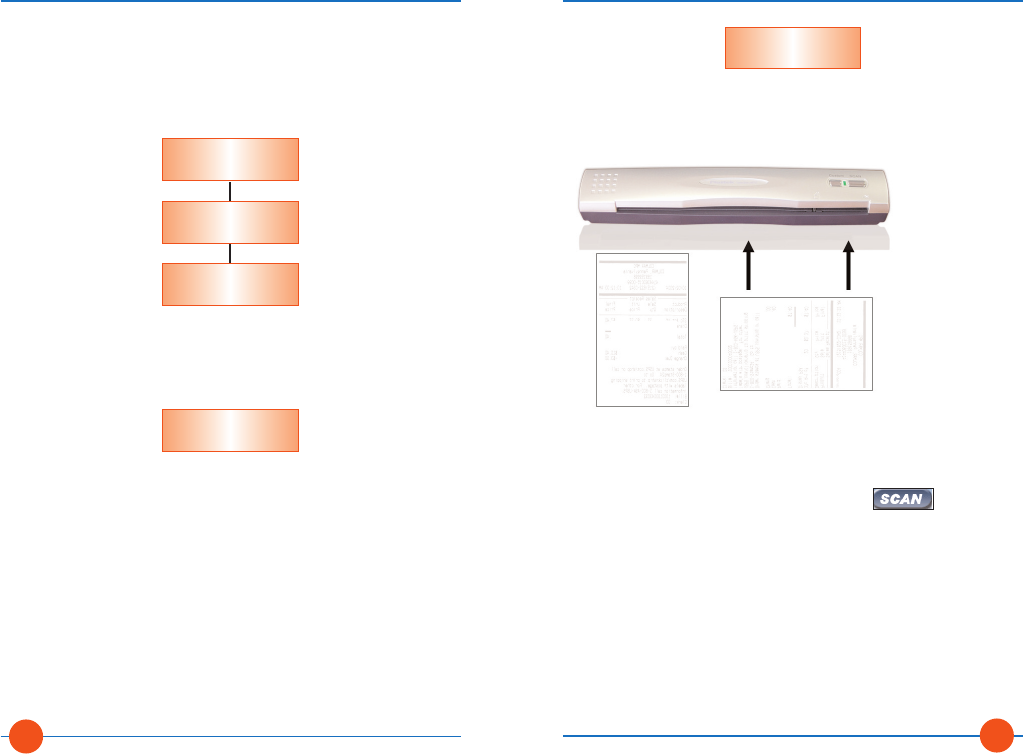
Feed the receipt face down into the far right side of the scanner
(under the document icon). You can position the receipt vertically or
horizontally. For faster scanning, position the receipt so that its widest
side is being drawn into the scanner (usually horizontally), as shown
below. The image will rotate automatically if necessary.
Choose Scan > Scan New Receipt.
Alternatively, you can click on the Scan button (top
right corner of the Scan tab), or press the Scan button on top of the
scanner.
If you have more than one scanner connected to your computer, you
will be asked to select a scanner. Be sure to select the appropriate
scanner.
When scanning is complete, the image will appear in the Image Viewer
and a new receipt row will be added to the Receipts Grid.
Scanner with Receipts
(Note that above receipts are pictured face down,
as they should be positioned prior to scanning.)
For faster scanning,
position the receipt
so that the widest
side is being drawn
into the scanner (as
shown by receipt B)
Place receipt face
down when
scanning
Faster!
A
B
Back of
Receipt
Back of
Receipt
B.
Scan a receipt into
the Folder
NeatReceipts Professional User Guide
Section 2: Getting Started
15
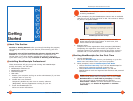
Scanning Your First Receipt
Before scanning for the very first time, you will need to calibrate your
scanner. Choose Scan > Calibrate NeatReceipts Scanner and follow
the onscreen instructions.
Scanning your first single-sided receipt involves three simple tasks, as
shown in the graphic below:
Each of the steps outlined in the above graphic are described in detail
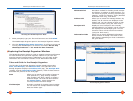
on the next few pages. Note that before scanning a receipt, you need
to select the “container” into which the receipt will be scanned, stored,
and organized. In NeatReceipts, all receipts are scanned into a
Folder. If there are no folders in the grid, one will be created for you
when you scan your first receipt.
In the top grid, select an existing Folder, or create a new one by
choosing File > New > Folder.
A Folder is simply an electronic version of a physical filing receptacle,
like a drawer in a filing cabinet, for example. You can use folders to
organize any type of expenses. For example, you can create a Folder to
track expenses for a family trip or home improvement project. You can
manage your business, groceries, school supplies or medical expenses
using separate Folders. You can use NeatReceipts to organize your
soon-to-be-paperless life in any way you like!
A.
Create or select
a Folder
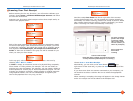
B.
Scan a receipt into
the Folder
A.
Create or select
a Folder
C.
Verify data / Add a
vendor name
NeatReceipts Professional User Guide
Section 2: Getting Started
14