


Adding the Paper Tray 2 Unit 29
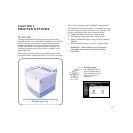
PRINTER OPTIONS
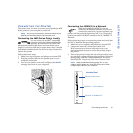
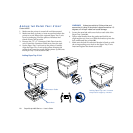
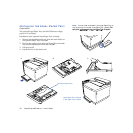
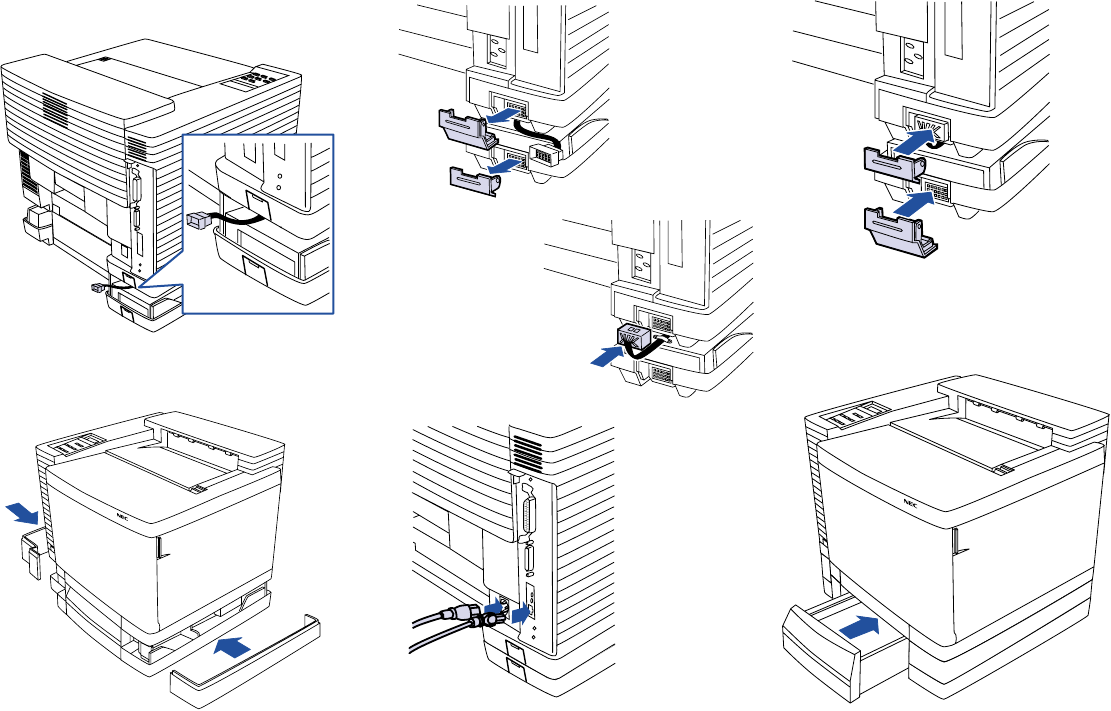
8. Facing the back of the printer, locate the Connector Cable
at the rear of the Paper Tray 2 unit (D).
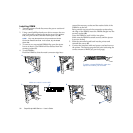
9. Remove the Cable Connector Doors at the rear of the
printer and the 2nd tray (E).
10. Plug the cable in to the printer socket (F).
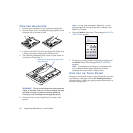
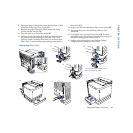
11. Place the Cable Connector Door that you removed from
the printer over the opening on the Paper Tray 2 unit.
Place the Cable Connector Door that you removed from
Paper Tray 2 over the cable plug opening on the back of
the printer (G).
12. Snap on the left and right Paper Tray 2 unit covers (H).
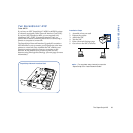
13. Reconnect the power and interface cables to your
printer (I).
14. Load paper into your new Paper Tray 2 (J). To check
operations, turn your printer on and send a print job to
the printer using paper from both trays.
15. Update your printer driver. See Chapter 4 about
changing device settings in your driver.
D
E
F
G
Switch Cable Connector Doors
after connecting cable!
Adding Paper Tray 2 Unit
H
I
J