


84 SuperScript 4650 Series — User’s Guide
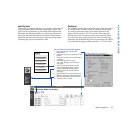
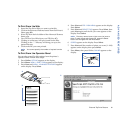
Accessing the Scanner
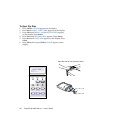
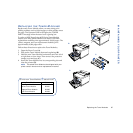
Access scanner settings at the printer’s Operator Panel (A).
Follow these steps.
1. Press Online. OFFLINE appears on the display.
2. Press Menu and MENU - PRINT FORM appears.
3. Press Next until MENU - SPECIAL FEATURES appears on
the display. Press Select.
4. Press Next until SCANNER/COPY appears on the display.
Press Select.
5. Press Next until START COPY appears. Press Select.
6. COPIES appears on the display. Press Select.
7. Press Next until the number of prints you want (1—999)
appears on the display, then press Select.
8. Repeat steps 4—7 to make selections of SCALE, COLOR
MODE, LIGHT/DARK ADJUST, SCAN TO JPG, and
RESOLUTION. By default the settings are color mode and
150 dpi.
9. Press Menu, then press Online. ONLINE appears on the
display.
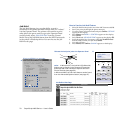
Scanner Support Features
Scale: Specifies the image size after scanning with
respect to the original image.
Color Mode: You can scan images in black and white,
grayscale, or color. The default setting is color.
Light/Dark Adjust: Adjust the darkness or brightness of
the image to be scanned. This control is applied before or
during the scanning and is not for modifying the scanned
output JPEG file.
Scan to JPG: Scans a page and saves it to the printer’s
hard drive as a jpg file. It can then be saved to another drive
for editing or printing.
Resolution: You can scan images in 75, 150, or 300 dpi.
The default setting is 150 dpi.
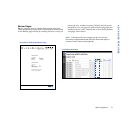
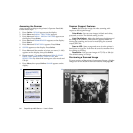
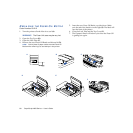
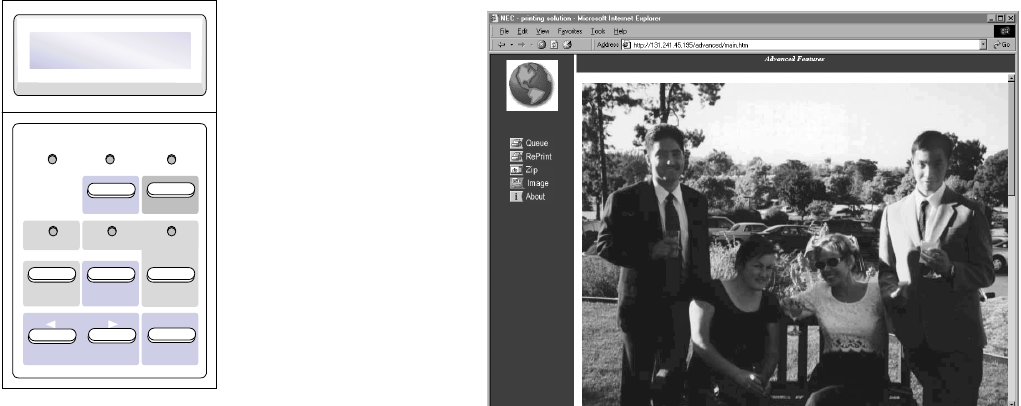
Previewing a Scanned Image
To see a preview of the printer’s last scanned image, click the
Image icon on the 4650N Advanced Features web page (B).
B
A
Power Warning Online
Menu OnLine
Data OHT Label
Feed Item Media
Previous Next
Select
SCANNER/COPY