


3-3
3. Projecting an Image
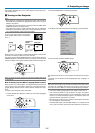
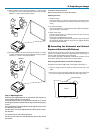
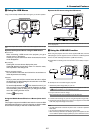
x Selecting a Source
Selecting the computer or video source
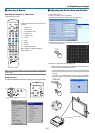
Using the Remote Control
Press the Source/Number button (0-9) to se-
lect input.
1 ...... RGB 1 input
2 ...... RGB 2 input
3 ...... DVI (DIGITAL) input
4 ...... VIDEO input
5 ...... S-VIDEO input
6 ...... Viewer
7 ...... LAN
8 ...... SLOT 1
9 ...... SLOT 2
0 ...... Sequentially selects:
RGB1 (VIDEO) → RGB2 (S-VIDEO) →
RGB1 (VIDEO) ........
NOTE: If no input signal is available, the projector will display a blue background
(factory preset).
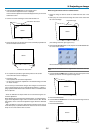
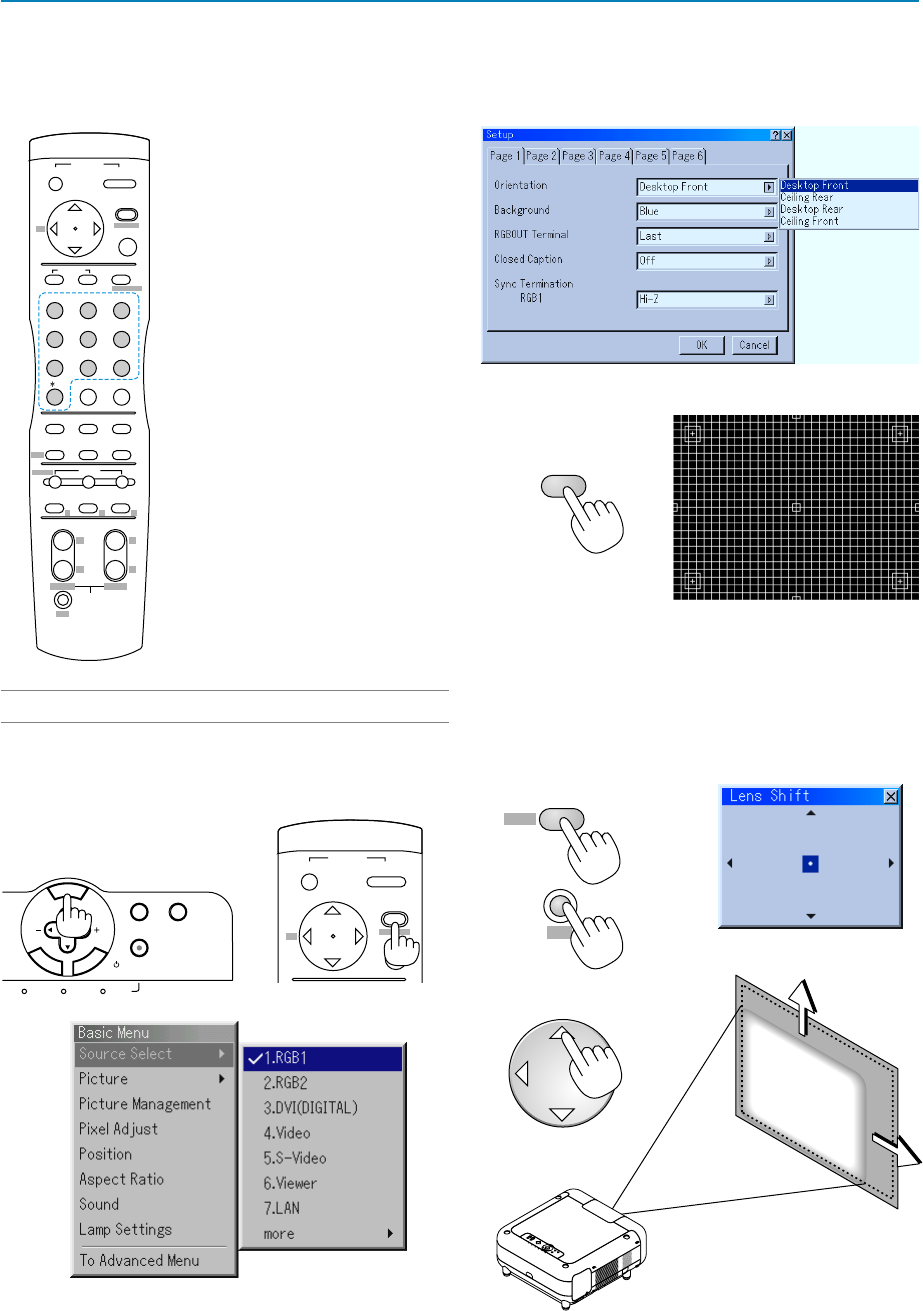
c Adjusting the Picture Size and Position
1. Turn on the projector
2. Select your type of projector orientation.
Desktop front, ceiling rear, desktop rear, and ceiling front.
3. Display the test pattern by pressing the TEST button on the remote
control or using the menu.
4. Adjust the image position and the image size.
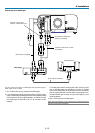
(1) Press and hold the CTL button and press the POSITION button to
display the Lens Shift adjustment screen.
Use the SELECT button on the remote control or the LENS SHIFT
button on the projector cabinet to move the image horizontally and
vertically.
To close the Lens Shift adjustment screen, press the CANCEL
button. See pages 2-4 and 2-5 for “Lens Shift Adjustable Range”.
POSITION
LENS
CTL
+
-
OFF
+
-
PICTURE
ADJUST
ABC DEF
GHI
JKL MNO PQR
STU
,.
UNDO CANCEL
TEST
PICTURE
KEYSTONE AMPLITUDEENTRYLIST
SOUND OSD
MUTE
MAGNIFY
HELPINFO.
POSITION AUTOPIXEL
VWX YZ/
WHITE BAL.
IMAGE
ON
POWER
MENU
ENTER
123
456
7
0
8
9
ADDRESS
PROJECTOR
R G B
LENS
SHUTTER
BS
+
-
+
-
FOCUS ZOOM
CTL
LENS
TEST
3D REFORM
3D A
SELECT
STATUSLAMP 2 POWER
ON/STAND BY
AUTO ADJUST
M
E
N
U
E
N
T
E
R
C
A
N
C
E
L
OFF
+
-
ON
POWER
MENU
ENTER
ADDRESS
BS
Using the menu
You can also select the computer or video source using the menu.