


4-4
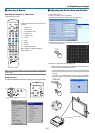
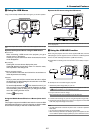
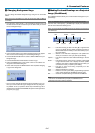
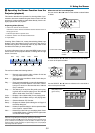
n Changing Background Logo
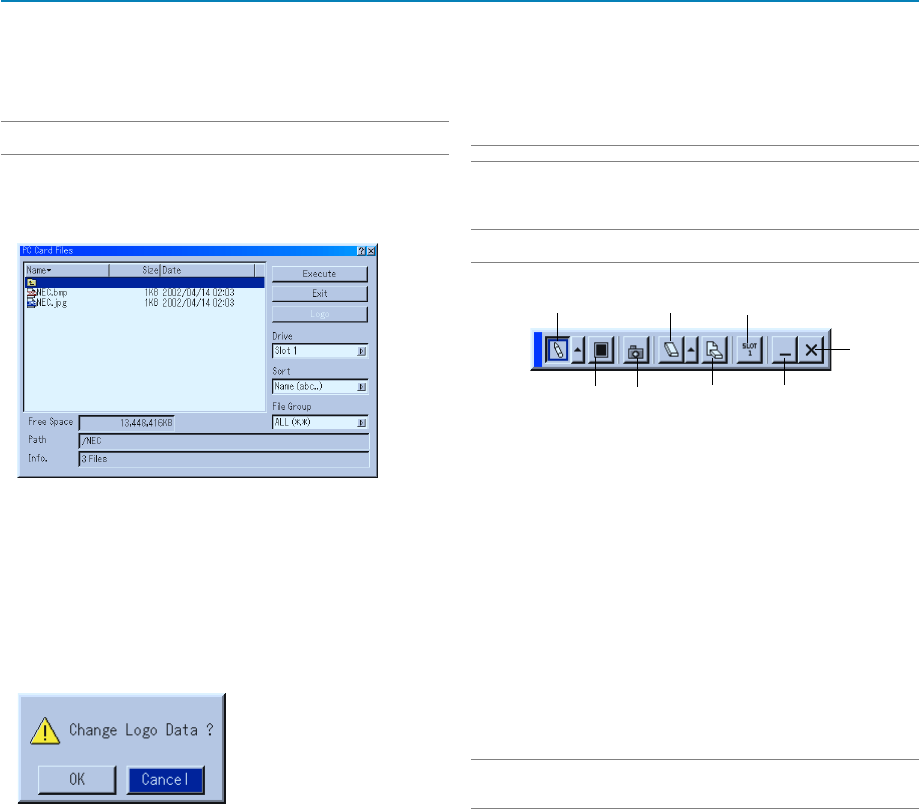
You can change the default background logo using the PC Card Files
feature.
NOTE: File size must be 256KB or less. Other file formats than JPEG and BMP are
not available.
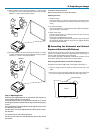
1. From the menu, select [Tools]
→
[PC Card Files] to display a list of all
the files stored in the PC card so that you can select a file you want to
use as a background logo.
2. The Logo button allows you to select a background logo from graphic
files on a PC card and change to it as the background logo.
3. Use the SELECT
̆
or
̄
button to select a JPEG or BMP file for your
background logo.
4. Use the SELECT
̈
and then
̄
button to select "Logo".
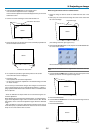
5. Press the ENTER button on the remote control or the cabinet. You
will get the confirmation dialog box.
6. Select "OK" and press the ENTER button. This completes changing
a logo for the background.
* Once you have changed the background from the NEC logo to an-
other, you cannot return the logo to background even by using Fac-
tory Default. To do so, repeat the above steps. The NEC logo file is
included on the supplied CD-ROM NEC Projector User Supportware
(/Logo/nec_bb_x.jpg).
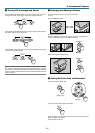
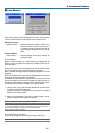
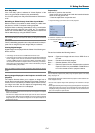
m Making Freehand Drawings on a Projected
Image (ChalkBoard)
The ChalkBoard feature allows you to write and draw messages on a pro-
jected image.
NOTE: The ChalkBoard feature is available only when a USB mouse is used.
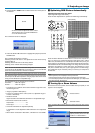
From the menu, select [Tools] → [ChalkBoard] to display the ChalkBoard
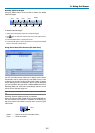
tool bar that contains the following icons.
NOTE: You can also display the ChalkBoard tool bar by clicking the scroll button on
your USB mouse.
Pen
Eraser Drive
Exit
ClearColor
Pen .............. Left-click and drag to draw. Left-click [̆] or right-click the
pen icon to display the pen palette containing four lines of
different thickness from which you can select a line you pre-
fer by left-clicking.
Color ........... Selects a color. Left-click to display the color palette from
which you can select a color you prefer by left-clicking.
Capture ....... Left click to capture and save freehand drawings in the PC
card.
Eraser ......... Left-click and drag to erase part of a drawing. Left-click [̆]
or right-click the eraser icon to display the eraser palette
containing four eraser of different thickness from which you
can select an eraser you prefer by left-clicking.
Clear ........... Left-click to clear the drawing completely from the
ChalkBoard screen.
Drive............ Switches between PC Card slot.
Hide............. Hides the tool bar by left-clicking. Right-clicking anywhere
on the screen displays the ChalkBoard tool bar again.
Exit ..............Clears the complete drawing and exits the ChalkBoard.
NOTE:
• The menu is not available while you display the ChalkBoard screen.
• Switching slides clears a drawing completely.
Capture
Hide
4. Convenient Features