


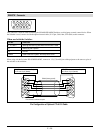


E – 34
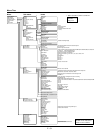
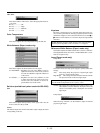
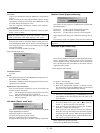
Adjustments
The Adjustments Menu provides access to controls for your image.
Use the ▲/▼ buttons on your remote control or the projector cabinet
to highlight the menu for the item you want to adjust.
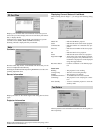
Picture
Brightness: Adjusts the brightness level or the back raster inten-
sity.
Contrast: Adjusts the intensity of the image according to the
incoming signal.
Color: Increases or decreases the color saturation level (not
available for RGB).
Hue: Varies the color level from +/- green to +/-blue. The
red level is used as reference. This adjustment is only
valid for Video and Component inputs (Not available
RGB).
Sharpness: Controls the detail of the image for Video (Not avail-
able for RGB and Component).
V-Aperture: Adjusts edge enhancement in the vertical direction.
(Not available for RGB)
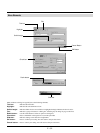
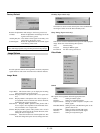
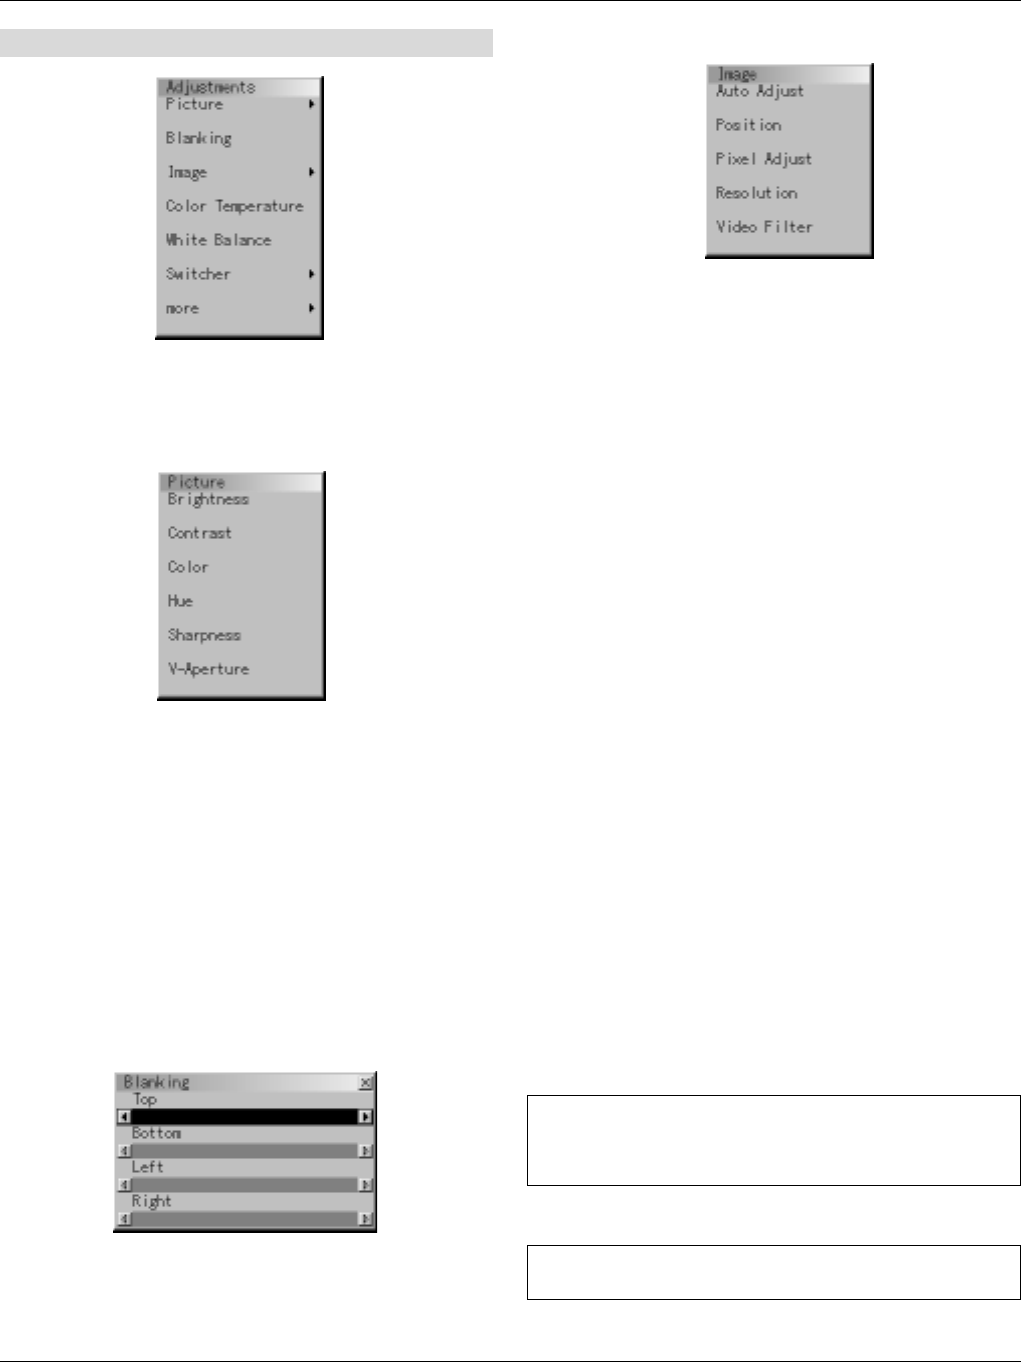
Blanking
This feature allows you to mask any unwanted area of the screen im-
age.
Image
Auto Adjust:
When “Auto Adjust” is set to “On”, the projector automatically
determines the best resolution for the current RGB input signal to
project an image using NEC’s Advanced AccuBlend Intelligent
Pixel Blending Technology. The image can be automatically ad-
justed for geometry and stability; “Horizontal Position”, “Vertical
Position” and “Pixel Adjust.”
On: Automatically adjusts image “Horizontal Position”, “Ve r -
tical Position” and “Pixel Adjust.”
Off: User can adjust the image display functions (“Horizon-
tal Position”, “Vertical Position” and “Pixel Adjust”)
manually.
Horizontal/Vertical Position (when Auto Adjust is off):
Adjusts the image location from left to right.
This adjustment is made automatically when the Auto Adjust is
turned on.
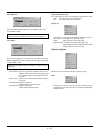
Pixel Adjust (when Auto Adjust is off):
Displays the Clock and Phase adjustments.
Clock: Use this item with the “Auto Adjust off” to fine tune the
computer image or to remove any vertical banding that
might appear.
Phase: Use this item to adjust the clock phase or to reduce video
noise, dot interference or cross talk. (This is evident when
part of your image appears to be shimmering.) Use the
ᮤ and ᮣ buttons to adjust the image.
Use “Phase” only after the “Clock” is complete.
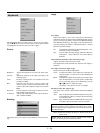
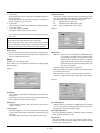
Resolution (when Auto Adjust is off):
This allows you to activate or deactivate the Advanced AccuBlend
feature.
Auto: Turns on the Advanced AccuBlend feature. The projec-
tor automatically reduces or enlarges the current image
to fit the full screen.
Native: Turns off the Advanced AccuBlend feature. The projec-
tor displays the current image in its true resolution.
NOTE: While you are displaying an image with higher resolution
than the projector’s native resolution, even when you are in the
Native mode, the image is displayed full screen using the Advanced
AccuBlend feature.
Native with Zoom: Enlarges the image to fill the screen in the
Native mode.
NOTE: Unless the projector is used at 0 degree of lens vertical
offset, you cannot get a correct display position.