


12 NP290W User Guide
YML849Rev 1
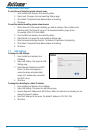
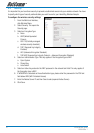
Private Network Name Reset
To reset the local HomePlug private network name:
1. From the Web User Interface, click HomePlug Menu.
2. Select Local. This opens the Local HomePlug Settings page.
3. Click Default. The default Private Network Name is HomePlug.
4. Click Save.
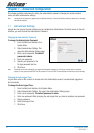
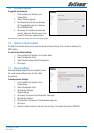
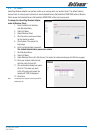
To reset the remote HomePlug private network name:
1. Get the Device ID of the remote HomePlug you want to configure. This is printed on the
HomePlug itself. The Device ID is a set of 16 characters divided in groups of four.
For example, XXXX-YYYY-AAAA-BBBB.
2. From the Web User Interface, click HomePlug Menu.
3. Select Remote. This opens the Local HomePlug Settings page.
4. Enter the remote HomePlug Device ID. The Device ID is printed on the HomePlug.
5. Click Default. The default Private Network Name is HomePlug.
6. Click Save.
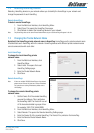
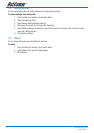
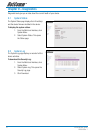
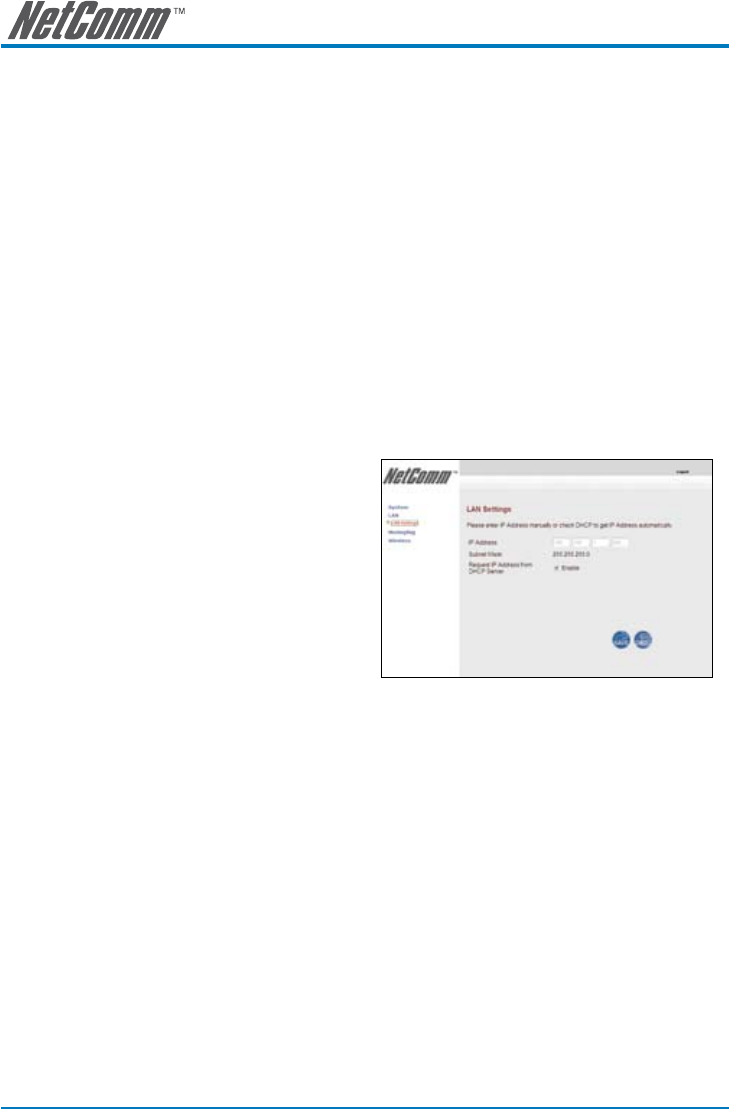
7.4 LAN Settings
To change the LAN Settings:
1. From the Web User Interface, click
LAN Menu.
2. Select LAN Settings. This opens the LAN
Settings page.
3. Select Request IP Address from DHCP
Server. If a check mark appears, it
means the device will automatically
accept an IP address when connected
to a DHCP server.
4. Click Save.
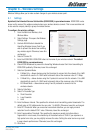
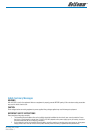
To change the HomePlug to a static IP address:
1. From the Web User Interface, click LAN Menu.
2. Select LAN Settings. This opens the LAN Settings page.
3. Uncheck Request IP Address from DHCP Server. When the check mark is removed, you can
change the device IP address.
4. Enter the IP Address for the device. The default IP Address is 192.168.1.254
5. Click Save.