E–10
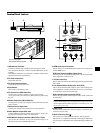
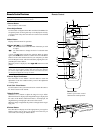
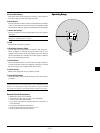
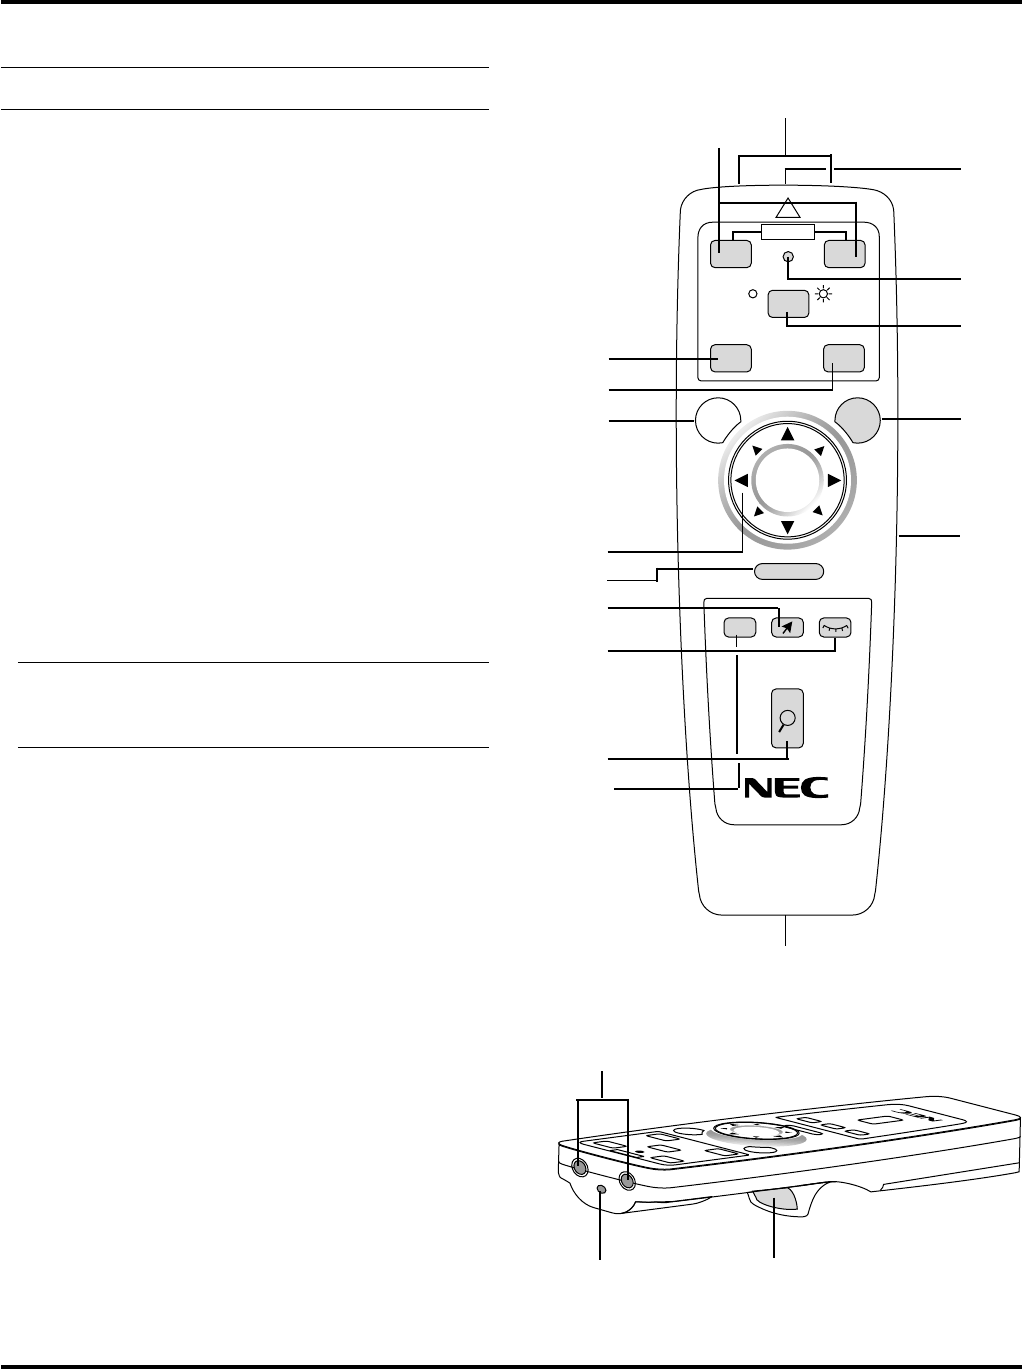
Remote Control Features
NOTE: If you are using a Macintosh computer, you can click either
the right or left button to activate the mouse.
1 Source Button
Press to select a video source.
2 Auto Adjust Button
Use this button to adjust Position-H/V and Pixel Clock/Phase for
an optimal picture. Some signals may not be displayed correctly,
or in some cases it may take some time for a source to be switched
to another.
3 Menu Button
Displays the main menu for operation.
4 Mouse (▲▼
ᮤ ᮣ) / (+) (–) Buttons
▲▼: Use these buttons to select the menu of the item you wish
to adjust.
ᮤ ᮣ: Use these buttons to change the level of a selected menu
item.
A press of the ᮣ button executes the selection. When no menus
appear, these ▲▼ buttons work as a volume control. For the Mouse
button to work as the volume control for your computer, you must
be in the Projector mode, which is indicated by lighting the Com-
puter/Projector Select button.
When the pointer is displayed, these ᮤ ᮣ ▲▼ buttons move the
pointer.
NOTE: Works as a mouse for your projected computer image. This
pad is also used to adjust position. This pad selects the submenu
you want to adjust. After you make your on-screen menu selection,
use this pad to adjust the level up or down.
5 Cancel/ Right Click Button
Press this button to exit “Menus”. Press this button to return the
adjustments to the last condition while you are in the adjustment
or setting menu.
6 Left Click / Enter Button
Use this button to enter your menu selection. It works the same as
the “Enter” button on the cabinet.
7 Magnify Button
Use the (+) or (–) button to adjust the image size up to 400%.
When the Pointer is displayed, the magnified image is displayed at
the center of the Pointer. When the Pointer is not displayed, the
magnified image is displayed at the center of the screen.
When the image is magnified, the pointer is changed to the magni-
fying icon.
8 Pointer Button
Press this button to display one of the eight pointers; press again to
hide the pointer. You can move your pointer icon to the area you
want on the screen using the Mouse button.
R-CLICK
HELP
PIC-MUTEPOINTER
MAGNIFY
SOURCE AUTO ADJ.
COMPUTER PROJECTOR
POWER
+
-
+
-
MENU
PJ
SA
?
OFF ON
LASER
CANCEL
1
2
3
4
8
9
7
10
11
16
15
12
13
14
5
Remote Control
16
15
6
Remote Jack
Connect your remote control
cable here for wired operation.
6
(Underneath)


