


English
User’s Guide 15
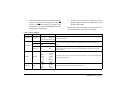
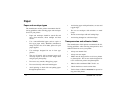
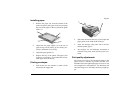
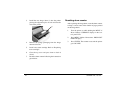
Installing paper
1. Remove the paper tray from the bottom of the
printer and place plain paper in the tray, keeping
the level of the paper in the tray below the guide
marks (1).
2. Adjust the rear paper support (2) to the size of
paper being used by lifting up and sliding for-
wards or backwards as necessary.
3. Adjust the paper guides (3).
4. Replace the tray in the printer. The paper level
indicator (4) provides a visual indication of how
much paper is left in the tray.
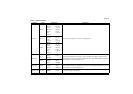
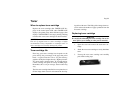
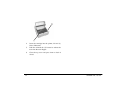
Printing envelopes
1. Pull out the rear exit extender (1) until it locks
and lift out the support bar.
2. Pull down the manual feed tray (2) and adjust the
paper guides to the width of the envelope.
3. Insert the envelope, flap down and to the left,
until the printer grips it.
4. Set envelope size and landscape orientation in
software being used, then issue the print com-
mand.
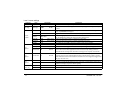
Print quality adjustments
The process used to fuse (fix) the printed image to the
paper involves a mixture of pressure and heat. Too
much heat will cause lightweight paper to crease or curl
and corrugations in transparencies. Too little heat will
cause the image not to fuse fully into heavyweight pa-
per.