WiJET.G Technical Manual
10
3.5 Configuring the Wireless Adapter to Connect WiJET.G
3.5.1 Configure the Wireless Network Adapter
Look at the banner page on the projector/monitor screen in your meeting room to
determine the SSID and the channel that the WiJET.G is currently set on. The channel
number ranges from 1 – 11 for the US or 1 – 13 for Europe.
By default, WiJET.G operates as an AP (Access Point). When the WiJET.G starts up,
the SSID of the WiJET.G will be displayed on the upper left corner of the
monitor/projector. You should configure your Wi-Fi wireless network adapter so that it
connects to the SSID of WiJET.G. There are many ways to configure the wireless
adapter cards. The following is an example sequence.
Open the Wireless Configuration Utility program (which may be called a different name)
provided by the manufacturer of the Wi-Fi wireless network adapter and modify the
settings as the following:
1. Change the network type to “the “Infrastructure” mode.
2. Change the “SSID” of the wireless network adapter so that it matches the SSID of
WiJET.G
3. Observe the wireless signal indications on the wireless configuration program to
make sure there is an active wireless link between the wireless network adapter
and the WiJET.G.
3.5.2 Configure the Wireless Adapter for Windows XP
To configure your Wireless Network Adapter for Windows XP, you must first know if
your Wireless Adapter is natively supported under Windows XP. The easiest way to
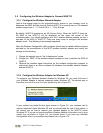
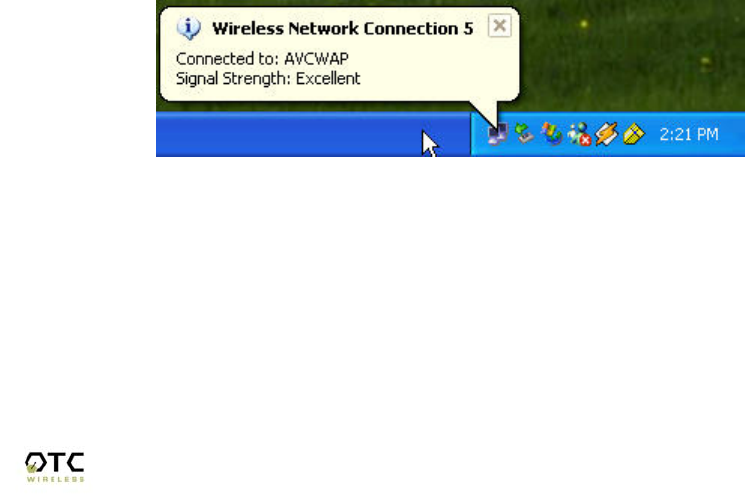
know this is to see if an icon is in your system tray as in Figure 3.9.
Figure 3.9 Network Adapter with native support under Windows XP
If your system tray looks like the figure shown in Figure 3.9, your wireless card is
natively supported under Windows XP and you should read the rest of this section. It
will instruct you on how to connect your wireless adapter to the WiJET.G under
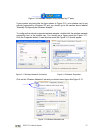
Windows XP. If you do not have the addition Wireless Network Connection icon in your
system tray as shown in Figure 3.9, you should check if you have any Wireless
configuration utility in your system tray instead, as in Figure 3.10.


