WiJET.G Technical Manual
12
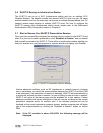
Here you will find the various networks that your wireless card has been able to detect.
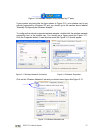
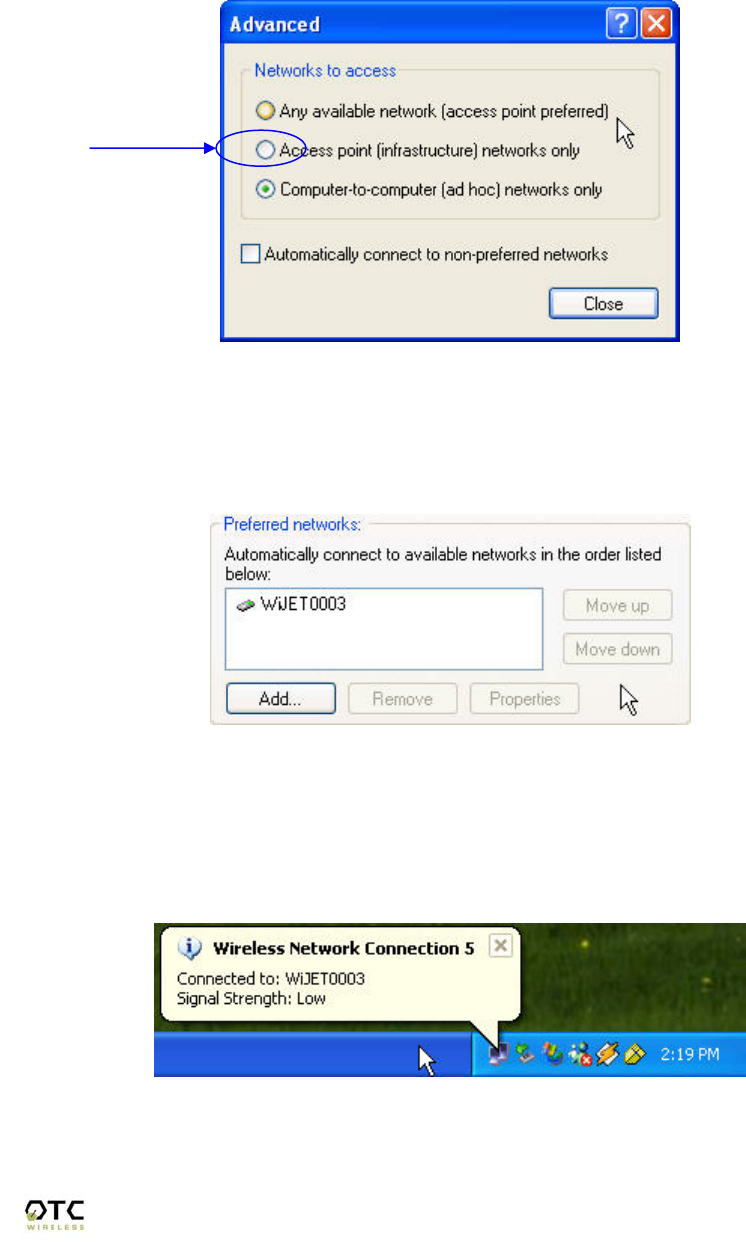
To allow for a connection to the WiJET.G, you must click the “Advanced” button. A
figure like Figure 3.14 should appear.
Figure 3.14 Advanced Network Settings Window
Set the configuration to be “Access point (infrastructure) networks only” and click the
“Close” button. Take note of the Preferred Networks area. You should see only ad hoc
networks now as in Figure 3.15.
Figure 3.15 Preferred networks changed to access point networks only
If there is more than one ad hoc network, you must use the “Move up” and “Move
down” buttons to move the WiJET.G you wish to have connected to the top. When you
are done, press the “OK” button. At that time, you should be able to connect to the
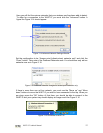
WiJET.G and your system tray should display an image much like Figure 3.16.
Figure 3.16 Connected to WiJET.G


