10400276-003 06/2010 ©2010 Overland Storage, Inc. Page 4 of 6
• Overland recommends grouping columns of drives of
the same speed next to each other when possible.
Installing Drives
NOTE: Do not remove the disk drives from their carriers. Doing
so voids the drive warranty.
Once the unit is in the rack, install the drives. Initially,
the top row is empty and the other two rows are filled
with drive blanks. Remove as many blanks as needed:
1. If a drive blank is in the slot where you are about to
install a disk drive, remove the blank by pressing the
lever release button and pulling it out.
2. Remove a drive assembly from the packaging.
3. Press the button to release the lever.
4. With the button on the right, position the drive
assembly in front of the appropriate bay and slide it
in (Figure 13) until resistance is felt.
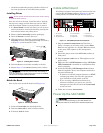
Figure 13. Inserting Drive Carriers
5. Push the lever in to lock the assembly in the bay.
6. Repeat Steps 1–5 for each remaining drive carriers.
IMPORTANT: To maintain proper airflow and cooling, a
drive assembly or a blank drive carrier must be installed
in every slot. No empty slots are allowed.
Attach the Bezel
Once in the rack, attach the front bezel (Figure 14):
Figure 14. Attaching the Bezel
1. Insert the bezel tabs into the flange holes.
2. Push the other side in until it latches (clicks).
3. If desired, lock the bezel.
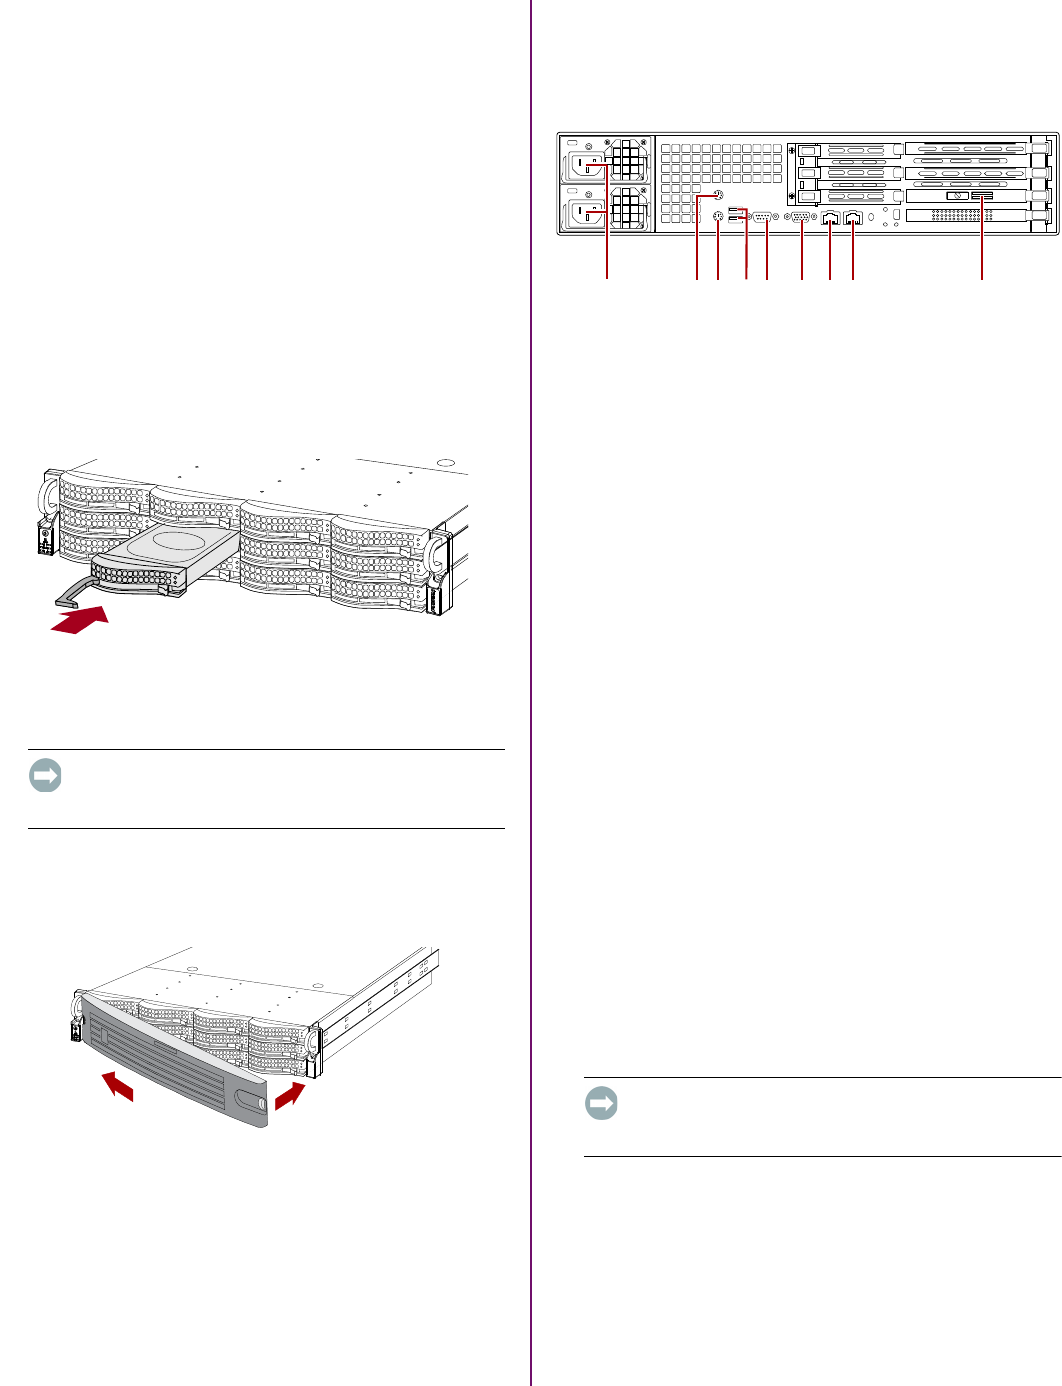
Cable Attachment
All cabling and power connections are located on the rear
panel of the SAN S2000 appliance (Figure 15). All unit
cooling exhaust is handled through the rear panel.
Figure 15. SAN S2000 Rear Panel Connections
1. Plug the network connection into Data Port 1.
Using a Category 5e (or better) cable, connect Data
Port 1 on the appliance to a Gigabit Ethernet switch
on the same LAN segment as the management
system.
2. Attach the power cords to the AC Power sockets on
back panel.
3. Plug the power cords into an UPS appliance or AC
power source.
4. Make sure that a iSCSI Initiator and the .NET (dot
NET) framework is installed on each Windows host
before continuing.
5. Install the Windows SAN Manager Suite software
from the supplied CD on a host computer attached to
the same subnetwork.
• If Autorun is enabled, program launches an HTML
contents page where you select the appropriate
type of software to load (32-bit or 64-bit).
• If you are using a Mozilla-based browser or
Autorun is disabled, you need to use your file
manager to browse the CD and launch start.html
at the root level.
6. Follow the on-screen instructions.
Power Up the SAN S2000
IMPORTANT: Always turn on any EXP E2000 expansion
units on before powering up your SAN S2000. This
enables the head unit to discover the attached expansions.
1
2
1 - AC Power
2 - Mouse Port
3 - Keyboard Port
4 - Dual USB Ports
5 - COM Port
6 - Video Port
7 - Data Port 1
8 - Data Port 2
9 - Active SAS Port
1245678 93


