


14
Chapter 2 Scan/Email Operations
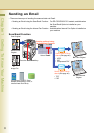
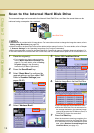
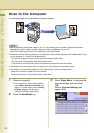
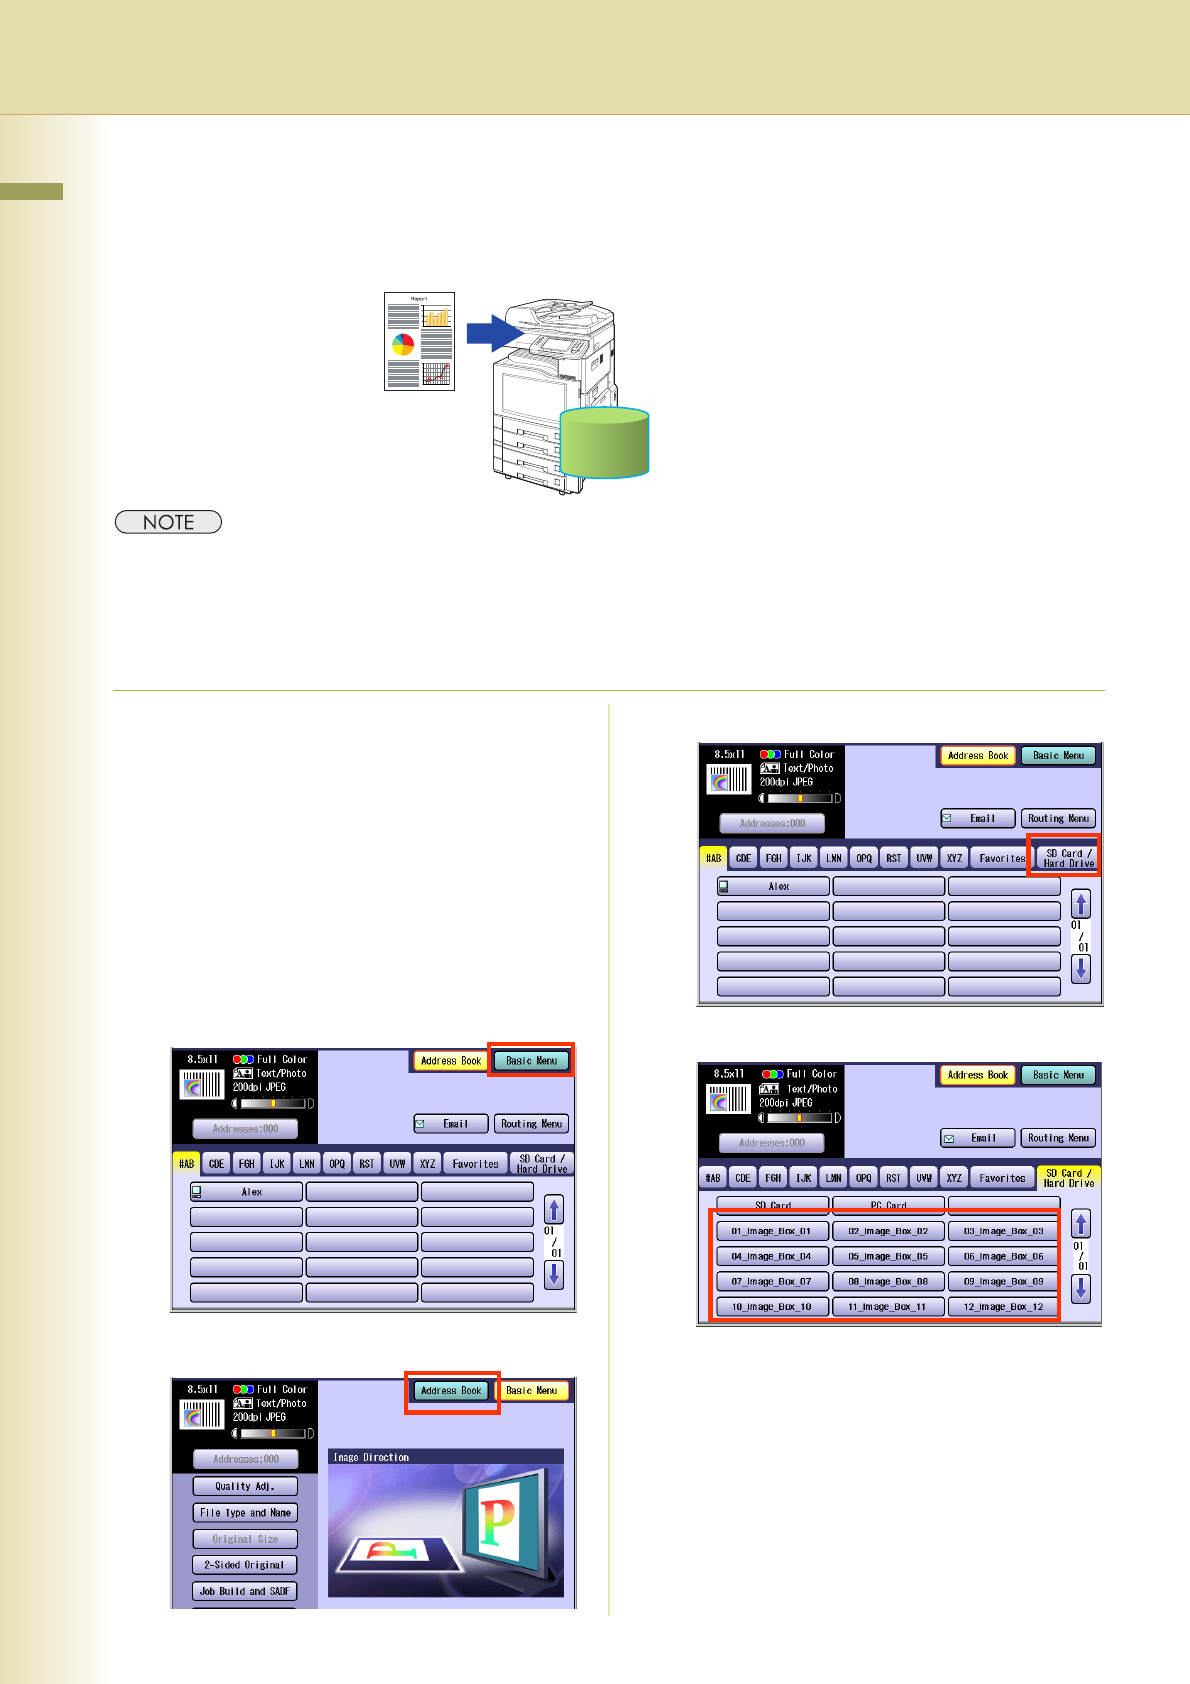
Scan to the Internal Hard Disk Drive
The scanned image can be saved to the Internal Hard Disk Drive, and then the saved data can be
retrieved using a computer via a network.
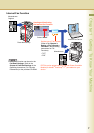
zThe hard disk is provided with 12 image boxes. For instructions on how to change the image box name, refer to
Editing Image Box Name (see page 56).
zAll data saved on the Hard Disk Drive can be deleted with a scanner function. For more details, refer to Chapter
5 “Scanner Settings” in the Operating Instructions (for Function Parameters).
zWhen the image data is stored in the Hard Disk Drive, Scan/Email memory indication does not go below 1 %.
zThe Hard Disk Drive is included with DP-C354/C264, and it is available as an option for DP-C323/C263/C213.
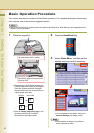
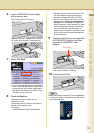
1
Place the original(s).
zFor instructions on how to place originals,
refer to Basic Operation Procedure (see
page 6). For more details, refer to Placing
Originals (Copy) in the Operating
Instructions (for Basic Operations).
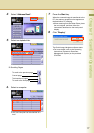
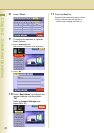
2
Press the Scan/Email key.
3
Select “
Basic Menu
” to configure the
required settings, and then select “
OK
”.
Refer to Scanner Settings (see
pages 38-50).
4
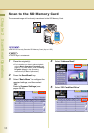
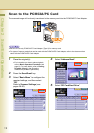
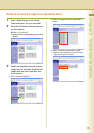
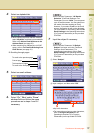
Select “Address Book”.
5
Select “SD Card/Hard Drive”.
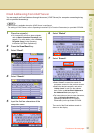
6
Select an Image Box in the Hard Disk Drive.
z
Only one Image Box can be selected at a time.
zWhen the Hard Disk Drive is selected to be
the storage destination, the scanned image
cannot be saved to the SD Memory Card, or
PCMCIA/PC Card at the same time.
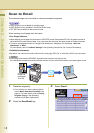
7
Press the Start key.
When the document scanning completes, the
scanned data is saved on the Hard Disk Drive.
z
For instructions on how to download the saved
data, refer to
Retrieve Scanned Image from
Hard Disk Drive (see page 15)
.
Hard Disk Drive