


4
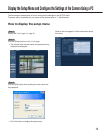
Step 1
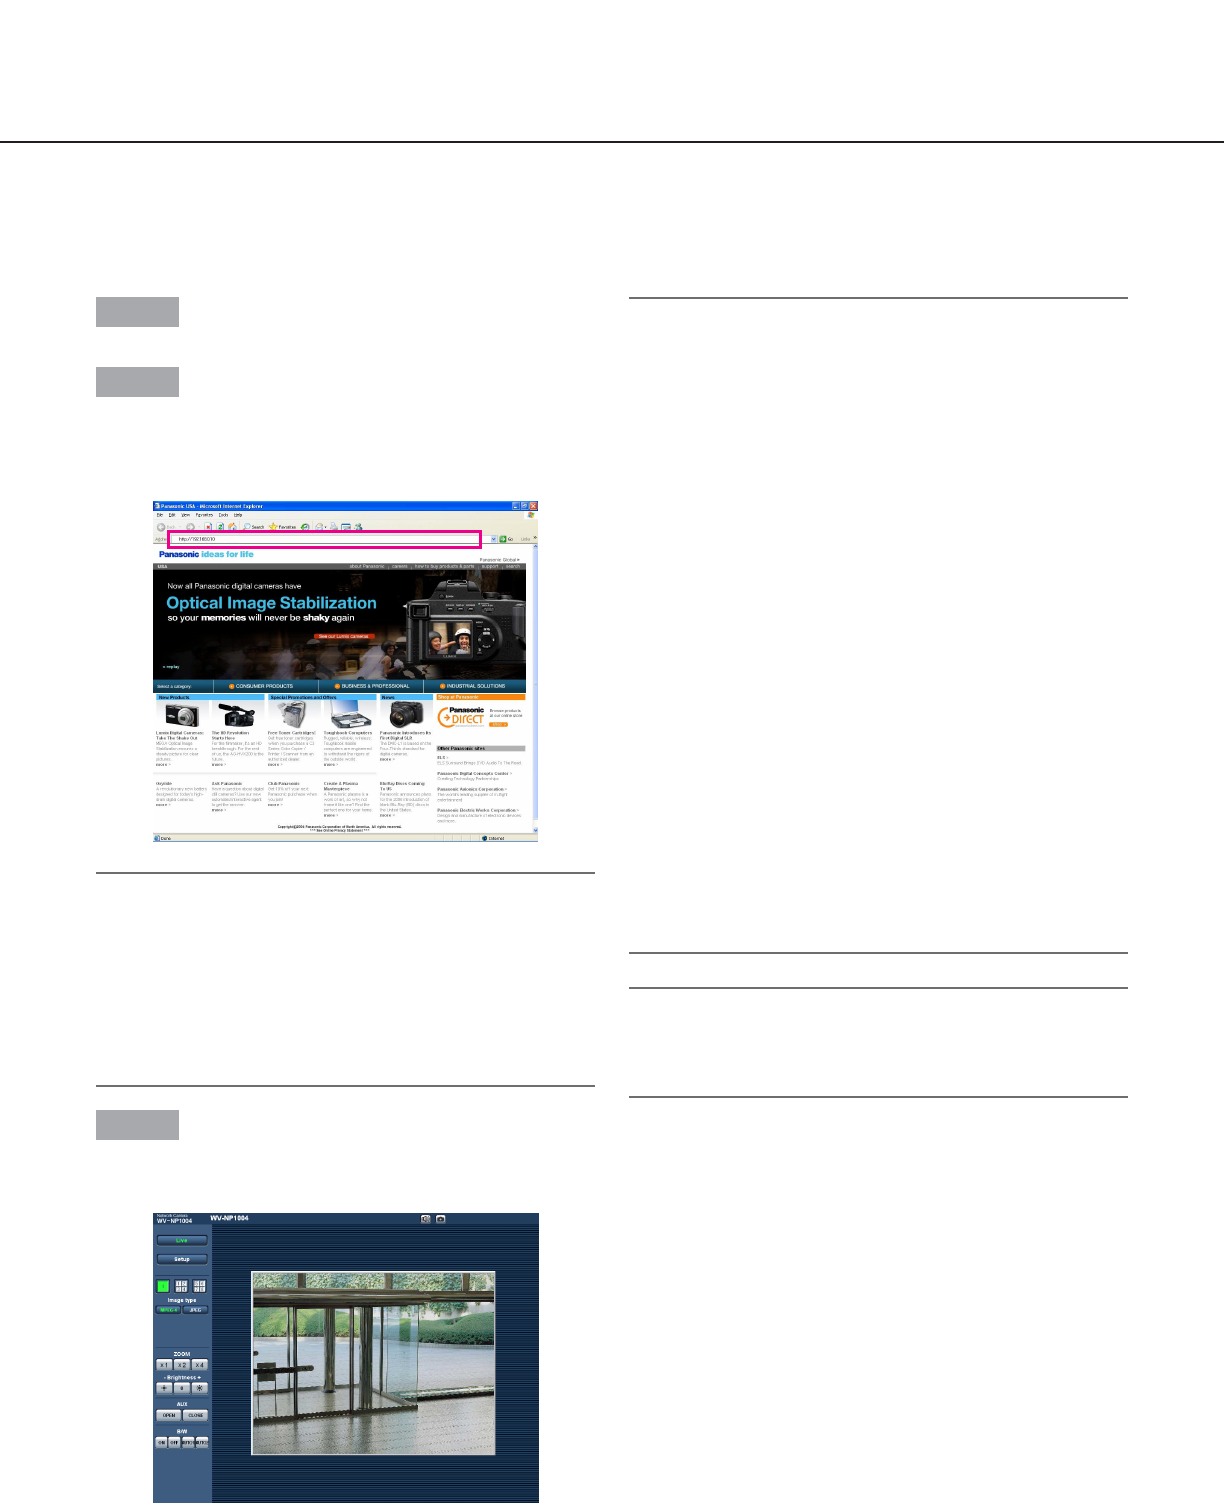
Start up the web browser.
Step 2
Enter the IP address designated using the Panasonic IP
setting software in the address box of the browser.
(Example: http://192.168.0.10)
Important:
•When the HTTP port number is changed from "80",
enter "http://IP address of the camera + : (colon) +
port number" in the address box of the browser, for
example "http://192.168.0.11:8080".
• Configure the web browser to not use the proxy
server. Refer to the network administrator when
using the proxy server.
Step 3
Press the [Enter] key on the keyboard.
→ Live images will be displayed.
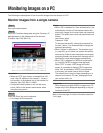
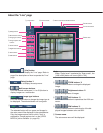
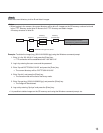
The following are descriptions of how to monitor images from the camera on a PC.
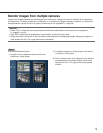
Monitor images from a single camera
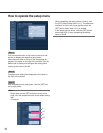
Monitoring Images on a PC
Notes:
• When "ON" is selected for "User Authentication", the
authentication window will be displayed before dis-
playing live images for the user name and password
entries. The default user name and password are as
follows.
User Name: admin
Password: 12345
To enhance the security, change the password for
the user "admin". It is recommended to change this
password periodically.
• When "Unicast" is selected for "Transmission type"
(☞ page 25), up to 8 users can access the camera
concurrently. When 8 users have been concurrently
accessing already, the access limit message will be
displayed for users who accessed subsequently.
• When "ON" is selected for "MPEG-4 transmission"
(☞ page 25), MPEG-4 image will be displayed.
When "OFF" is select, JPEG image will be dis-
played. It is possible to display JPEG image even
when "ON" is selected for "MPEG-4 transmission".
In this case, the refresh interval will be limited.
The refresh interval may be longer depending on a
network environment, PC spec, photographic sub-
ject, access traffic, etc.
Important:
When displaying multiple MPEG-4 images on a PC,
images may not be displayed depending on the per-
formance of the PC.
Refer to the next page for further information about the
"Live" page.